# Using Glyphs
How to add and use Font Awesome glyphs in desktop applications.
> Since Font Awesome was released, we've supported copy and pasting glyphs of our icons into your favorite desktop apps. Learn the basics of creating a text layer, selecting an icon, adjusting the style and weight, and how to use Duotone icons as glyphs.
Make sure you've:
- [Set up Font Awesome](/desktop/setup/get-started.md) in your project and the force is with you.
## Add an Icon as a Glyph
### Open a Document in Your Desktop App
After [getting set up](/desktop/setup/get-started.md), open a new or existing document in the Desktop app you want to use Font Awesome icons in. We'll use a new document in [Figma](https://www.figma.com) for the walkthrough below.
### Create a New Text Layer
However your app allows you, create a new layer or text block to insert text into.
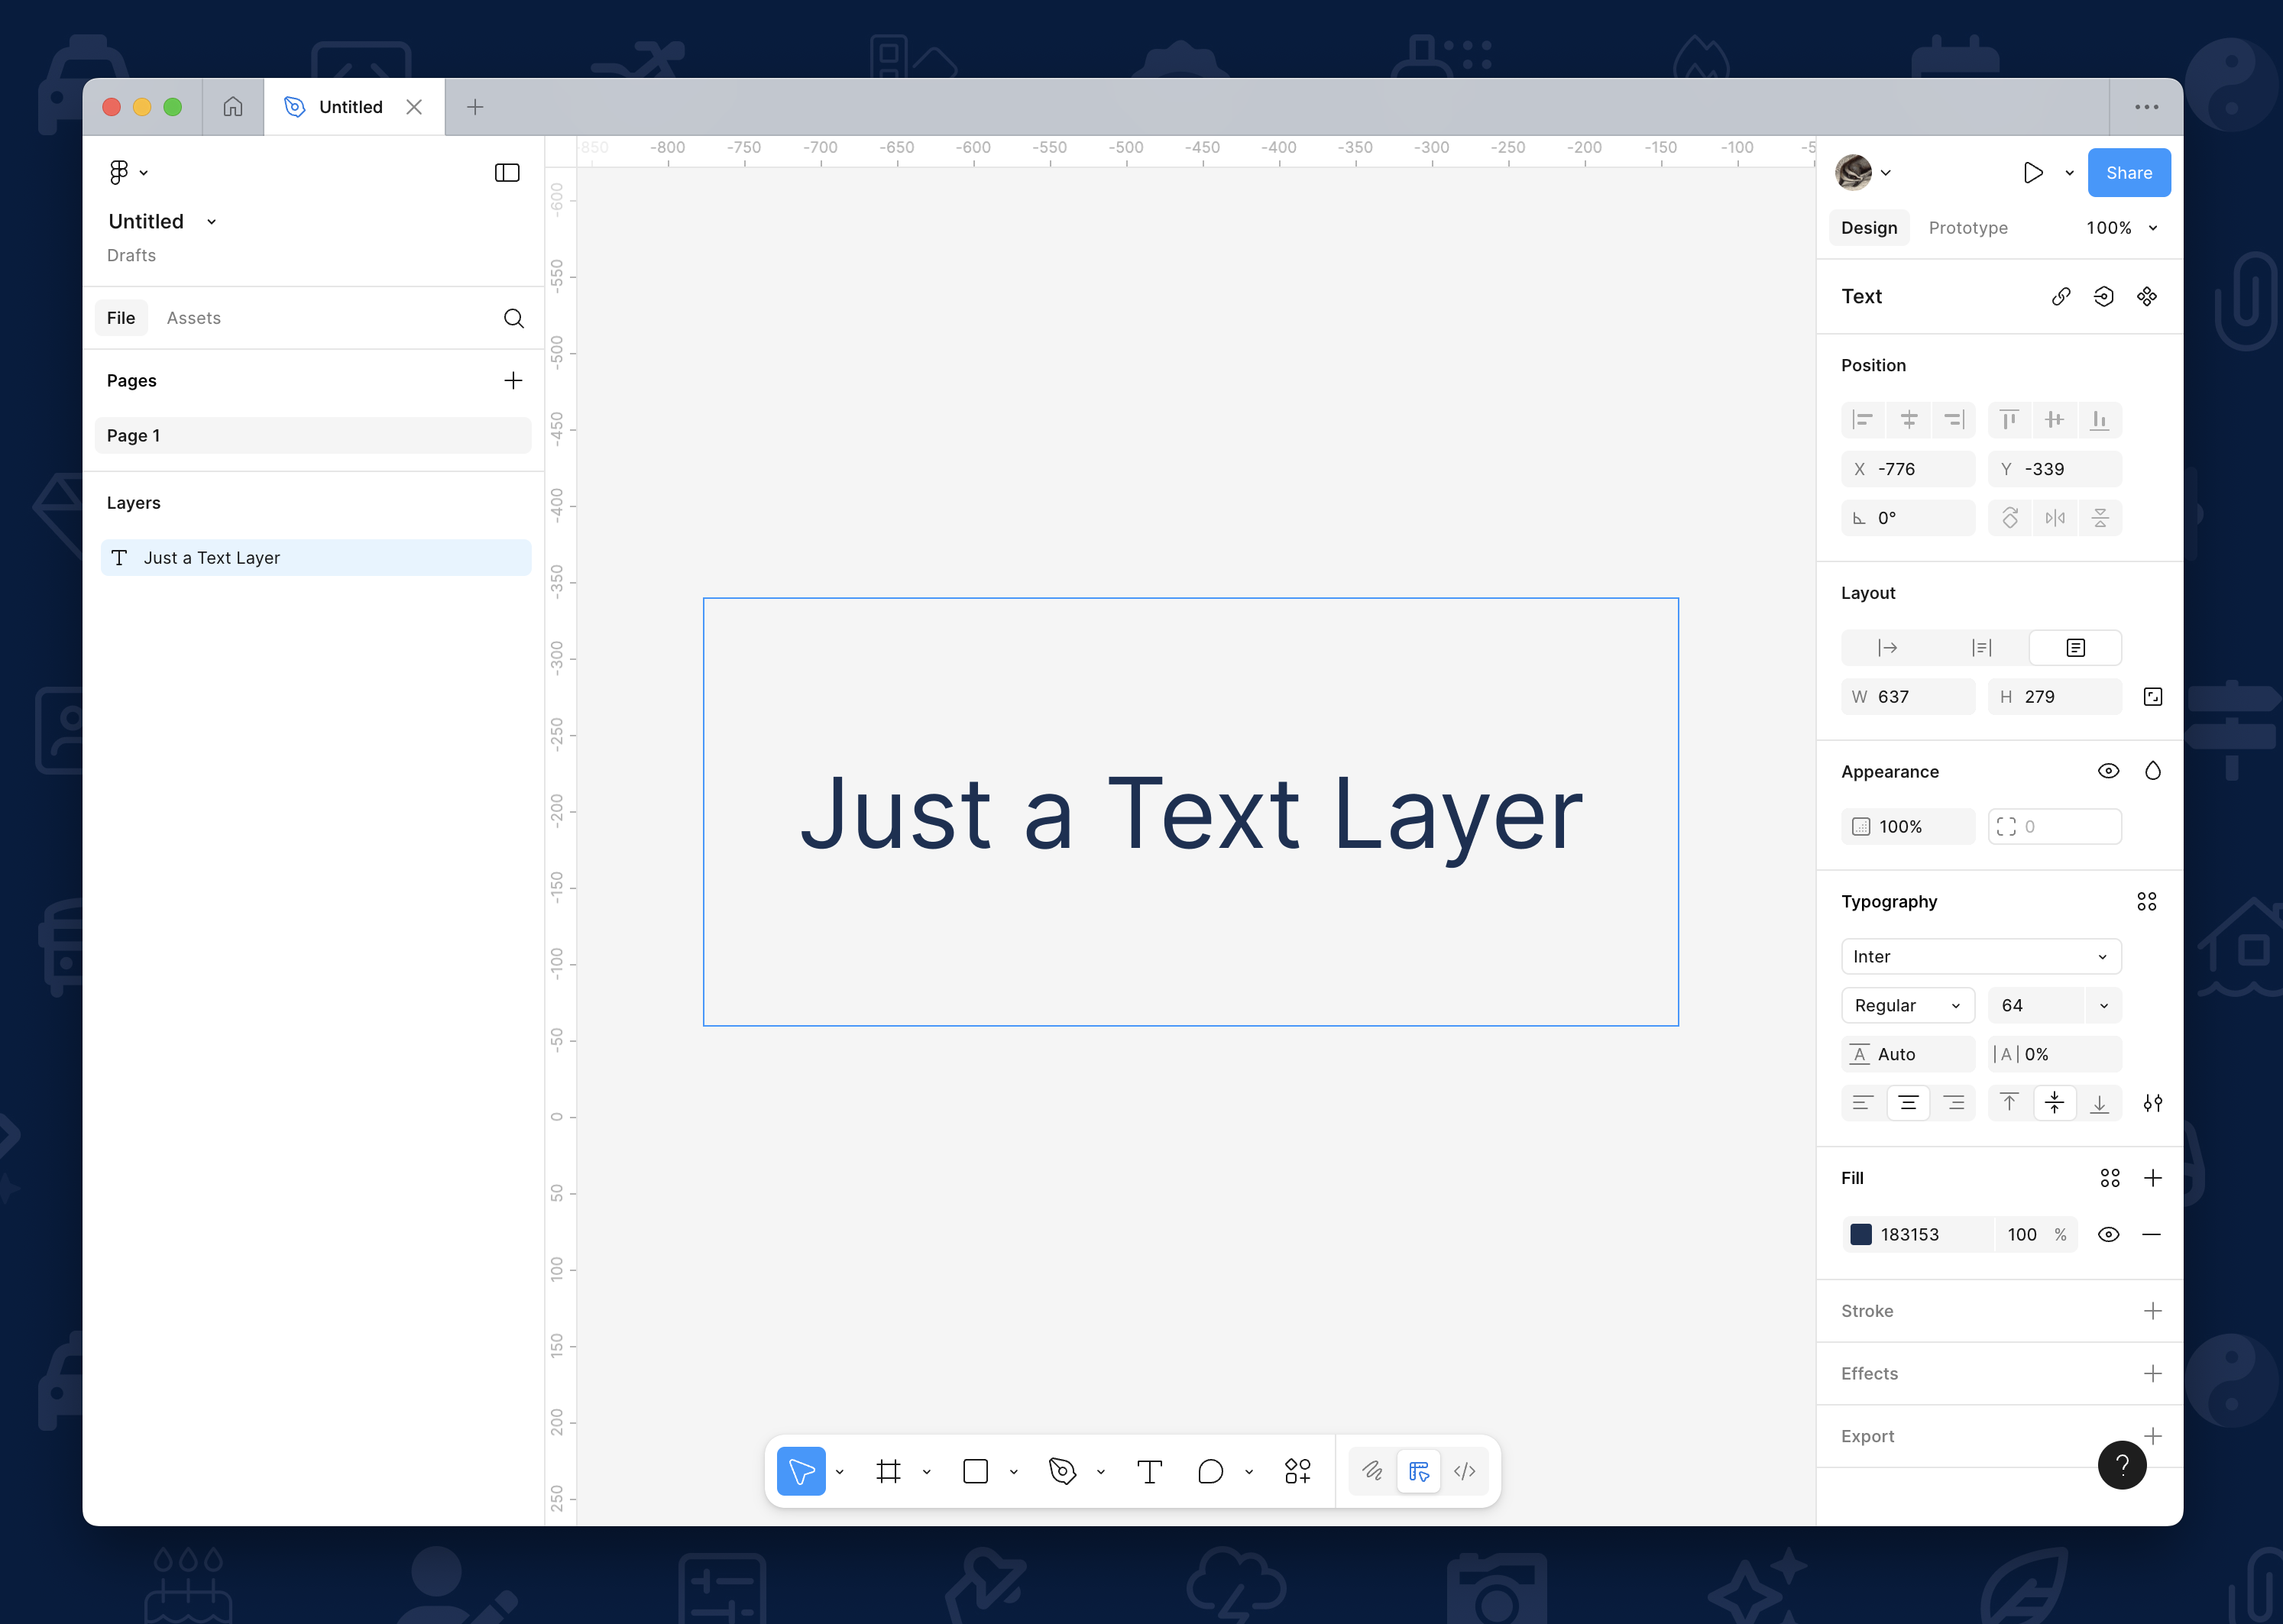 A new text layer created in a Figma document
### Set the Font/Typeface
Next, using your app's font/typeface selector, [find and select the Font Awesome icon family](/desktop/setup/get-started.md#install-the-ligature-based-font-files) you want to use for the current text layer/block.
A new text layer created in a Figma document
### Set the Font/Typeface
Next, using your app's font/typeface selector, [find and select the Font Awesome icon family](/desktop/setup/get-started.md#install-the-ligature-based-font-files) you want to use for the current text layer/block.
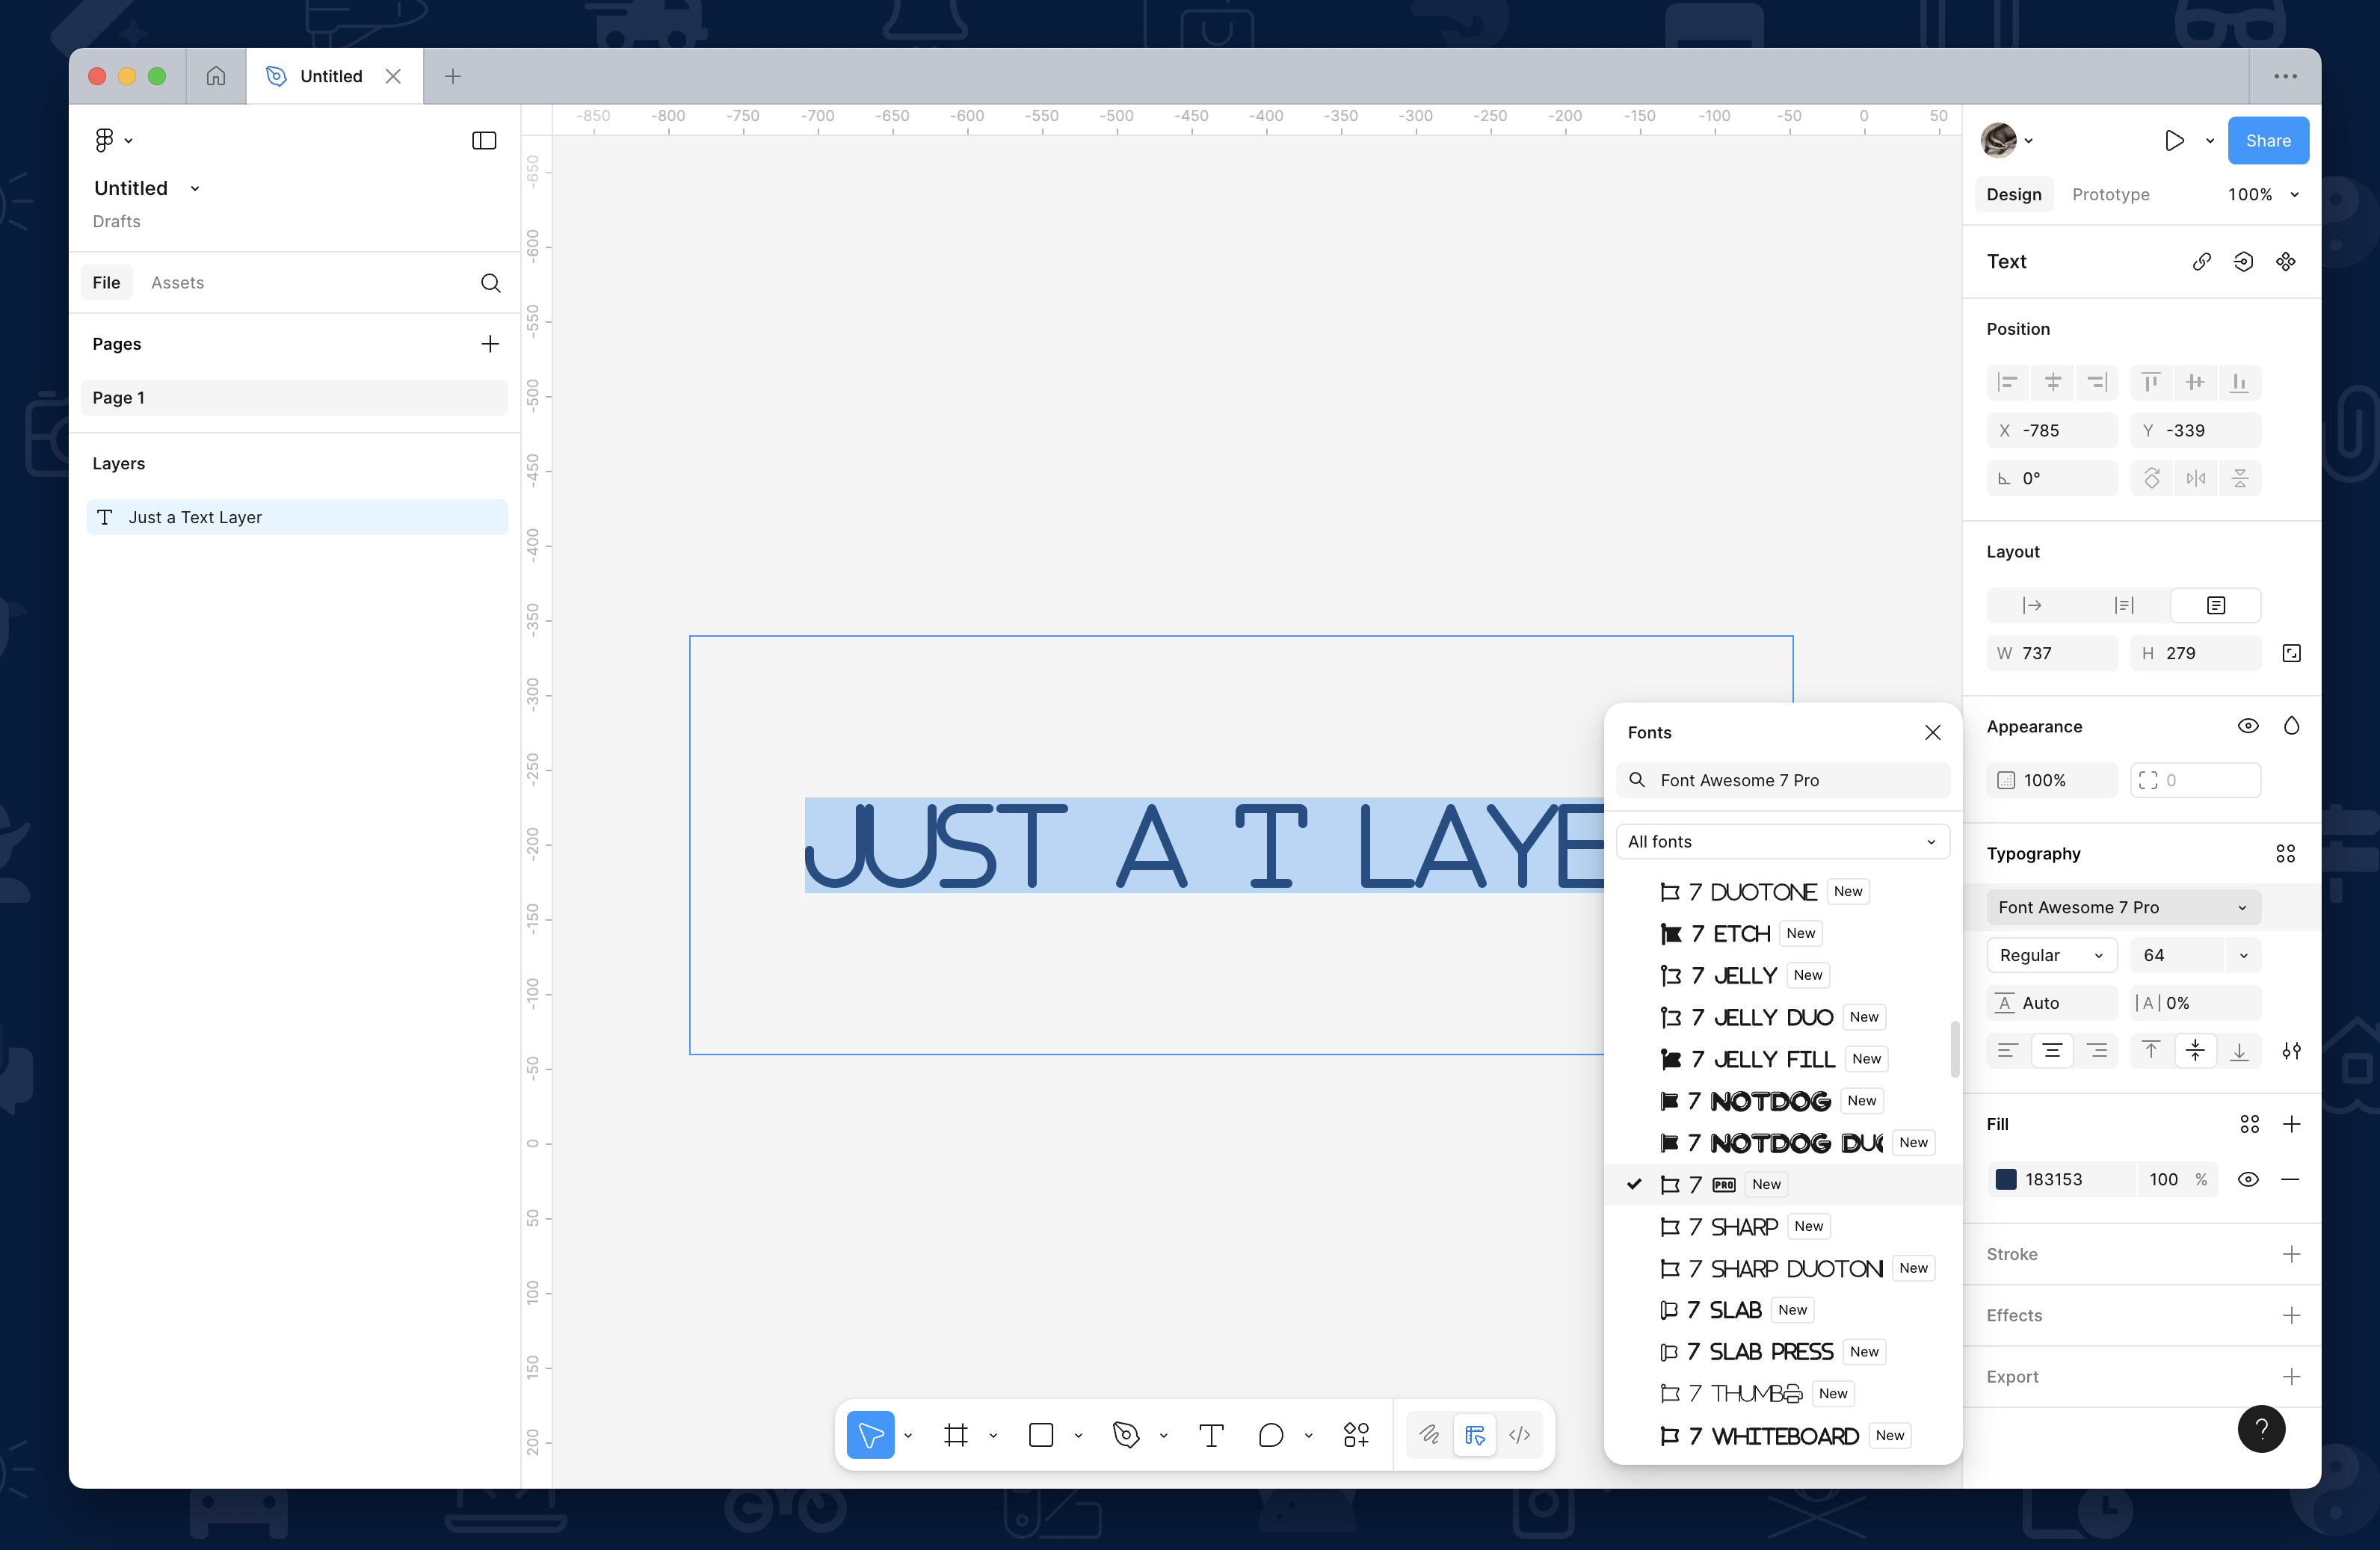 Selecting Font Awesome 7 Pro
### Copy the Icon's Glyph
Next, you're all set to reference the icon you want to use. First, [find the icon](https://fontawesome.com/search) and copy its glyph to your clipboard.
Selecting Font Awesome 7 Pro
### Copy the Icon's Glyph
Next, you're all set to reference the icon you want to use. First, [find the icon](https://fontawesome.com/search) and copy its glyph to your clipboard.
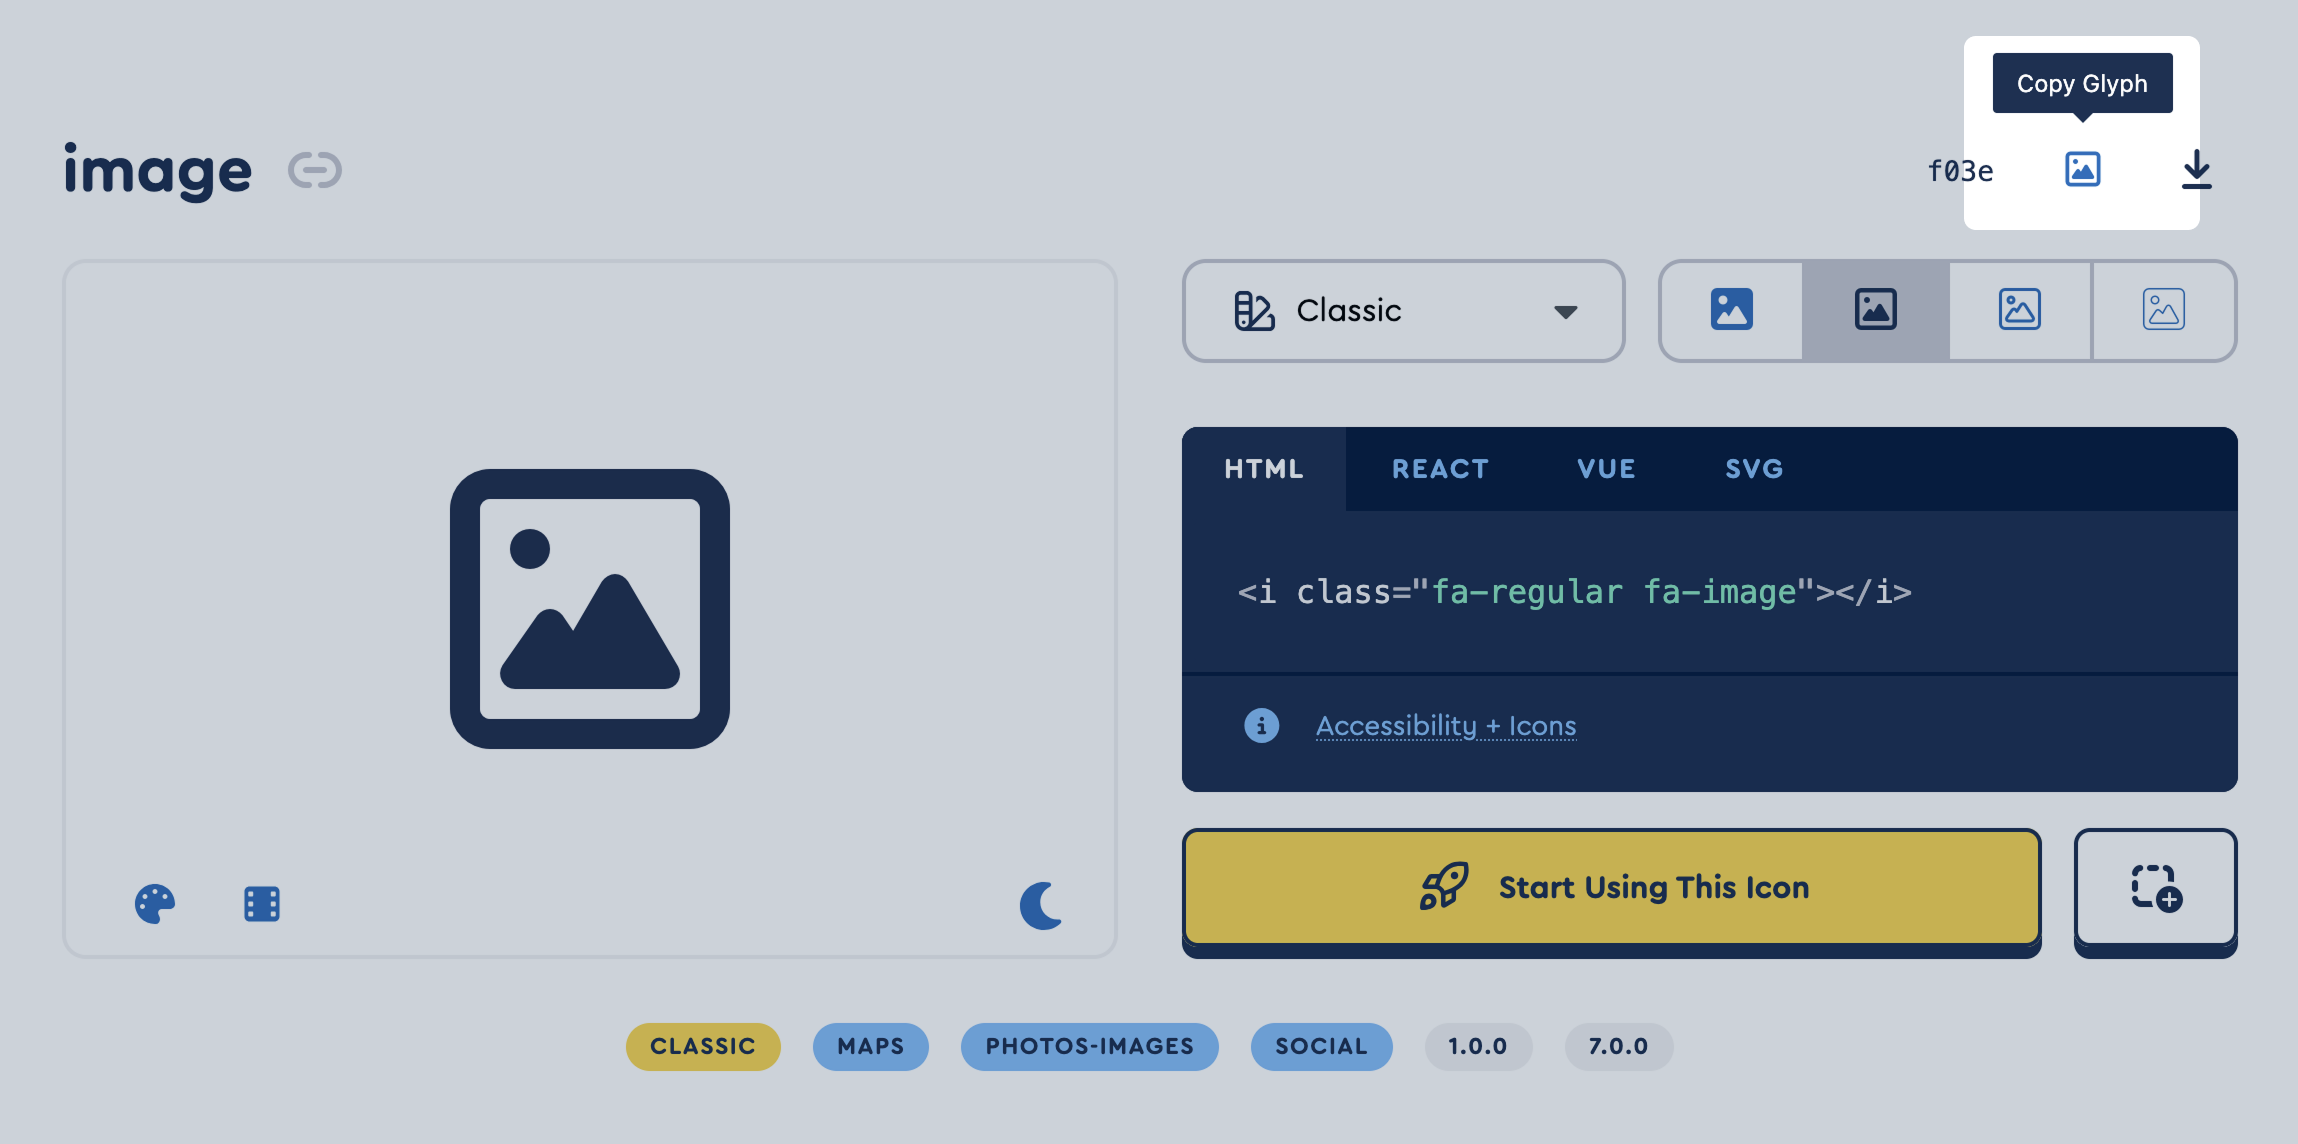 Select the copy glyph button on any icon's details
Then, paste the glyph of that icon into the text layer you've created.
Select the copy glyph button on any icon's details
Then, paste the glyph of that icon into the text layer you've created.
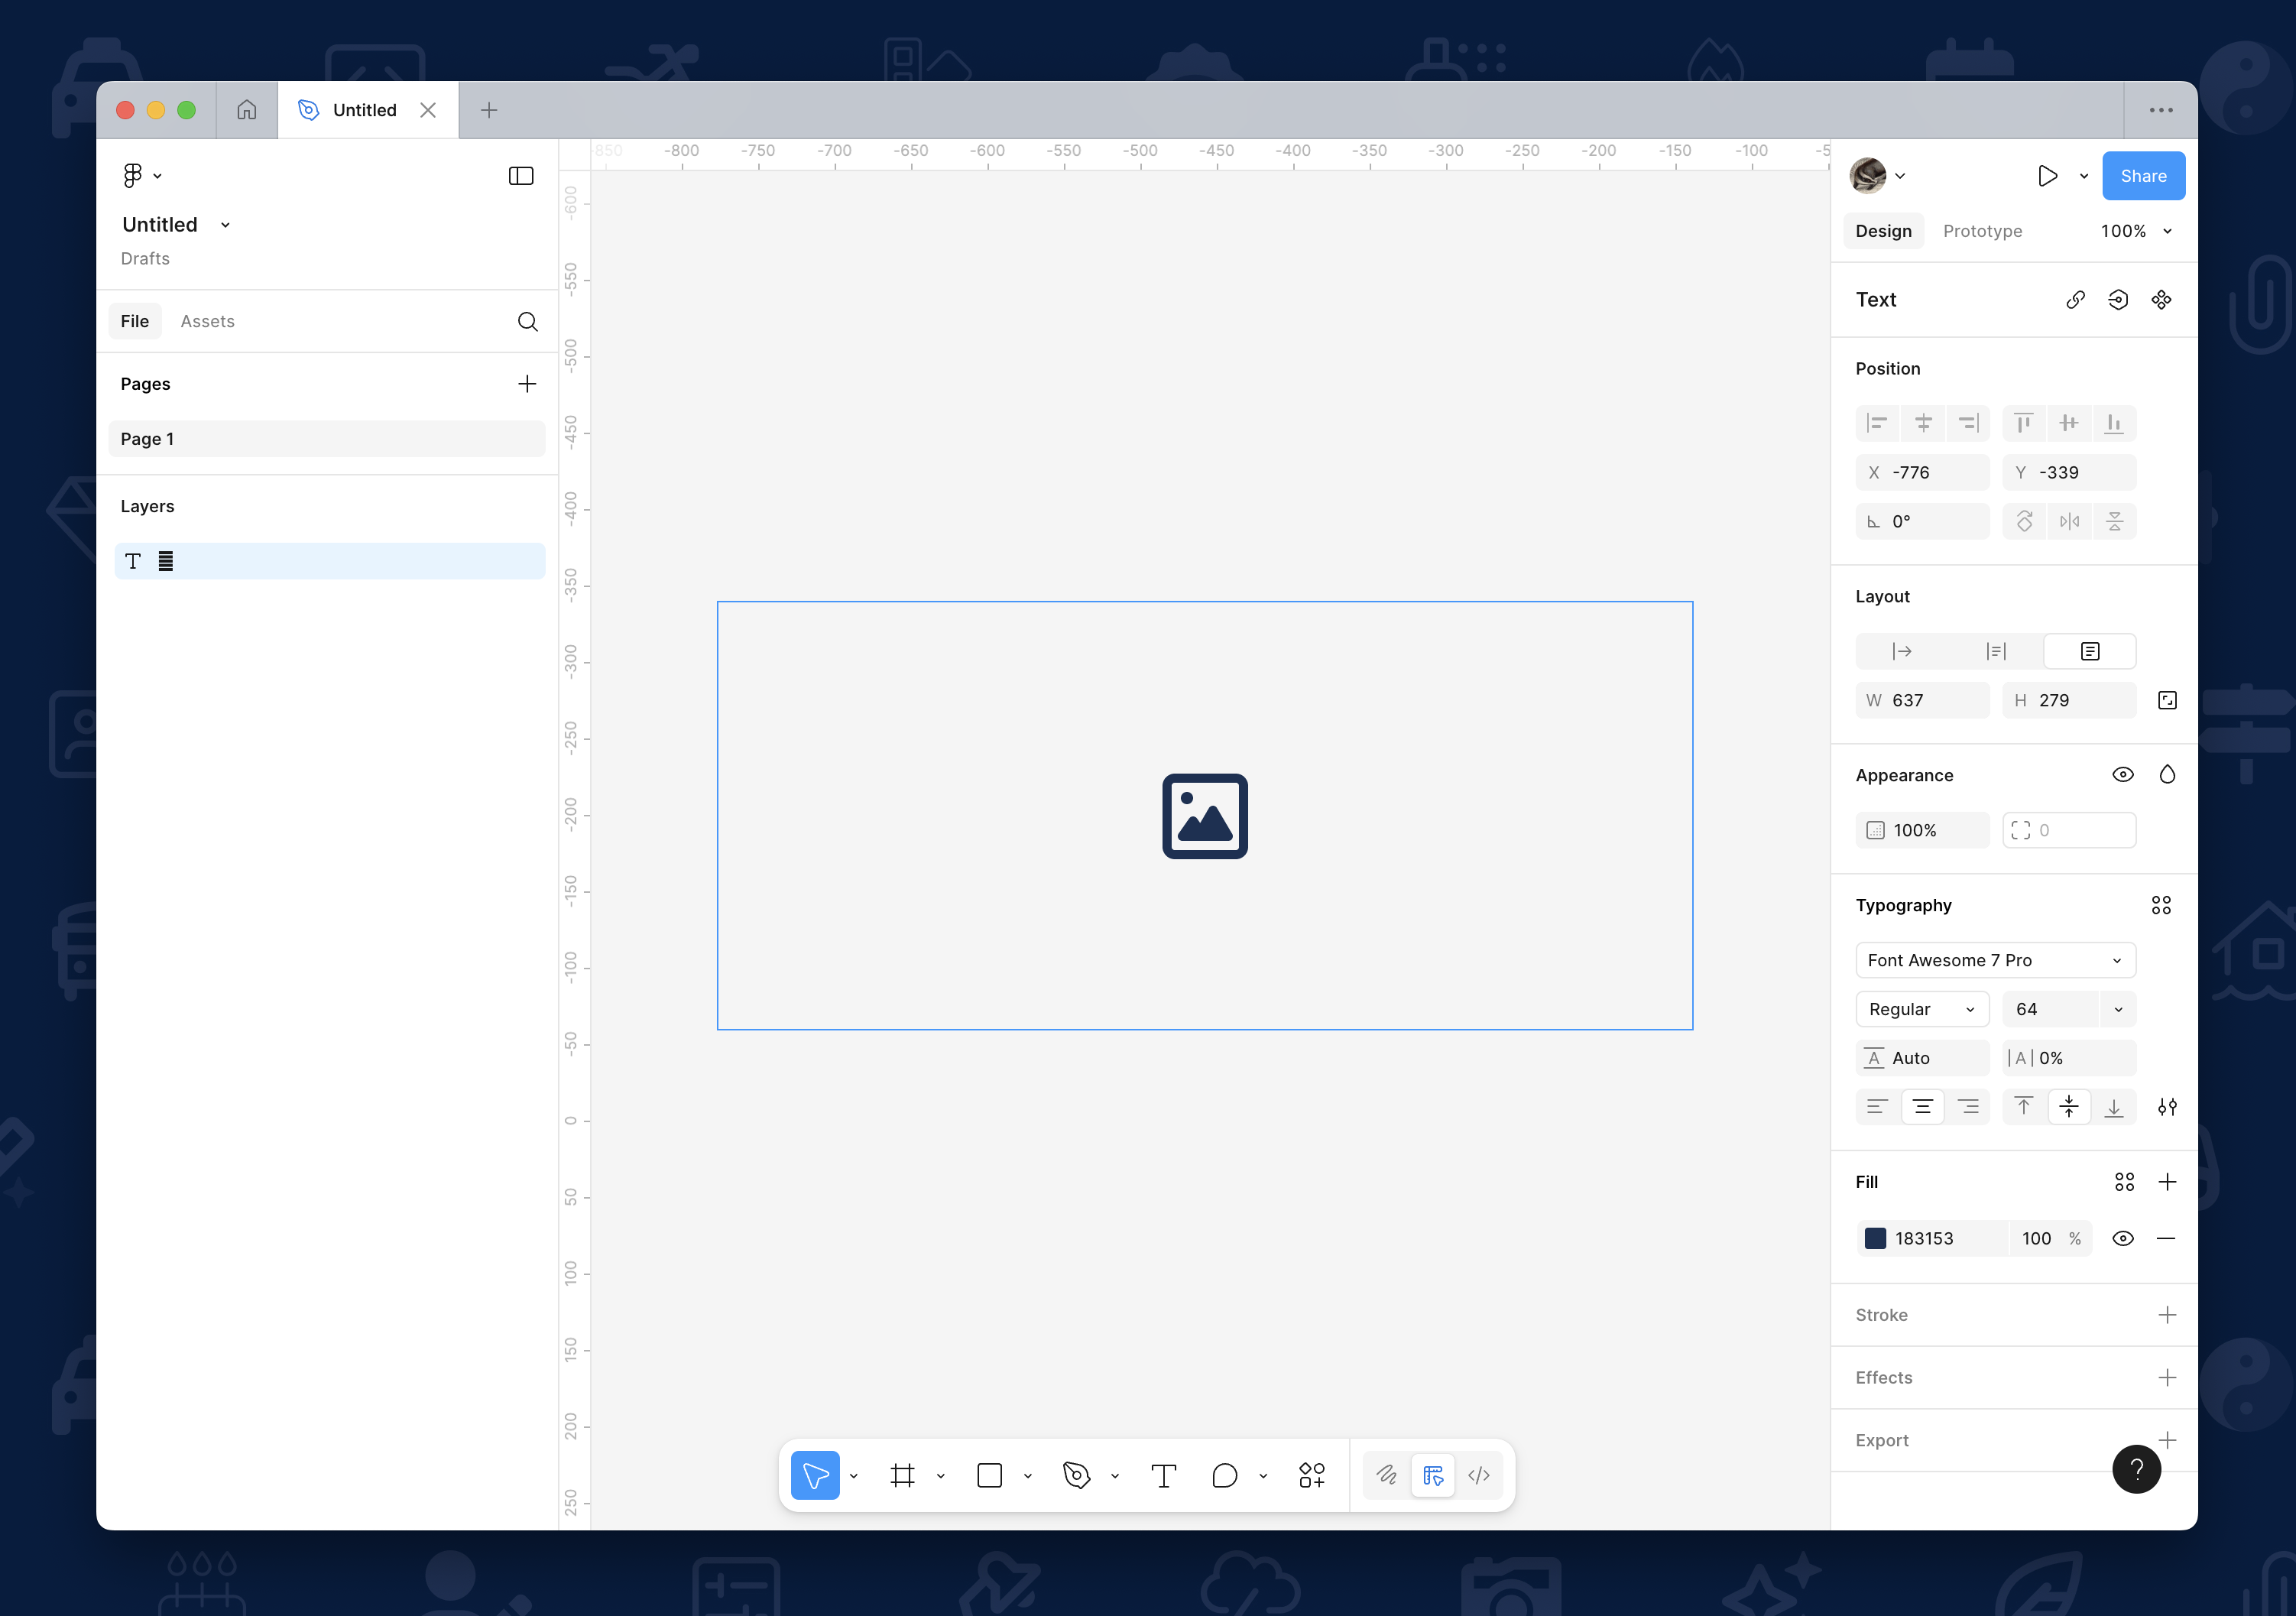 The glyph for the Image icon pasted into the text layer renders the icon
### Adding Kit Custom Icons
If you are using the Kit custom icon font, it works the same as all the other Font Awesome font glyphs. First import and select the Kit custom font located in the `otfs` folder of your Kit Download files. Then copy the glyph from your Custom Icon details in your Kit, paste the icon's glyph into a text layer, and it will appear!
## Choose a Style by Adjusting Font Weights
Font Awesome comes in [several styles](/web/dig-deeper/styles.md), depending on the typeface you're using. If you've [installed](/desktop/setup/get-started.md#install-the-ligature-based-font-files) all `.otf` files, you can change the weight of your text layer/block to switch between the different icon styles.
The glyph for the Image icon pasted into the text layer renders the icon
### Adding Kit Custom Icons
If you are using the Kit custom icon font, it works the same as all the other Font Awesome font glyphs. First import and select the Kit custom font located in the `otfs` folder of your Kit Download files. Then copy the glyph from your Custom Icon details in your Kit, paste the icon's glyph into a text layer, and it will appear!
## Choose a Style by Adjusting Font Weights
Font Awesome comes in [several styles](/web/dig-deeper/styles.md), depending on the typeface you're using. If you've [installed](/desktop/setup/get-started.md#install-the-ligature-based-font-files) all `.otf` files, you can change the weight of your text layer/block to switch between the different icon styles.
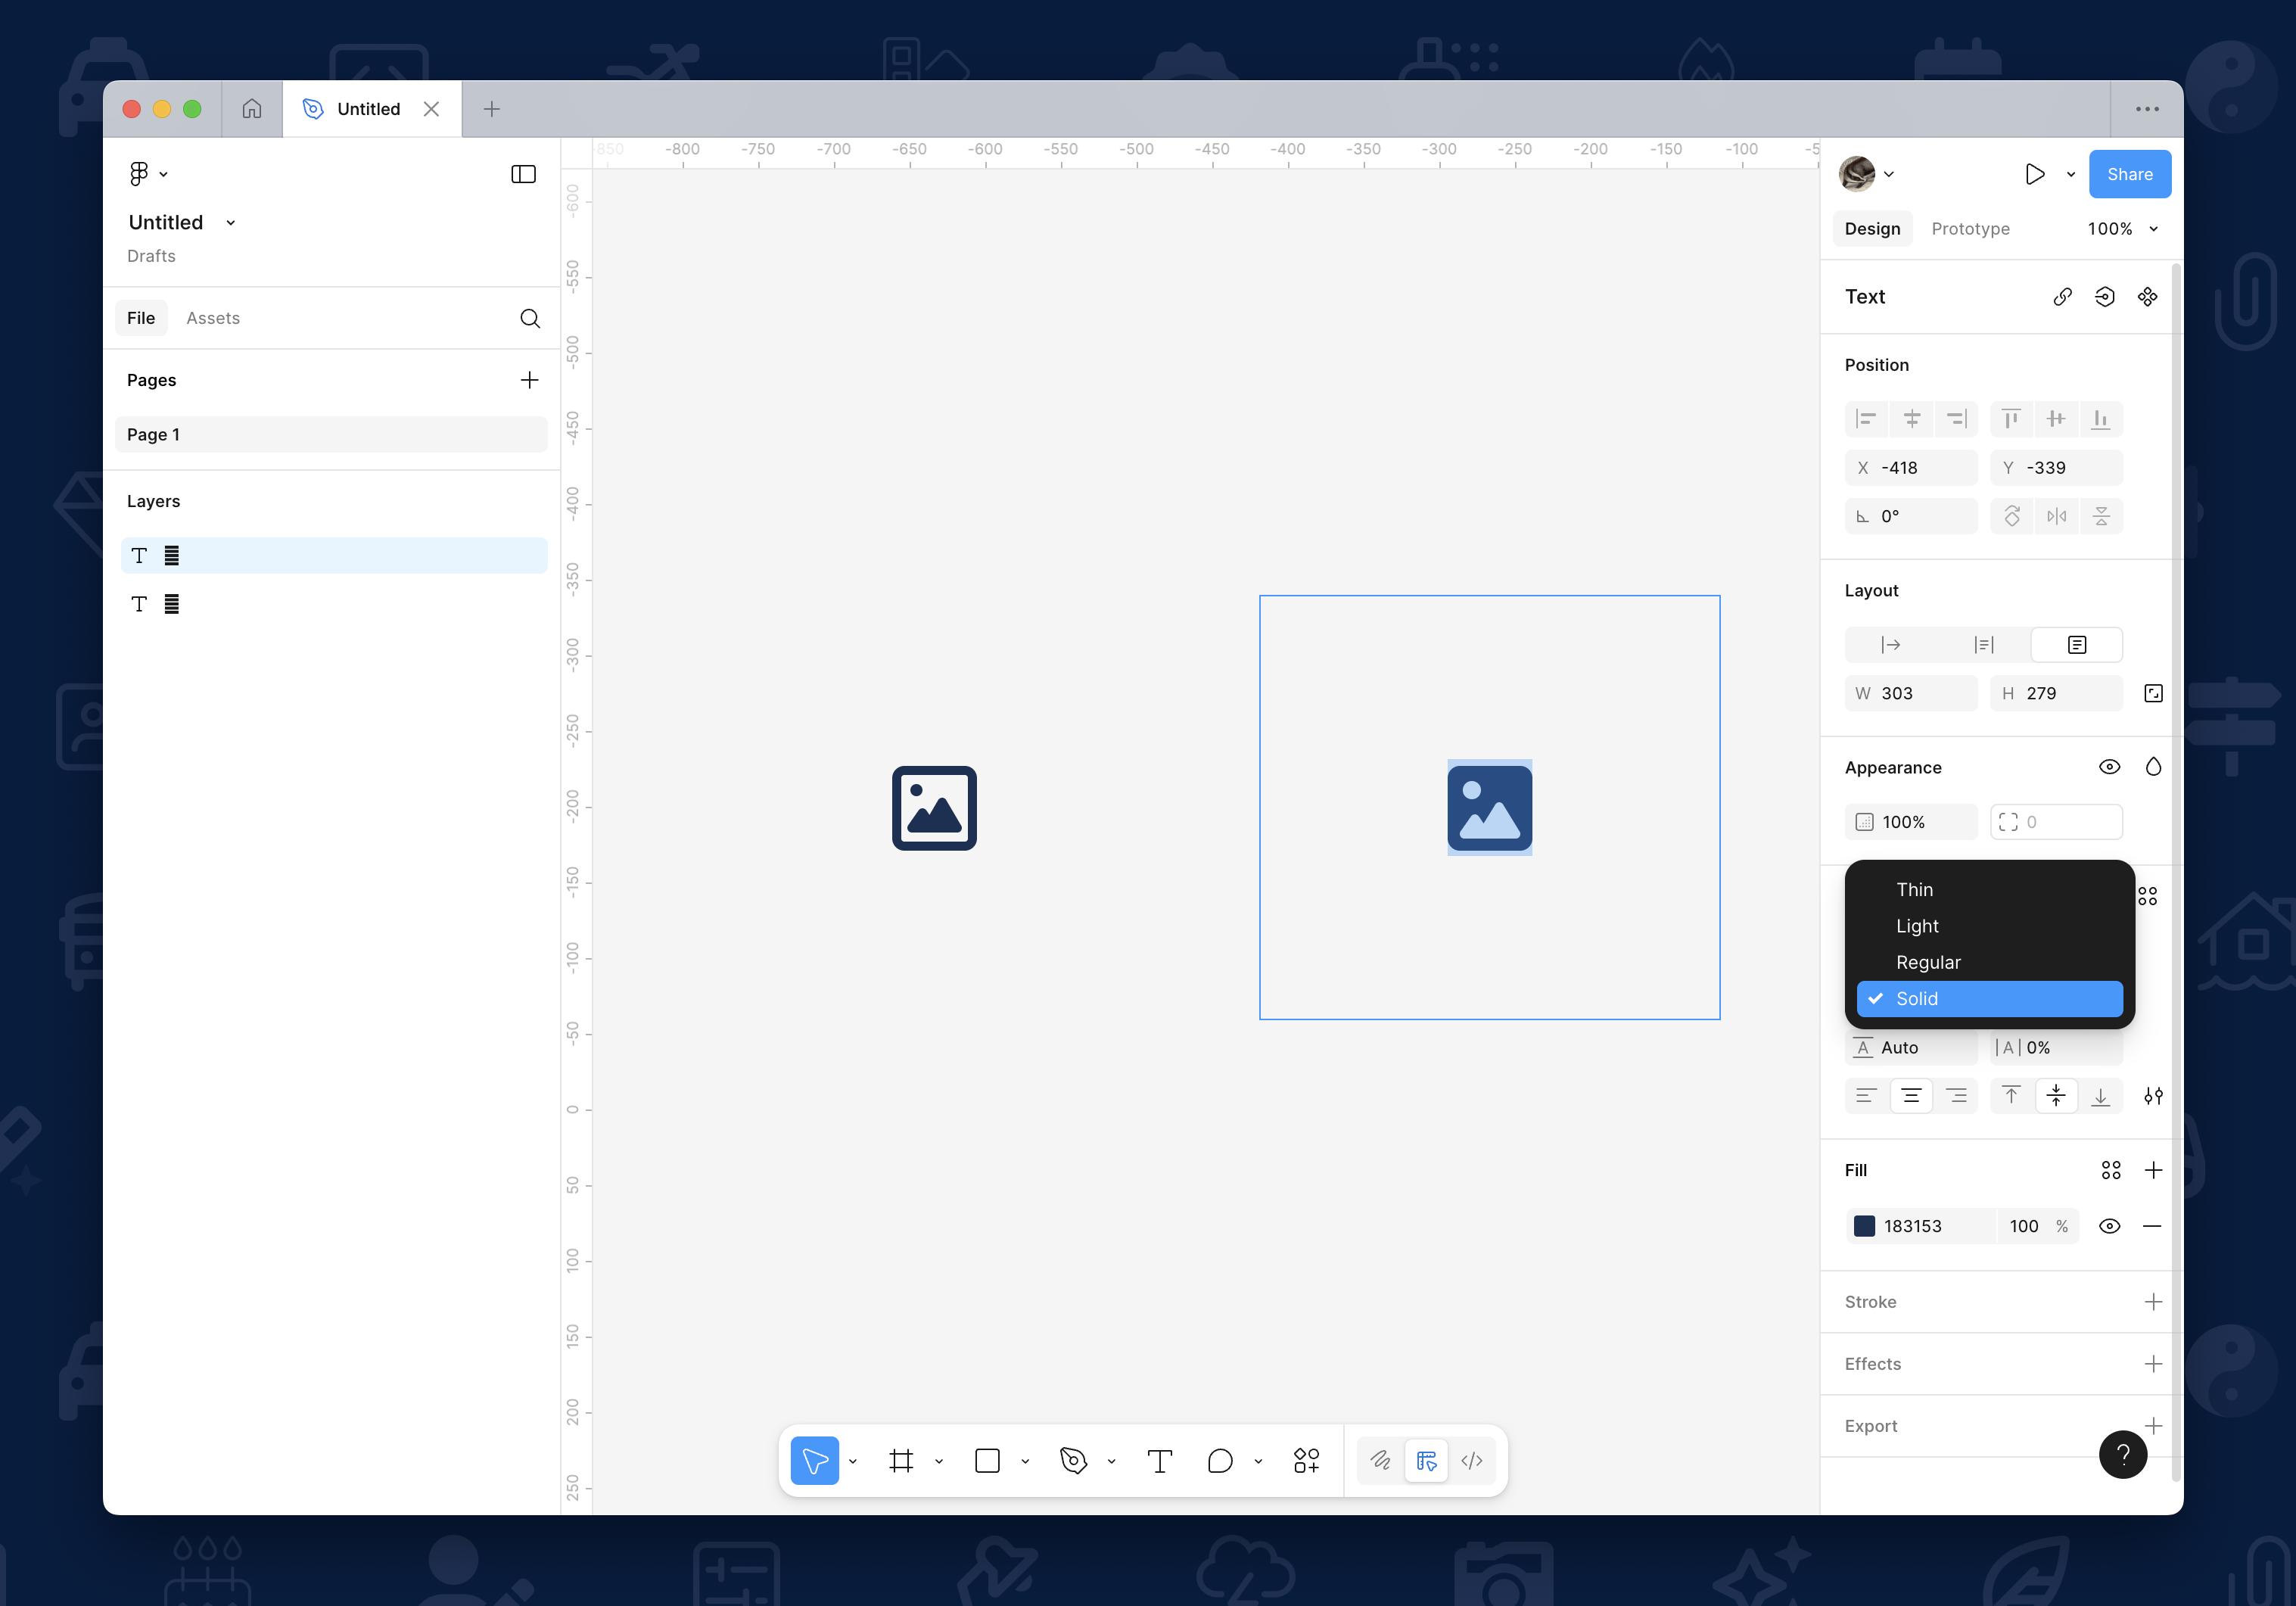 Switching from Regular to Solid style of the Image icon
Exporting and Prepping for Production
Remember to convert your icon text layers to vector outlines or rasterized copies before sending the file to others. The production folks may not have access to the Font Awesome font files that those text layers need to display icons.
## Duotones and Glyphs
You can add duotone icons into your designs as glyphs, but you'll need add each of the two layers separately and then take an extra step to align the two layers. You'll find the glyphs in any icon's quick preview in the [icon gallery](https://fontawesome.com/icons) or an icon's detail page.
### Find the Icon and Copy the Glyphs
First, find the icon you want to use in the [icon gallery](https://fontawesome.com/icons).
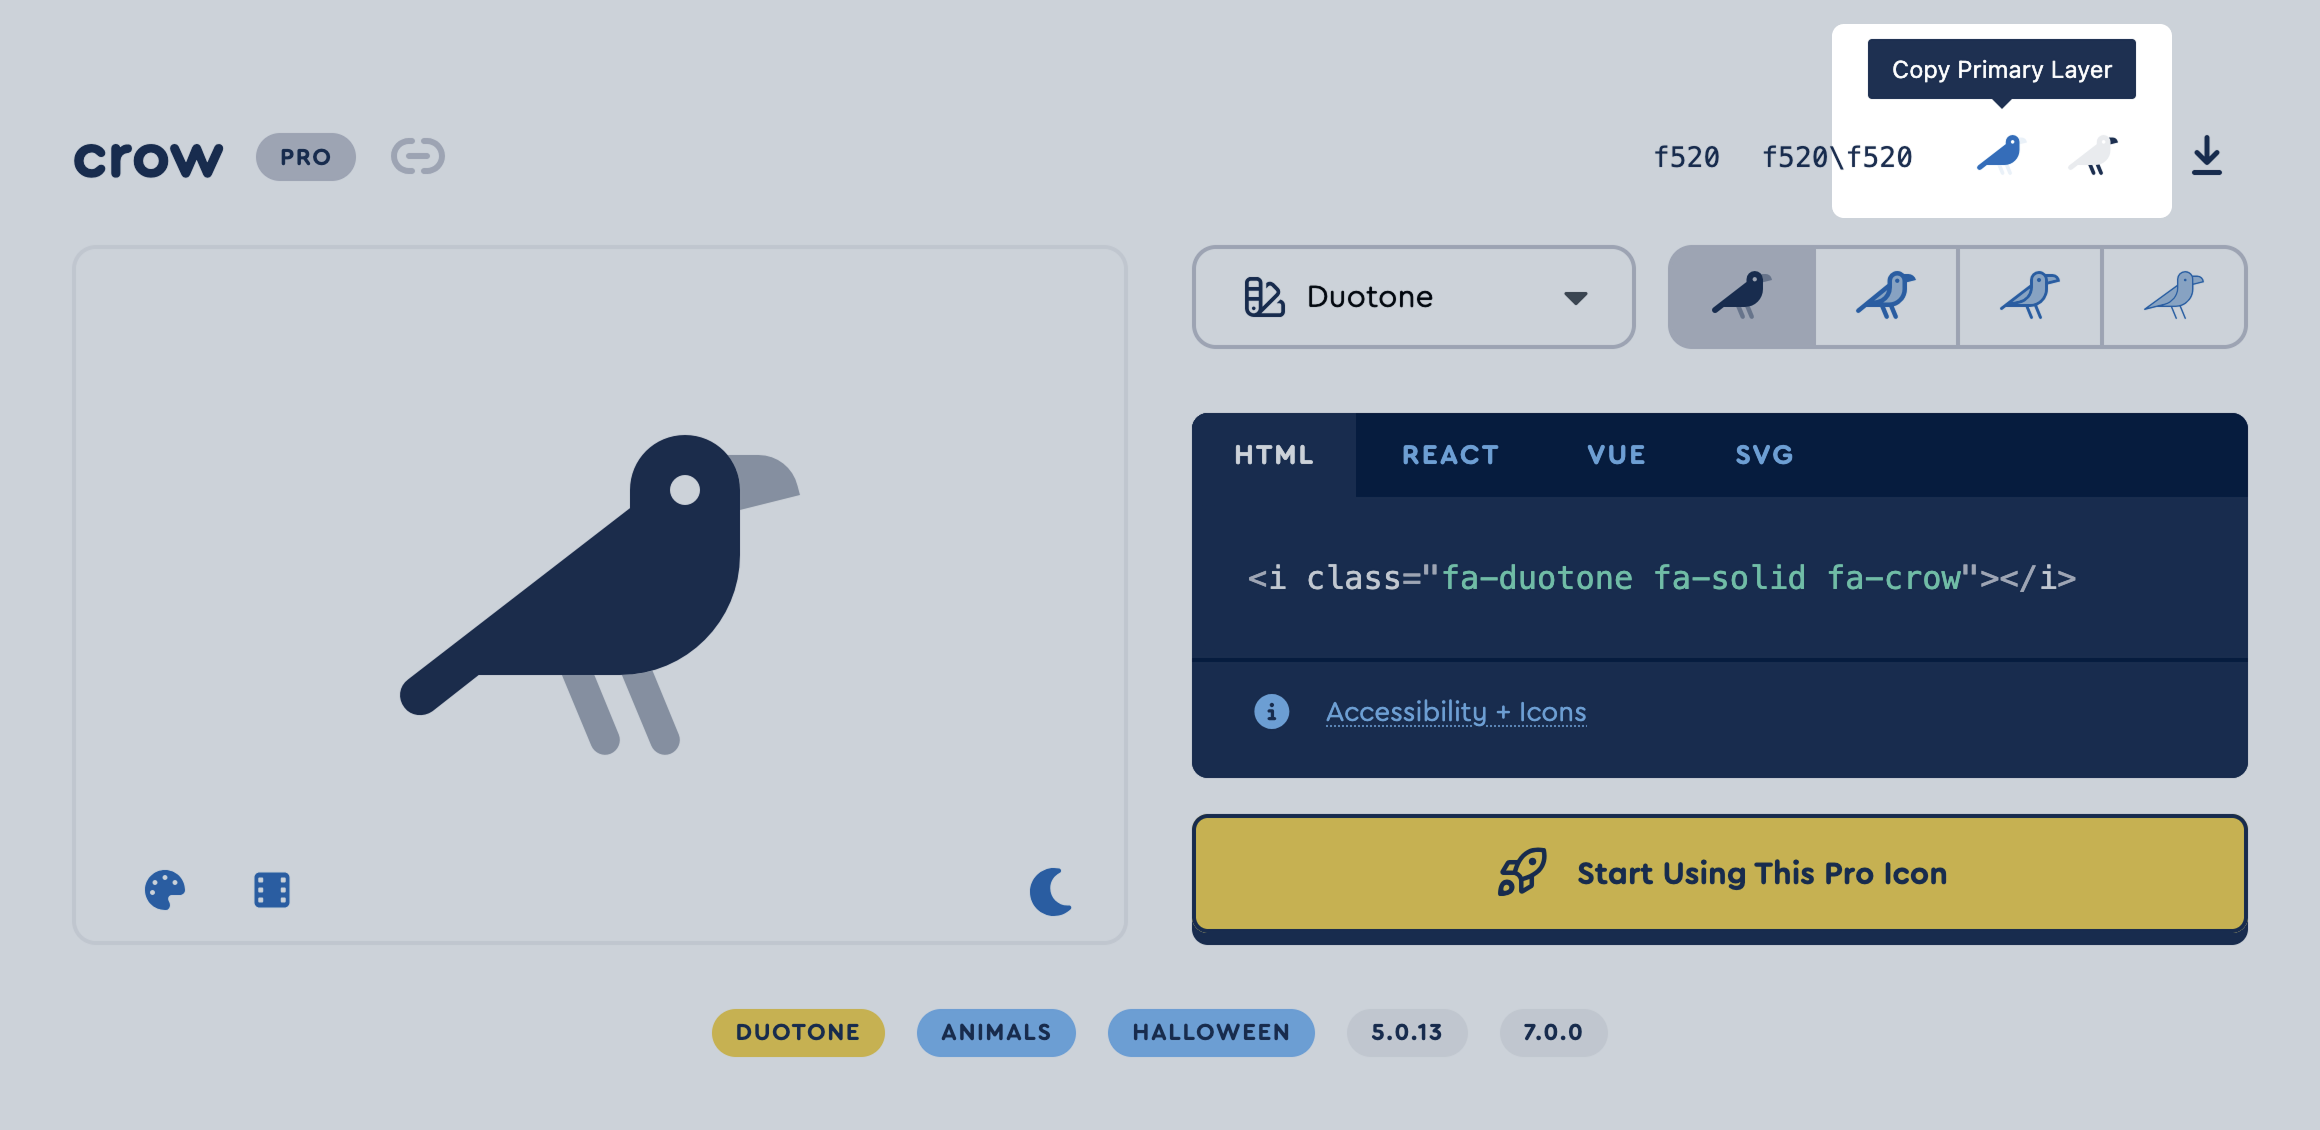 Copy the primary and secondary glyphs
Copy the glyphs one at a time and paste them in your graphics program.
### Paste into Your Design App
Open up your desktop design app and create a text box with the font set to **Font Aweseome 6 Duotone**, then paste in the primary glyph. Create a second text box and epeat for the secondary glyph. Change the font size to the size you want them to appear and set the text boxes to the same height and width.
Copy the primary and secondary glyphs
Copy the glyphs one at a time and paste them in your graphics program.
### Paste into Your Design App
Open up your desktop design app and create a text box with the font set to **Font Aweseome 6 Duotone**, then paste in the primary glyph. Create a second text box and epeat for the secondary glyph. Change the font size to the size you want them to appear and set the text boxes to the same height and width.
 Assemble and align the parts of the duotone icon
Adjust the color and opacity of the two layers as you like. The last step is to align the two text boxes to overlap using the align tools for vertical and horizontal center.
Assemble and align the parts of the duotone icon
Adjust the color and opacity of the two layers as you like. The last step is to align the two text boxes to overlap using the align tools for vertical and horizontal center.
Be Mindful of Accessibility with Duotone Icons
Duotone icons are comprised of two layers with different color values, which make them more complex symbols. [Read up on some accessibility best practices](/web/dig-deeper/accessibility.md#other-cases-and-information) to be mindful of when using them on the web, desktop, and in print.