# Host Yourself - Web Fonts
Guide to self-hosting Font Awesome web font files for your website.
If you like control, you can host Font Awesome yourself, and you can choose to use Web Fonts + CSS described below or [SVG + JS](/web/setup/host-yourself/svg-js.md) to get icons into your projects.
Make sure you:
- Have [downloaded the Font Awesome Web files](https://fontawesome.com/download) and have them handy.
- Want to use the [WebFonts+CSS method](/web/dig-deeper/webfont-vs-svg.md) of Font Awesome.
## Set-Up with Web Fonts
Inside the [Font Awesome Download](https://fontawesome.com/download) or [package](/web/setup/packages.md), you'll find the files you need. The `/css` folder contains the core styling and utilities for all of Font Awesome's [family and style options](/web/dig-deeper/styles.md). And the `/webfonts` folder contains all of the typeface files that the CSS files depend on.
| Which Files and Folders | What's in there |
| ----------------------- | -------------------------------------- |
| `/webfonts` | Icons as Web Fonts to be used with CSS |
| `/css` | CSS files for using Web Fonts |
### Add Font Awesome Files to Your Project
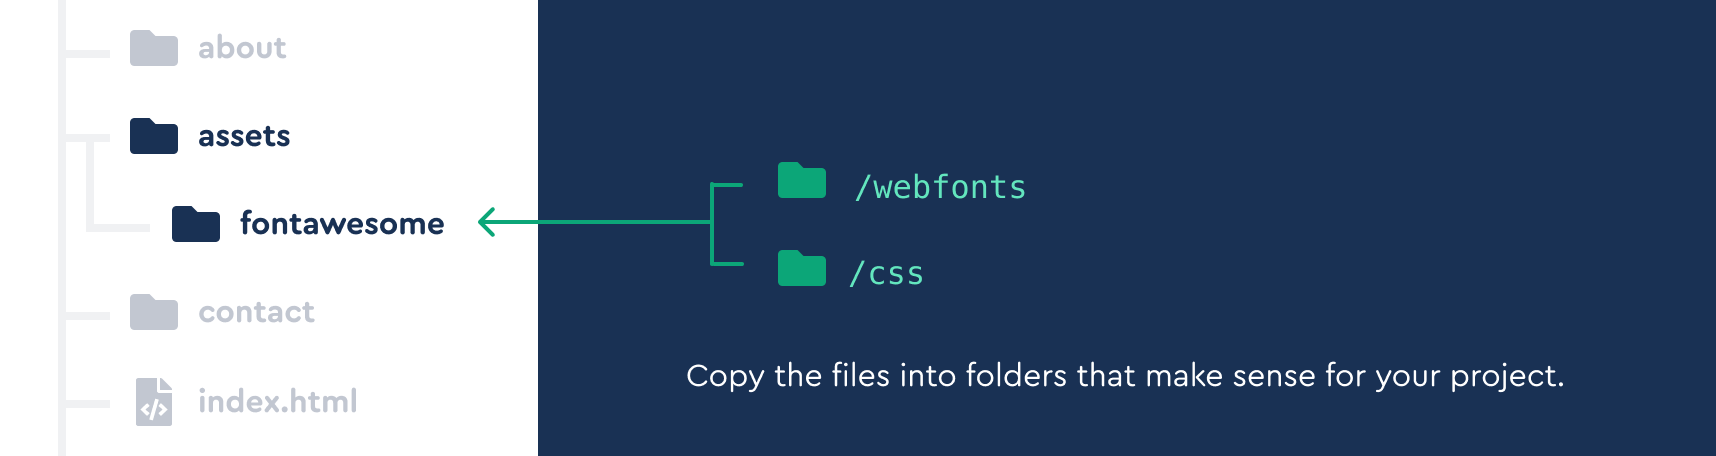
Copy both the `/webfonts` and the `/css` folders into your project's static assets directory (or wherever you prefer to keep front-end assets or vendor stuff). Be sure to include the core styling file - `/css/fontawesome.css` - as well as the CSS files for any individual styles you want to use, and you can remove any `.css` and web font files you don't plan on using.
Copy webfonts and CSS assets into one of your project directories
Here are tables that show which files go with which styles:
### Reference Font Awesome in Your Project
Link the core `fontawesome.css` file along with the CSS files for whichever styles you want to use into the `` of each template or page that you plan to add icons to. Make sure the paths correctly point to where you placed the files!
Here's an example html page with the file links in the `` and a few icons in the content.
```html
```
Double-Check Your Paths
Make sure the paths of the files you've included in your pages' `` point to where you've moved all of Font Awesome's files in your project.
### Yuss! You're Ready to Add Icons
Like Anakin said, it's woooorking! All of our [icons](https://fontawesome.com/icons) are now ready to do your project's bidding. [Learn how to add icons in your project](/web/add-icons/how-to.md) and then use their power to bring order and style to your UI!
---
### A Note About all.css
**TL;DR: All.css doesn't include "all" icons any more.**
In the `/css` folder, you may have noticed a file named `all.css`. This file contains only the icons in the Classic Solid, Regular, Light, Thin, Duotone Regular, and Brands styles plus the core styling and utilities to render them. Since we kept making so many icons, the `all.css` file got too big to fit all the styles. And since we **don't recommend such a big file for production sites**, it's best to just use the `.css` files for whichever styles you're using in your project.
## Hosting Your Own Downloaded Kit
Did you know you can download a Pro Kit and host it yourself? To download your Kit, make sure it's set to use Pro icons, then click the Download link on your Kit's page, download the "Host Yourself - Web Fonts", and follow the [instructions above for hosting yourself](#set-up-with-web-fonts).
### Custom Icons in Downloaded Kits
If you have custom icons in your Kit, they will be included in your Kit download. You'll find these additional files included in the download zip:
| Path to the files | What the files do |
| ----------------------------------------------- | ---------------------------------------------------------------------------------------- |
| `/css/custom-icons.css` | Handles the display of custom icons with Web Fonts |
| `/js/custom-icons.js` `/js/custom-icons.min.js` | Handles the display of custom icons with SVG+JS |
| `/sprites/custom-icons.svg` | All your custom icons in one [SVG sprite](/web/add-icons/svg-sprites.md) |
| `/svgs/custom-icons/` | Folder containing all your custom icons as SVGs |
| `/webfonts/custom-icons.woff2` | Custom icon font in WOFF2 format |
| `/scss/custom-icons.scss` | Sass (SCSS) Preprocessor partials that handle the display of custom icons with Web Fonts |
These files will work the same as the Font Awesome files and assets. And if you are using `all.js` or `all.css`, your custom icons will be included in those, though for performance reasons, we recommend adding just the files you are using in your project.
Here's an example project using Sharp Solid and custom icons from a downloaded Kit:
```html
```
---
## Upgrading from an Older Version?
For most projects, we've got you covered with [backward compatibility](/upgrade/whats-changed.md#backward-compatibility) so you won't have to update any icon names in your project - we'll translate any older version icon names, style syntax, and CSS pseudo-element icon references automatically.
But there are other changes that might affect your project from version to version, be sure to [check out our upgrading guides](/upgrade/whats-changed.md) to get all the details on upgrading an existing project using [v6](/upgrade/whats-changed.md) or [older versions](/upgrade/upgrade-from-older-versions.md) to a newer version of Font Awesome.
 Copy webfonts and CSS assets into one of your project directories
Here are tables that show which files go with which styles:
### Reference Font Awesome in Your Project
Link the core `fontawesome.css` file along with the CSS files for whichever styles you want to use into the `` of each template or page that you plan to add icons to. Make sure the paths correctly point to where you placed the files!
Here's an example html page with the file links in the `` and a few icons in the content.
```html
```
Copy webfonts and CSS assets into one of your project directories
Here are tables that show which files go with which styles:
### Reference Font Awesome in Your Project
Link the core `fontawesome.css` file along with the CSS files for whichever styles you want to use into the `` of each template or page that you plan to add icons to. Make sure the paths correctly point to where you placed the files!
Here's an example html page with the file links in the `` and a few icons in the content.
```html
```