Use Glyphs
Since Font Awesome was released, we’ve supported copy and pasting glyphs of our icons into your favorite desktop apps. It’s become the default way many designers and folks use our icons while working. Here’s how to do it.
Open a Document in Your Desktop App
Section titled “Open a Document in Your Desktop App”After completing the steps in getting started, open a new or existing document in the Desktop app you want to use Font Awesome icons in. We’ll use a new document in Sketch App for the walkthrough below.
Create a New Text Layer
Section titled “Create a New Text Layer”However your app allows you, create a new layer or text block to insert text into.
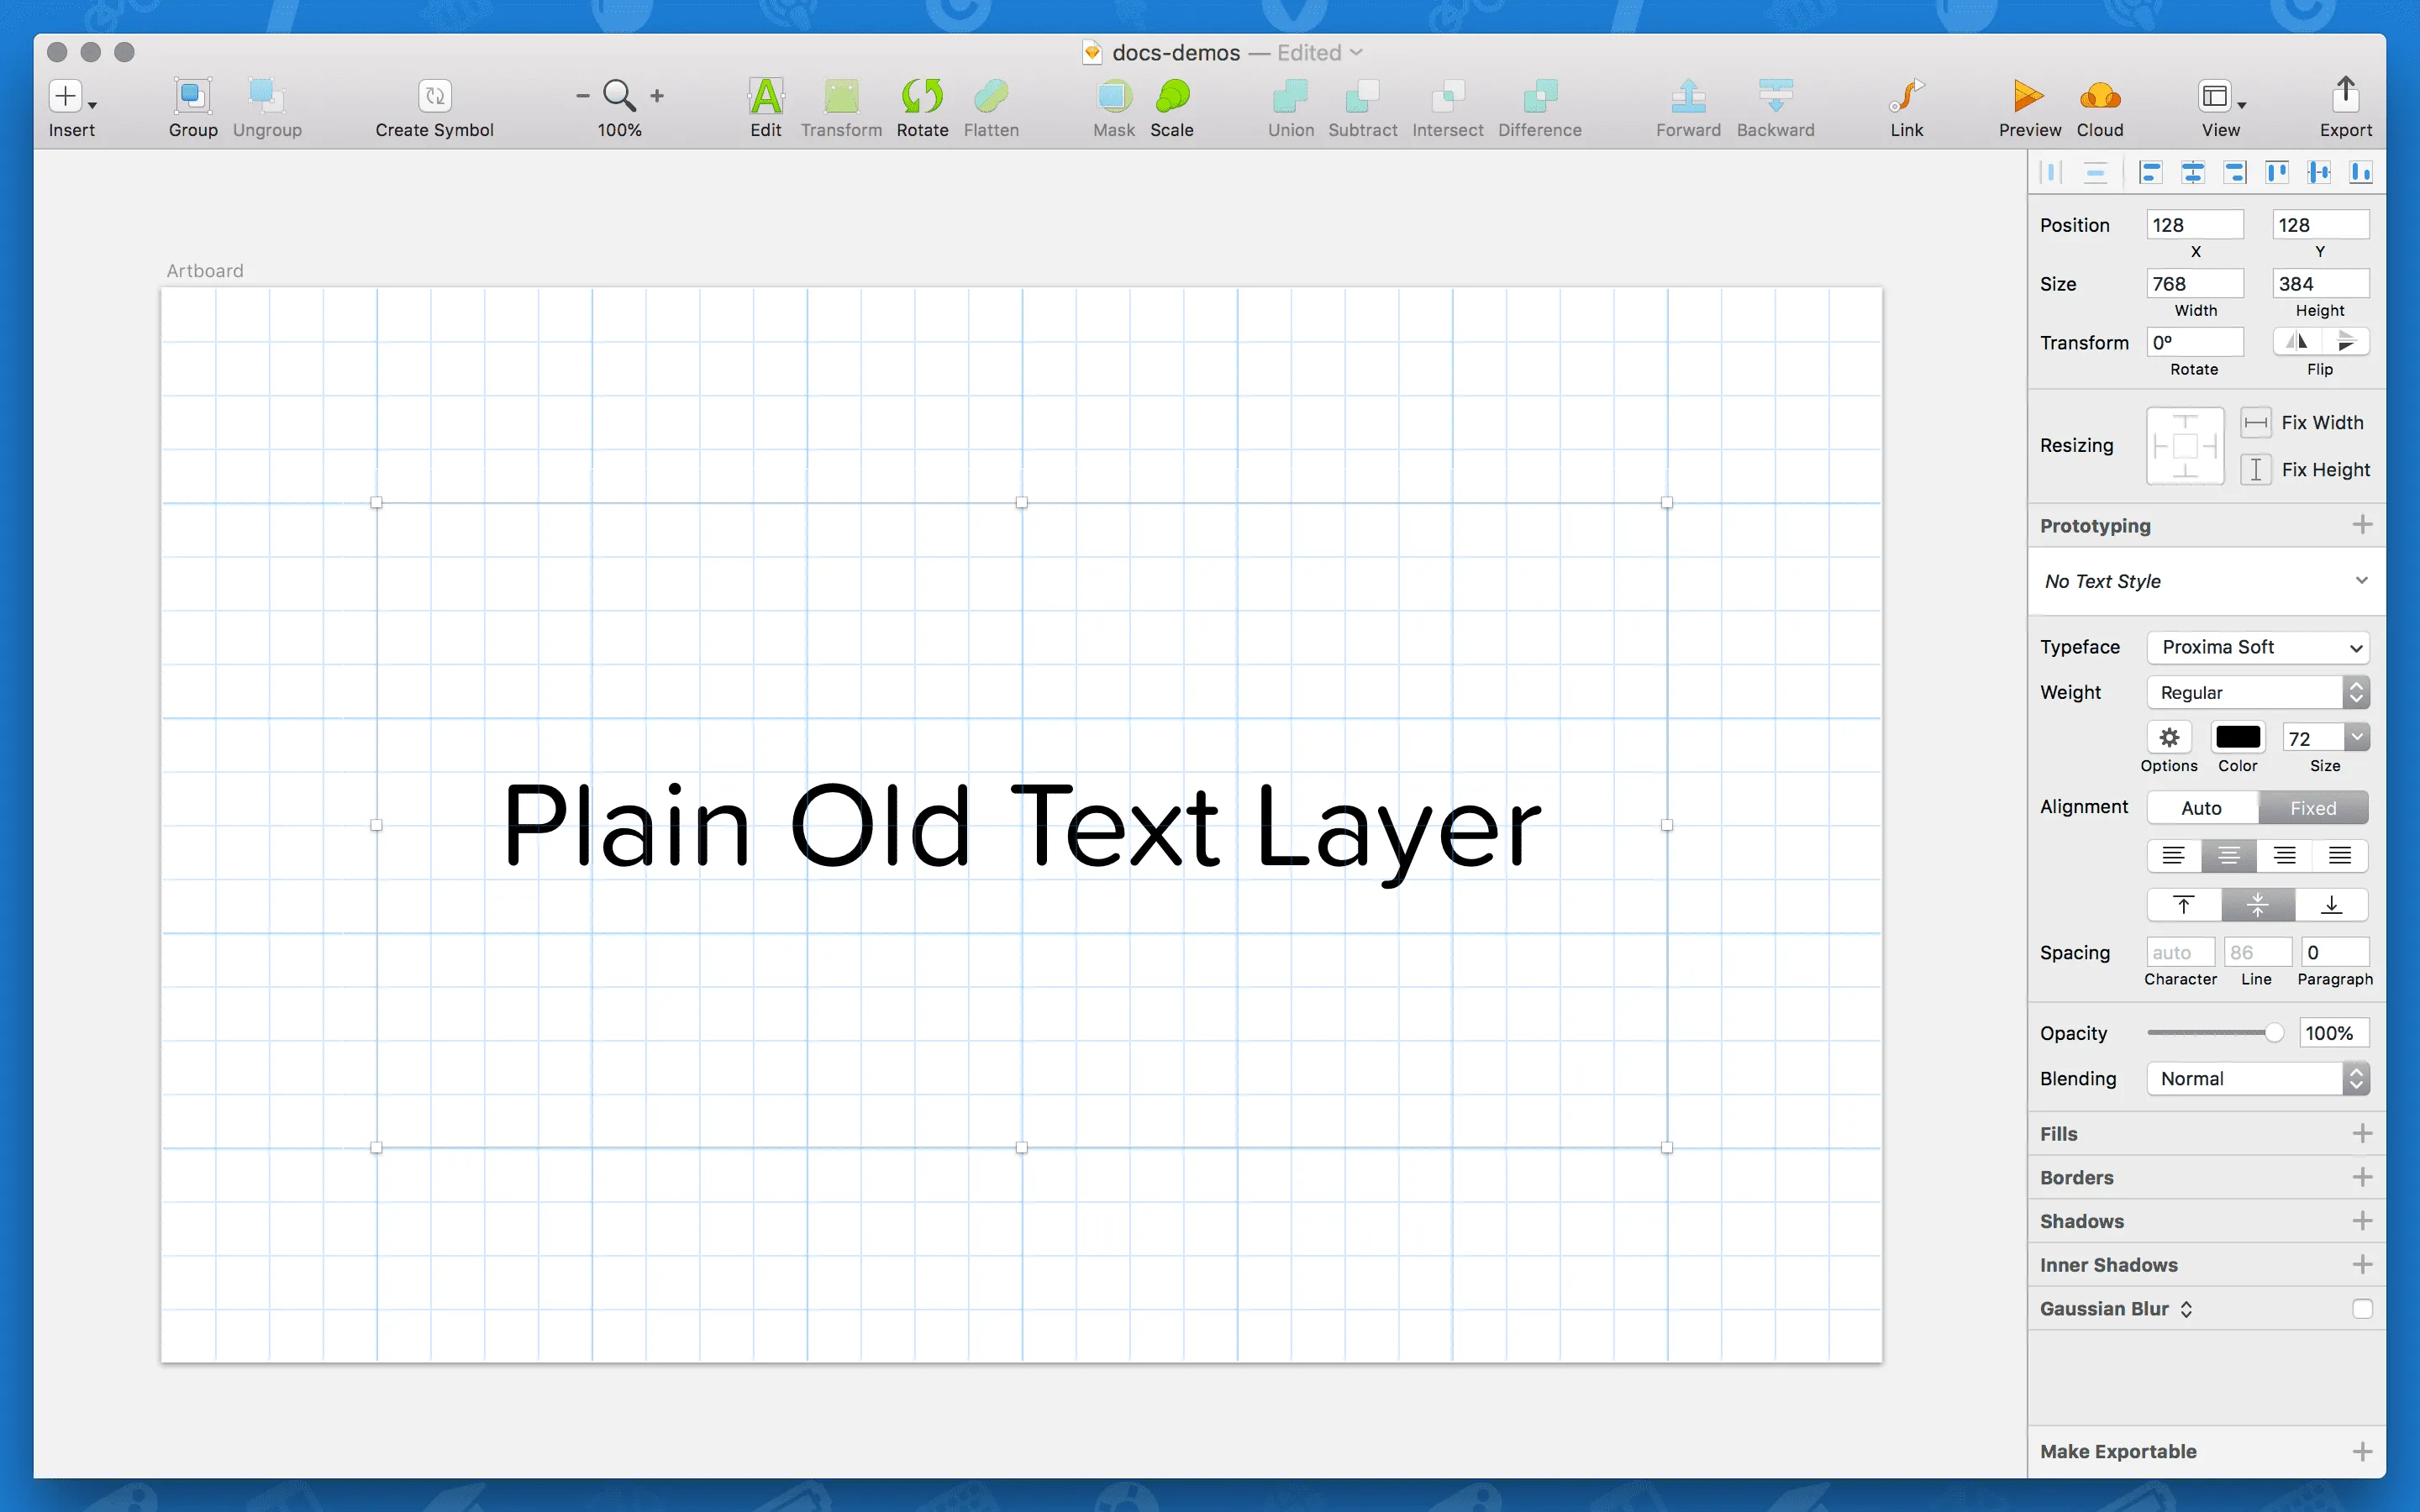
Set the Font/Typeface to Font Awesome 5
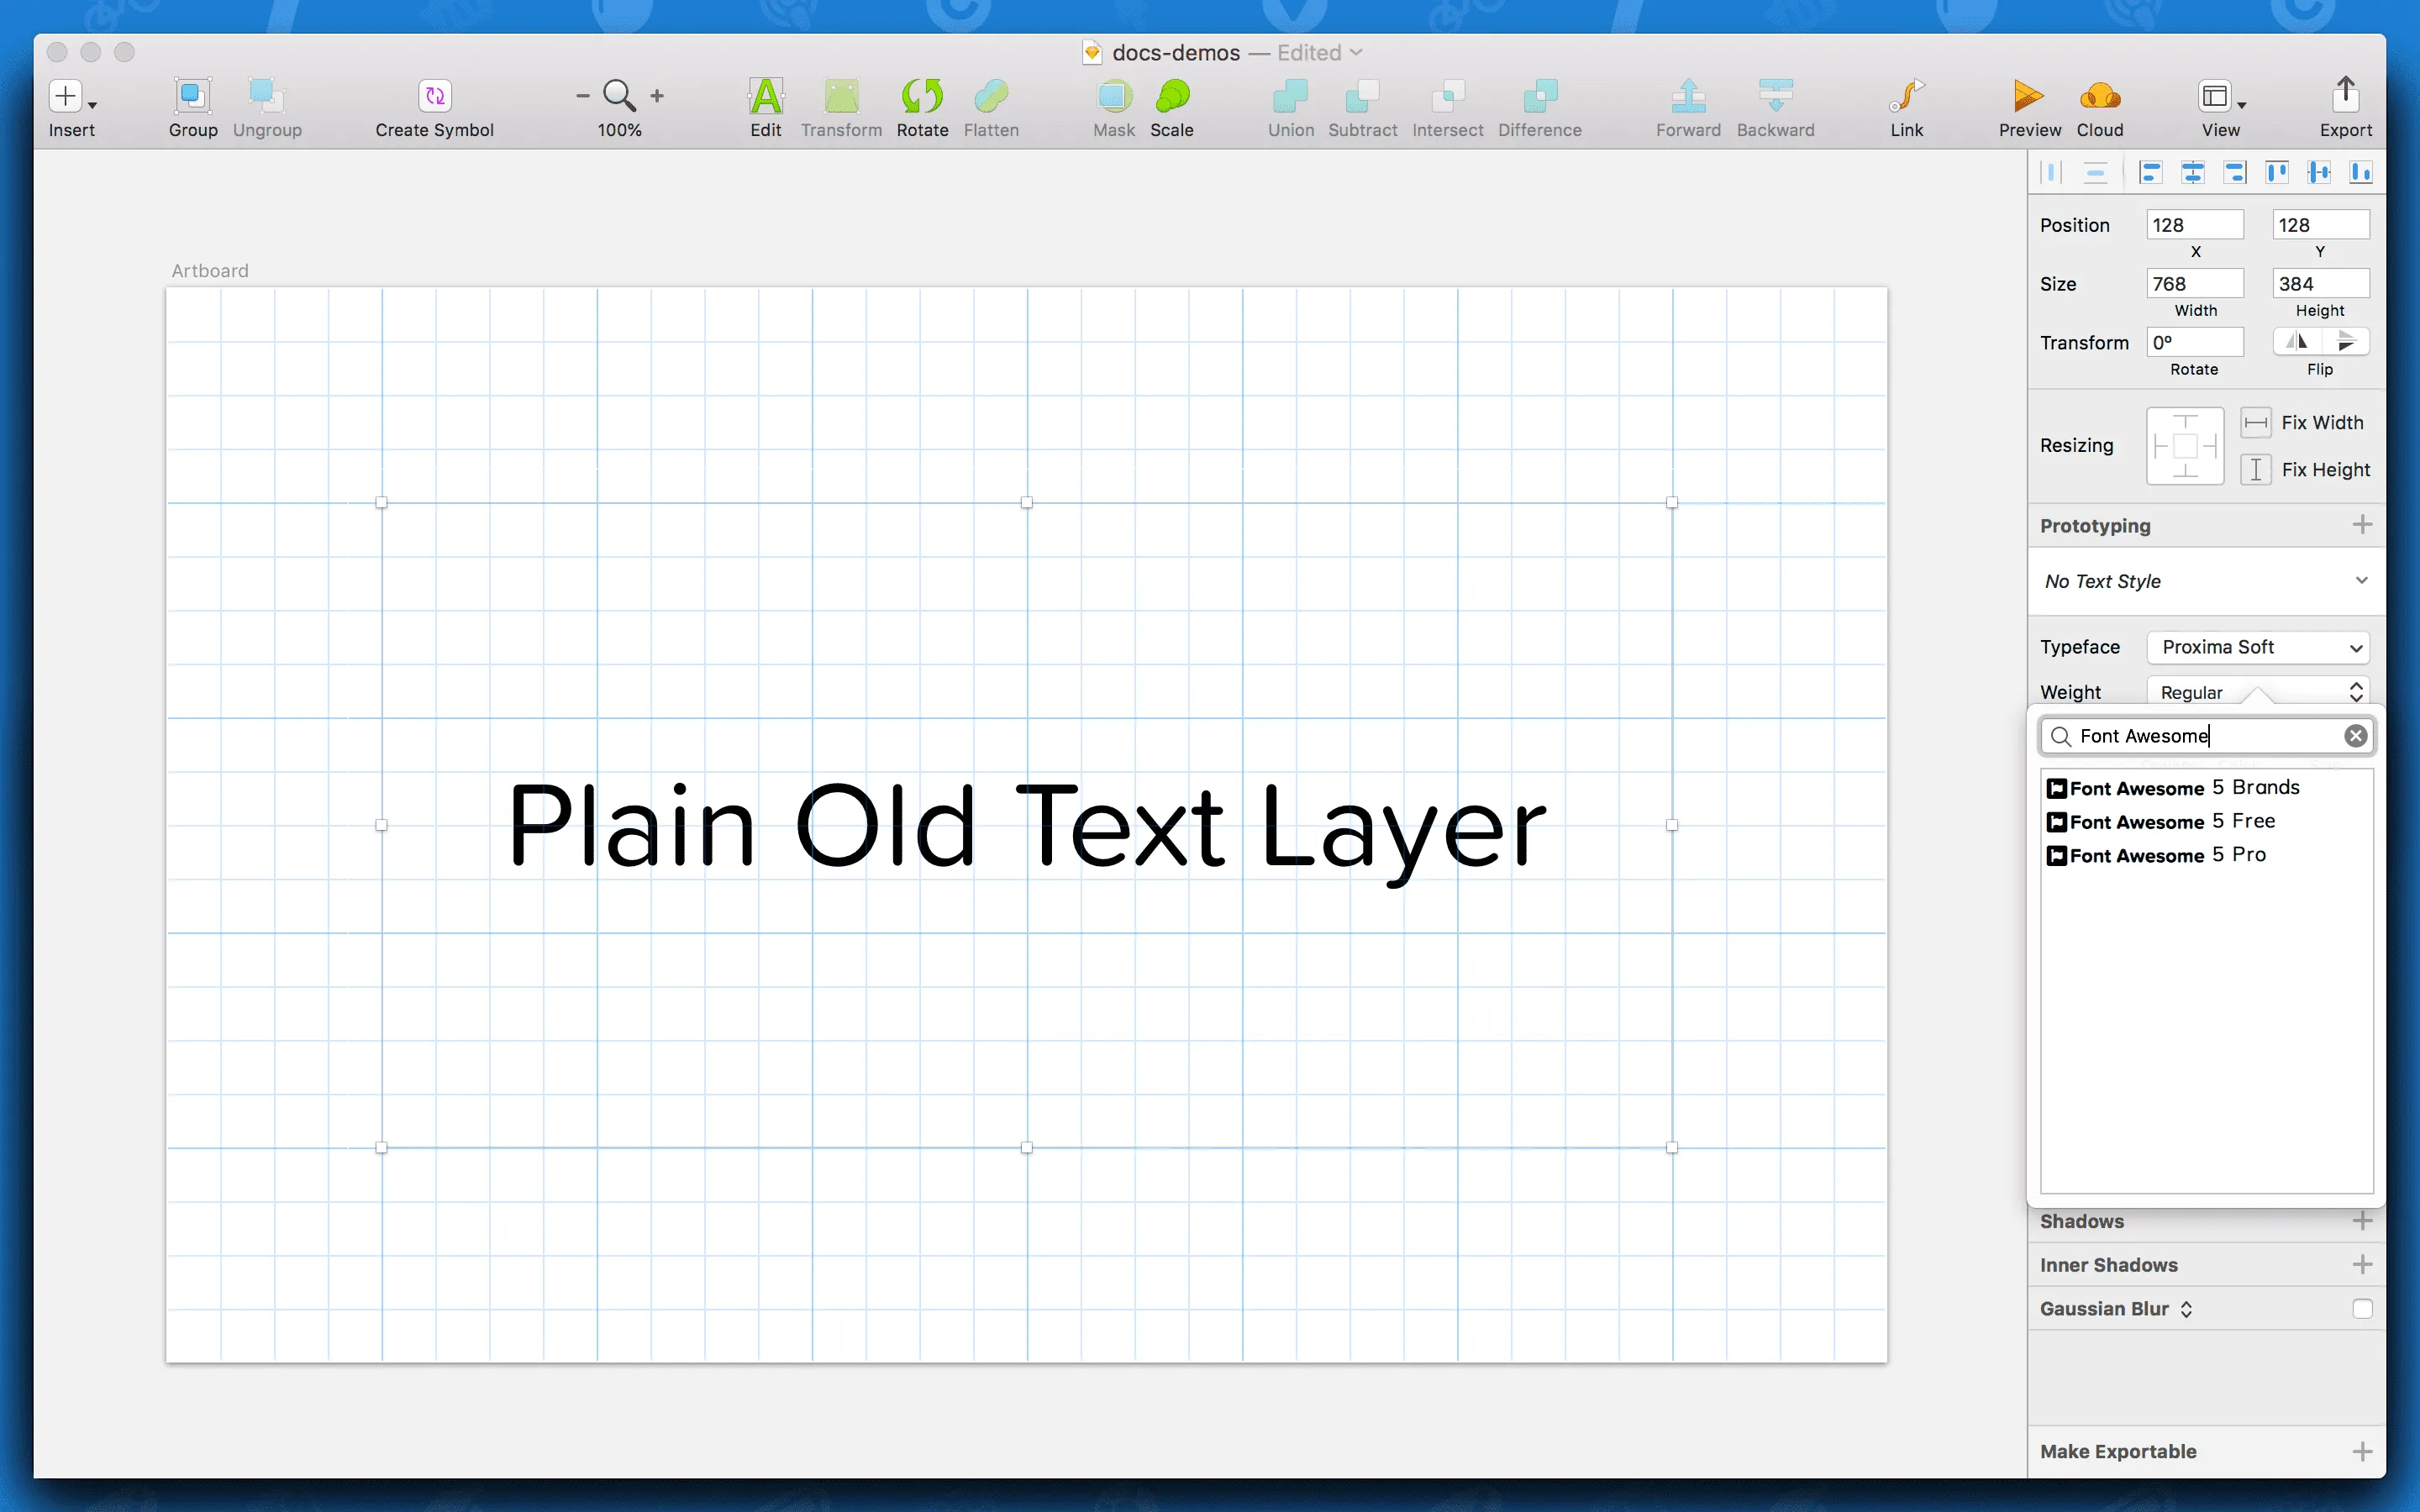
Section titled “Set the Font/Typeface to Font Awesome 5”Next, using your app’s font/typeface selector, find and select “Font Awesome 5 Free” or “Font Awesome 5 Pro” as the one you want to use for the current text layer/block. Remember, if you want to insert a brand icon, choose the “Font Awesome 5 Brands” font/typeface.
Copy an Icon’s Glyph
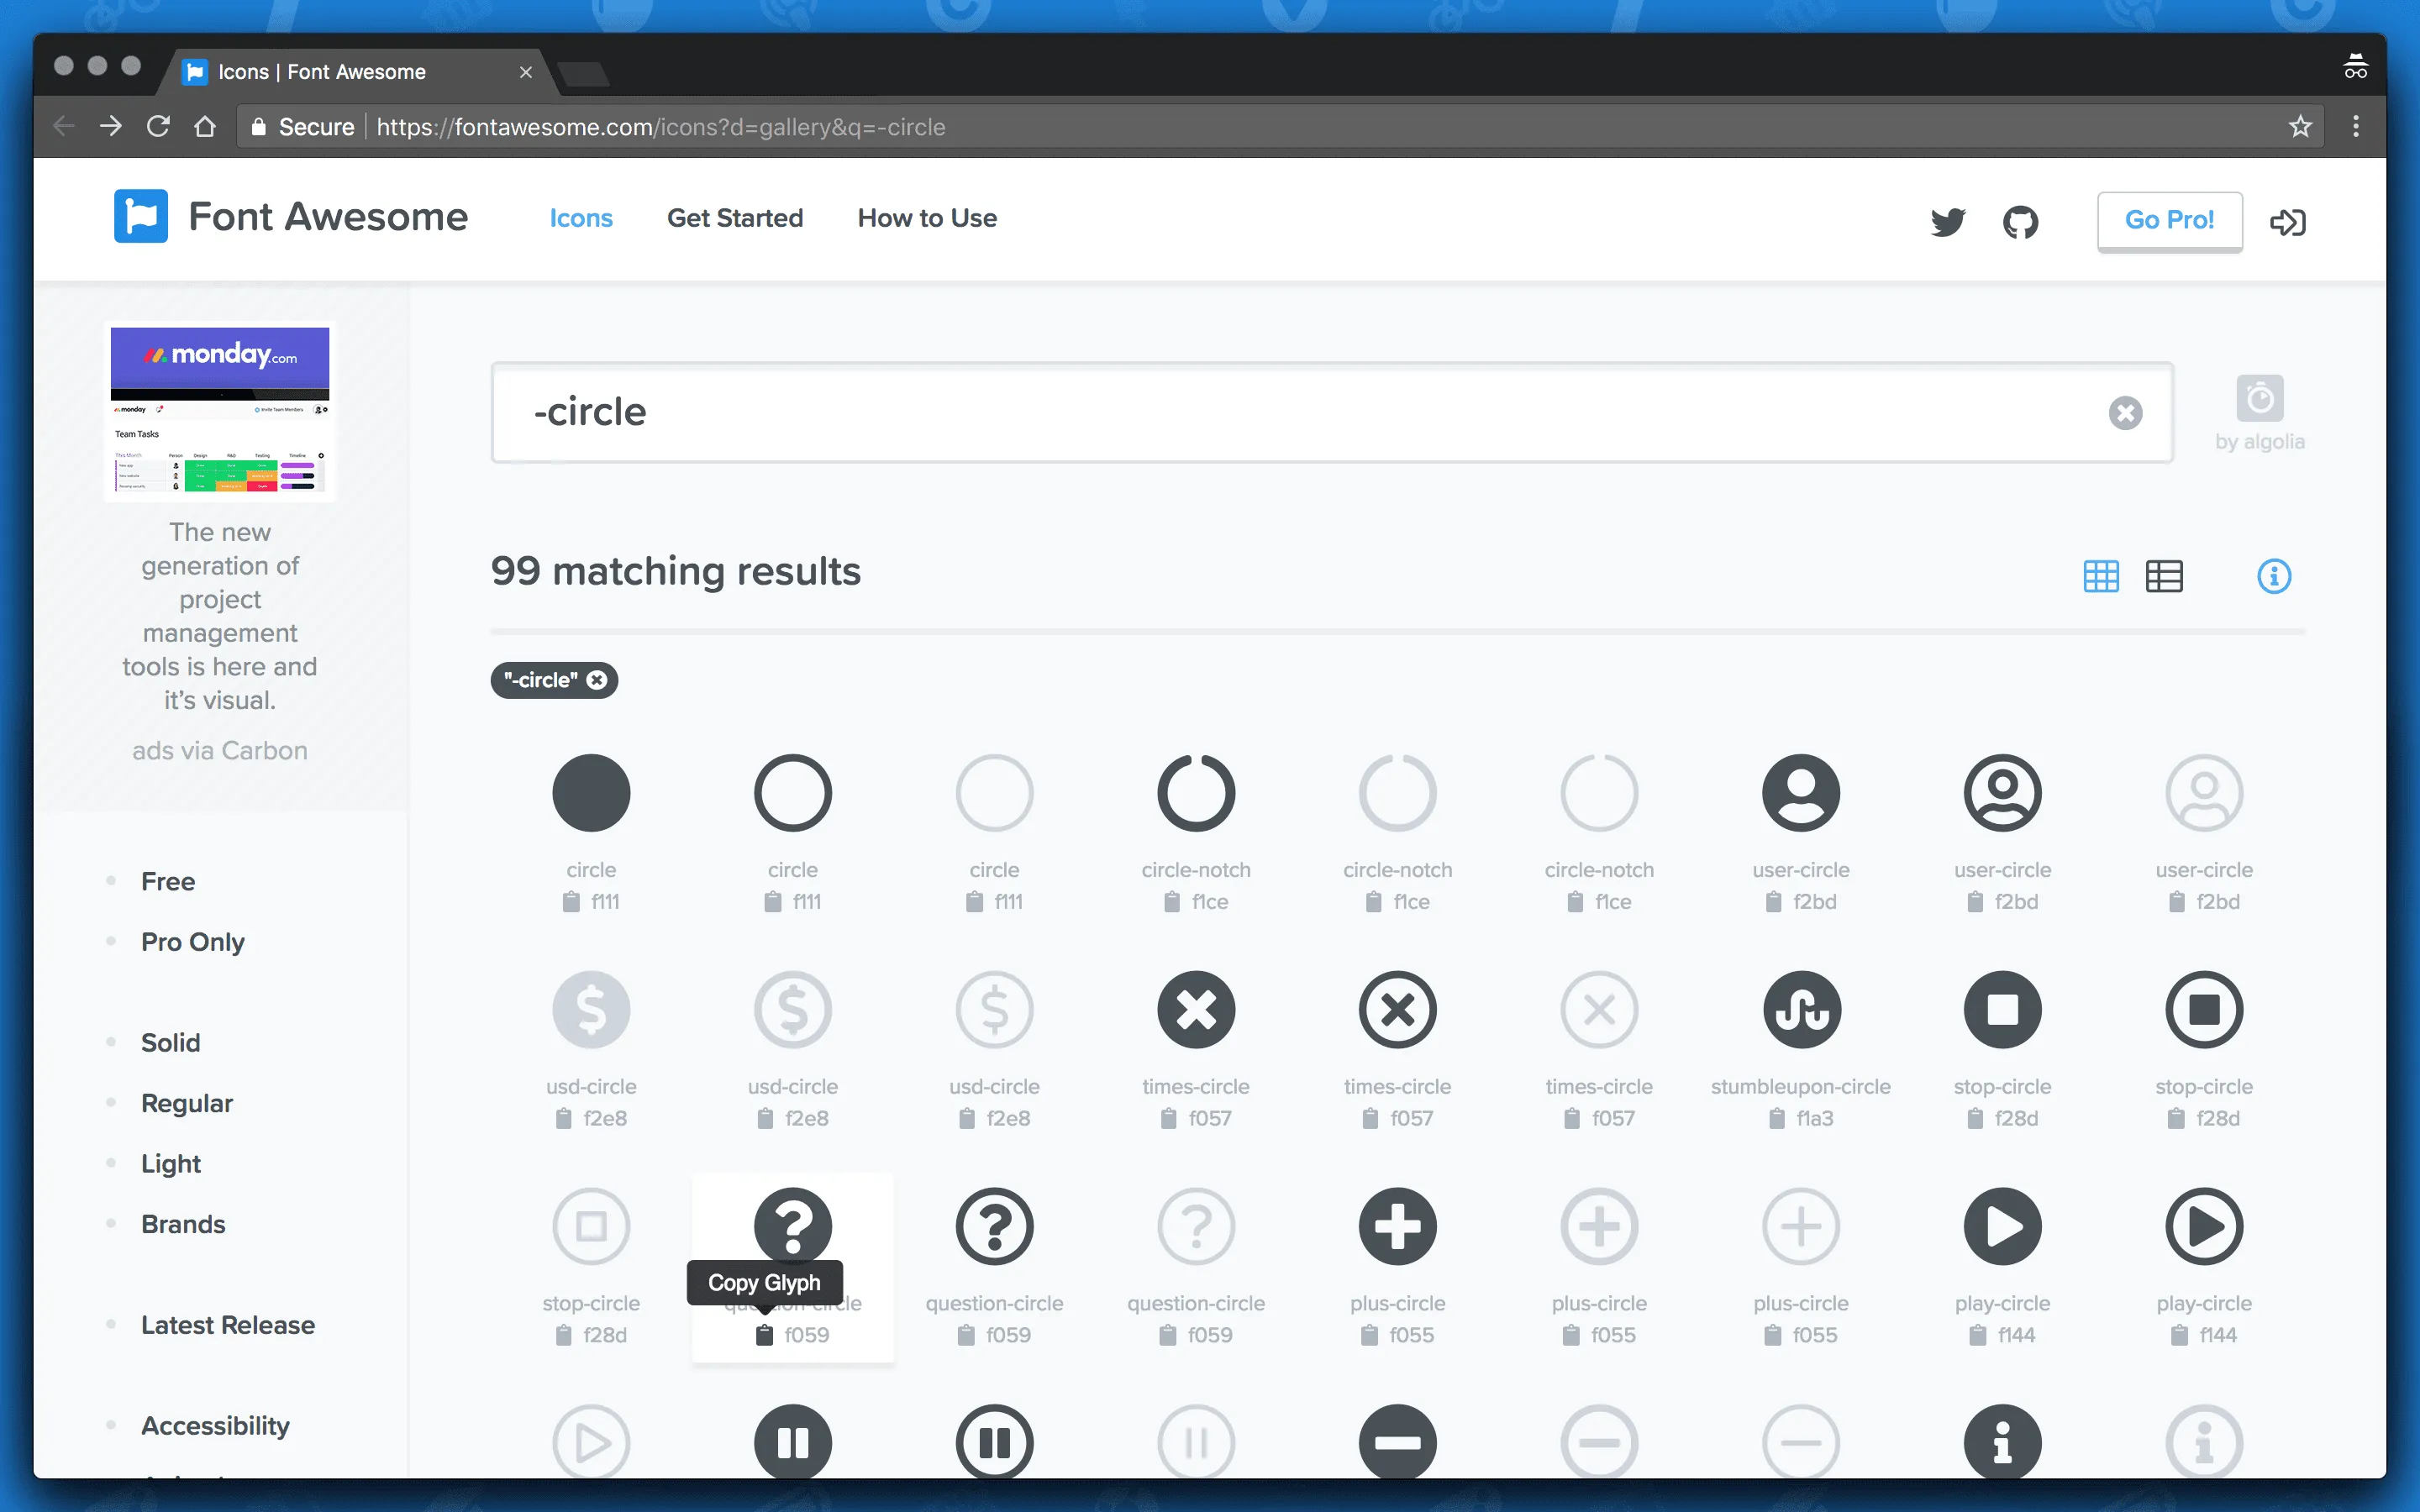
Section titled “Copy an Icon’s Glyph”Next, you’re all set to reference the icon you want to use. First, find the icon and copy its glyph to your clipboard. We’ve got a couple of places, like on our icon gallery (with cheatsheet details turned on), any icon’s details page, or our fan-favorite cheatsheet you can find those around the site.
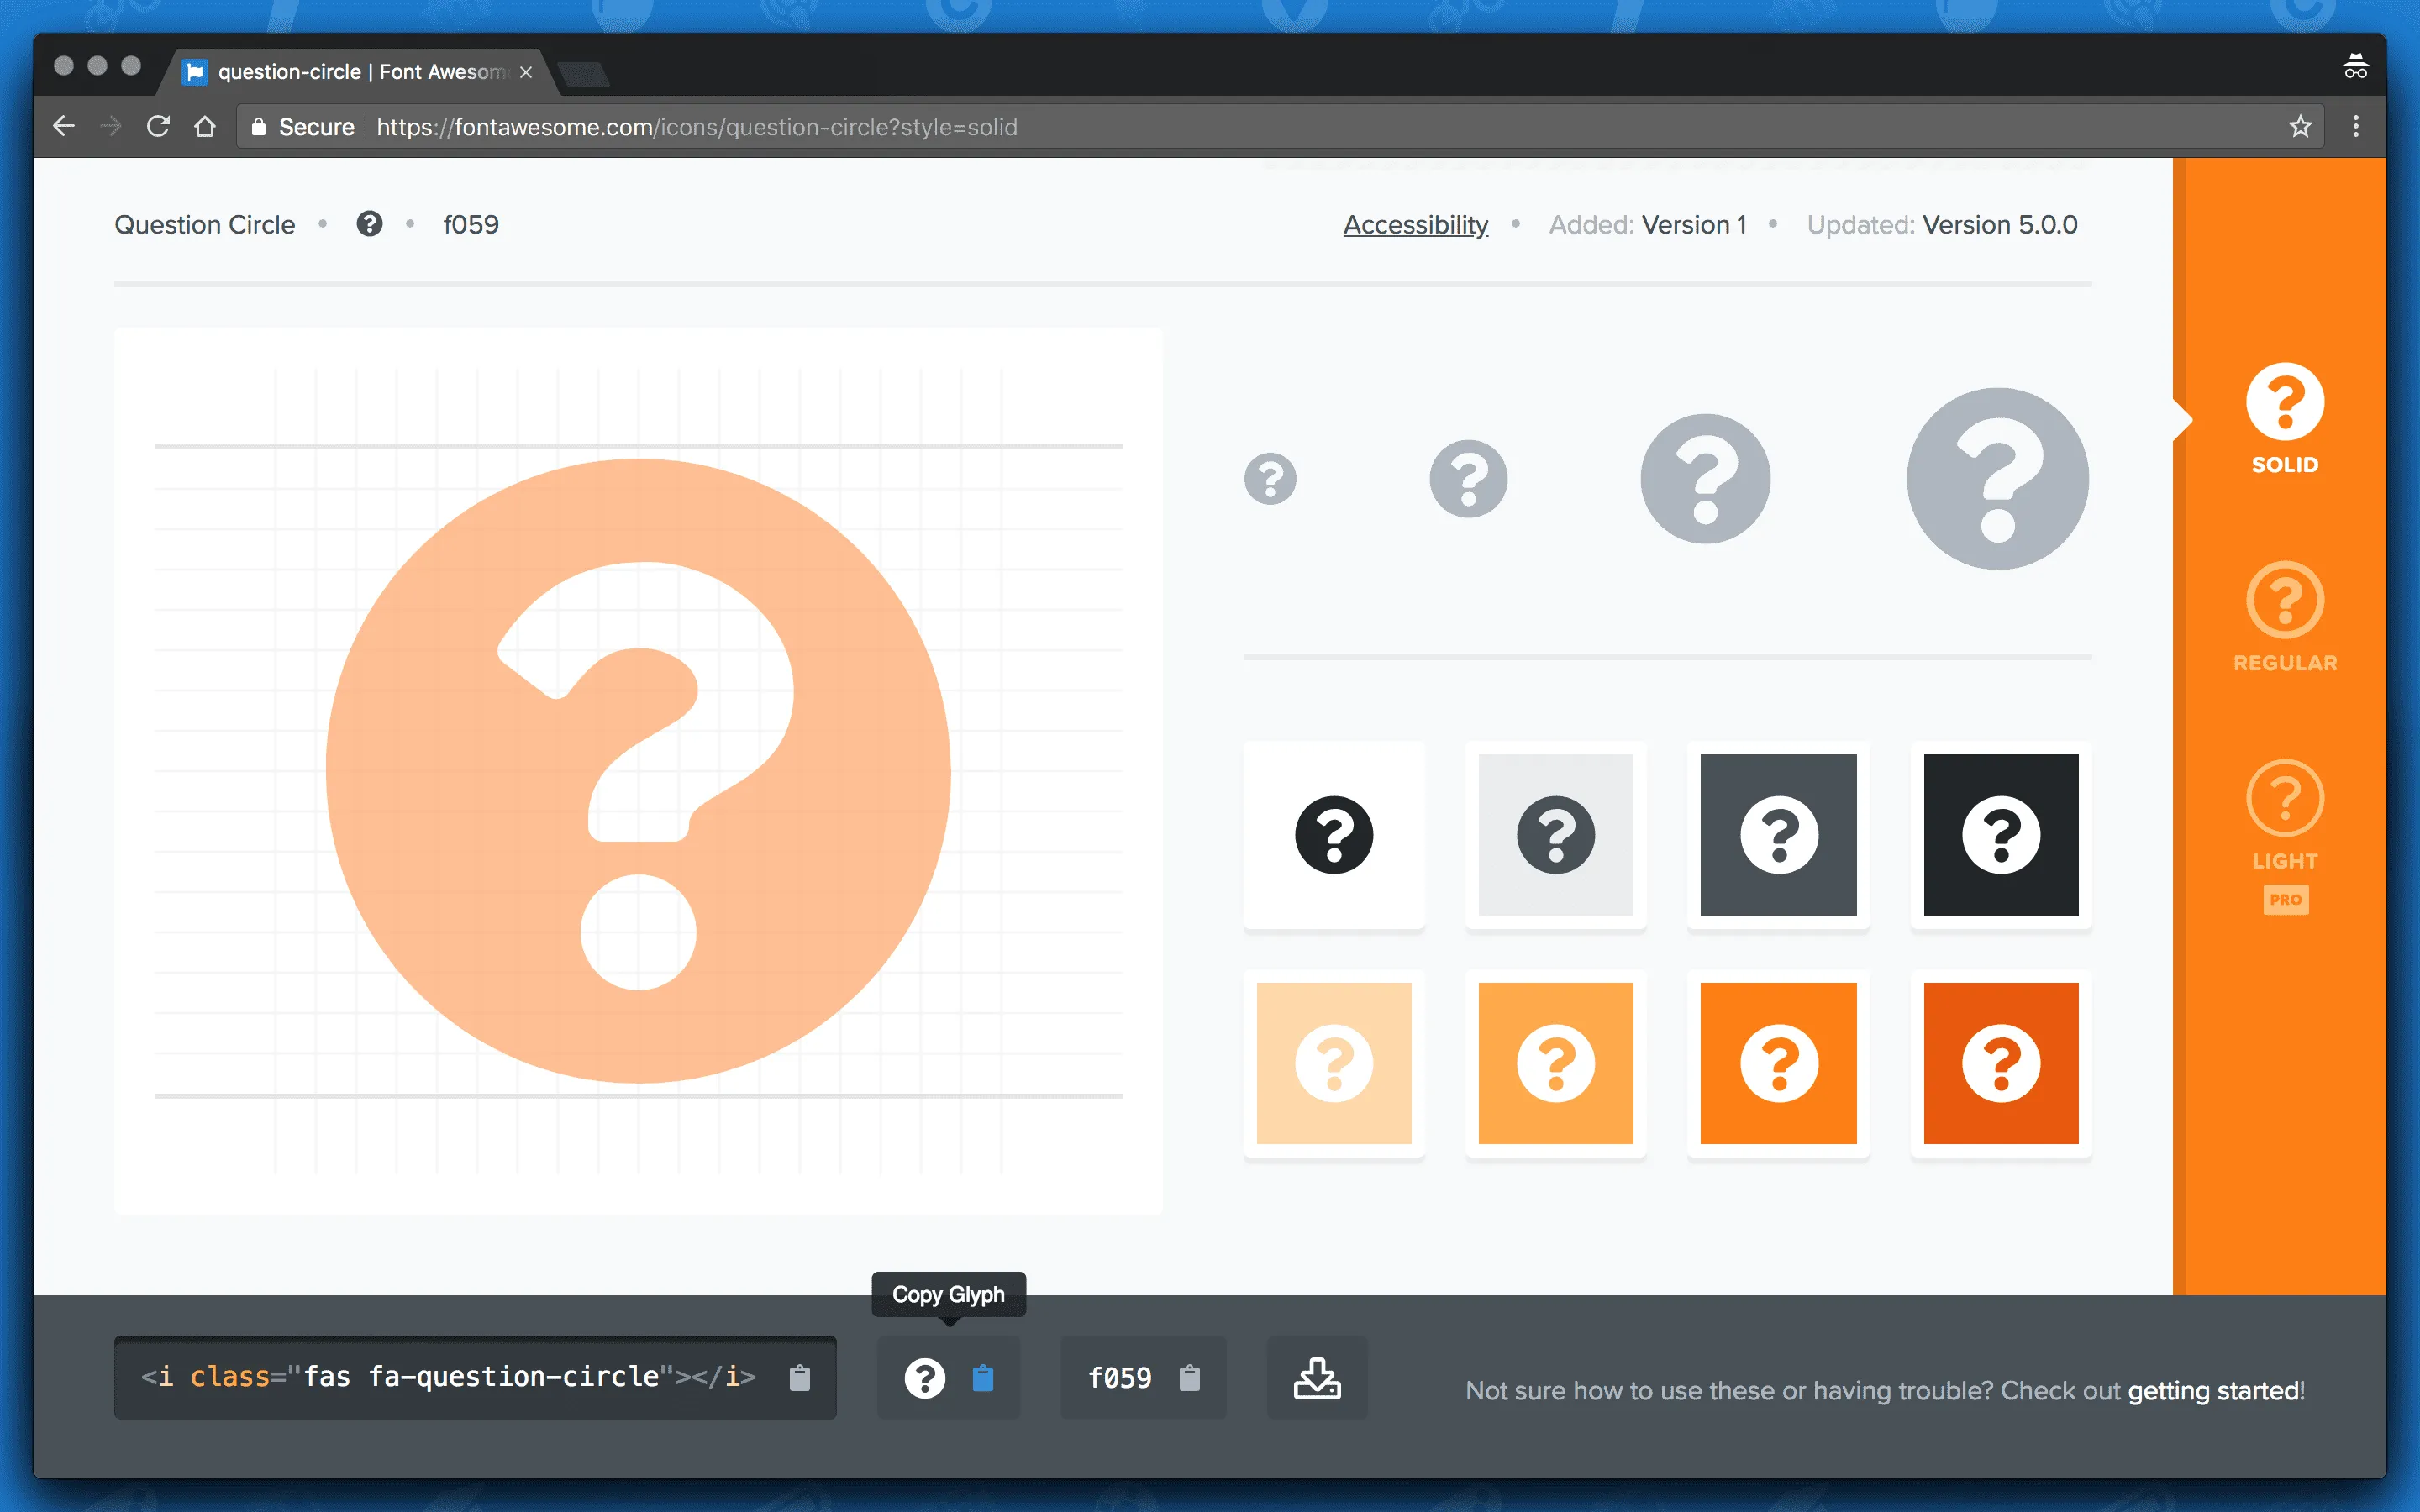
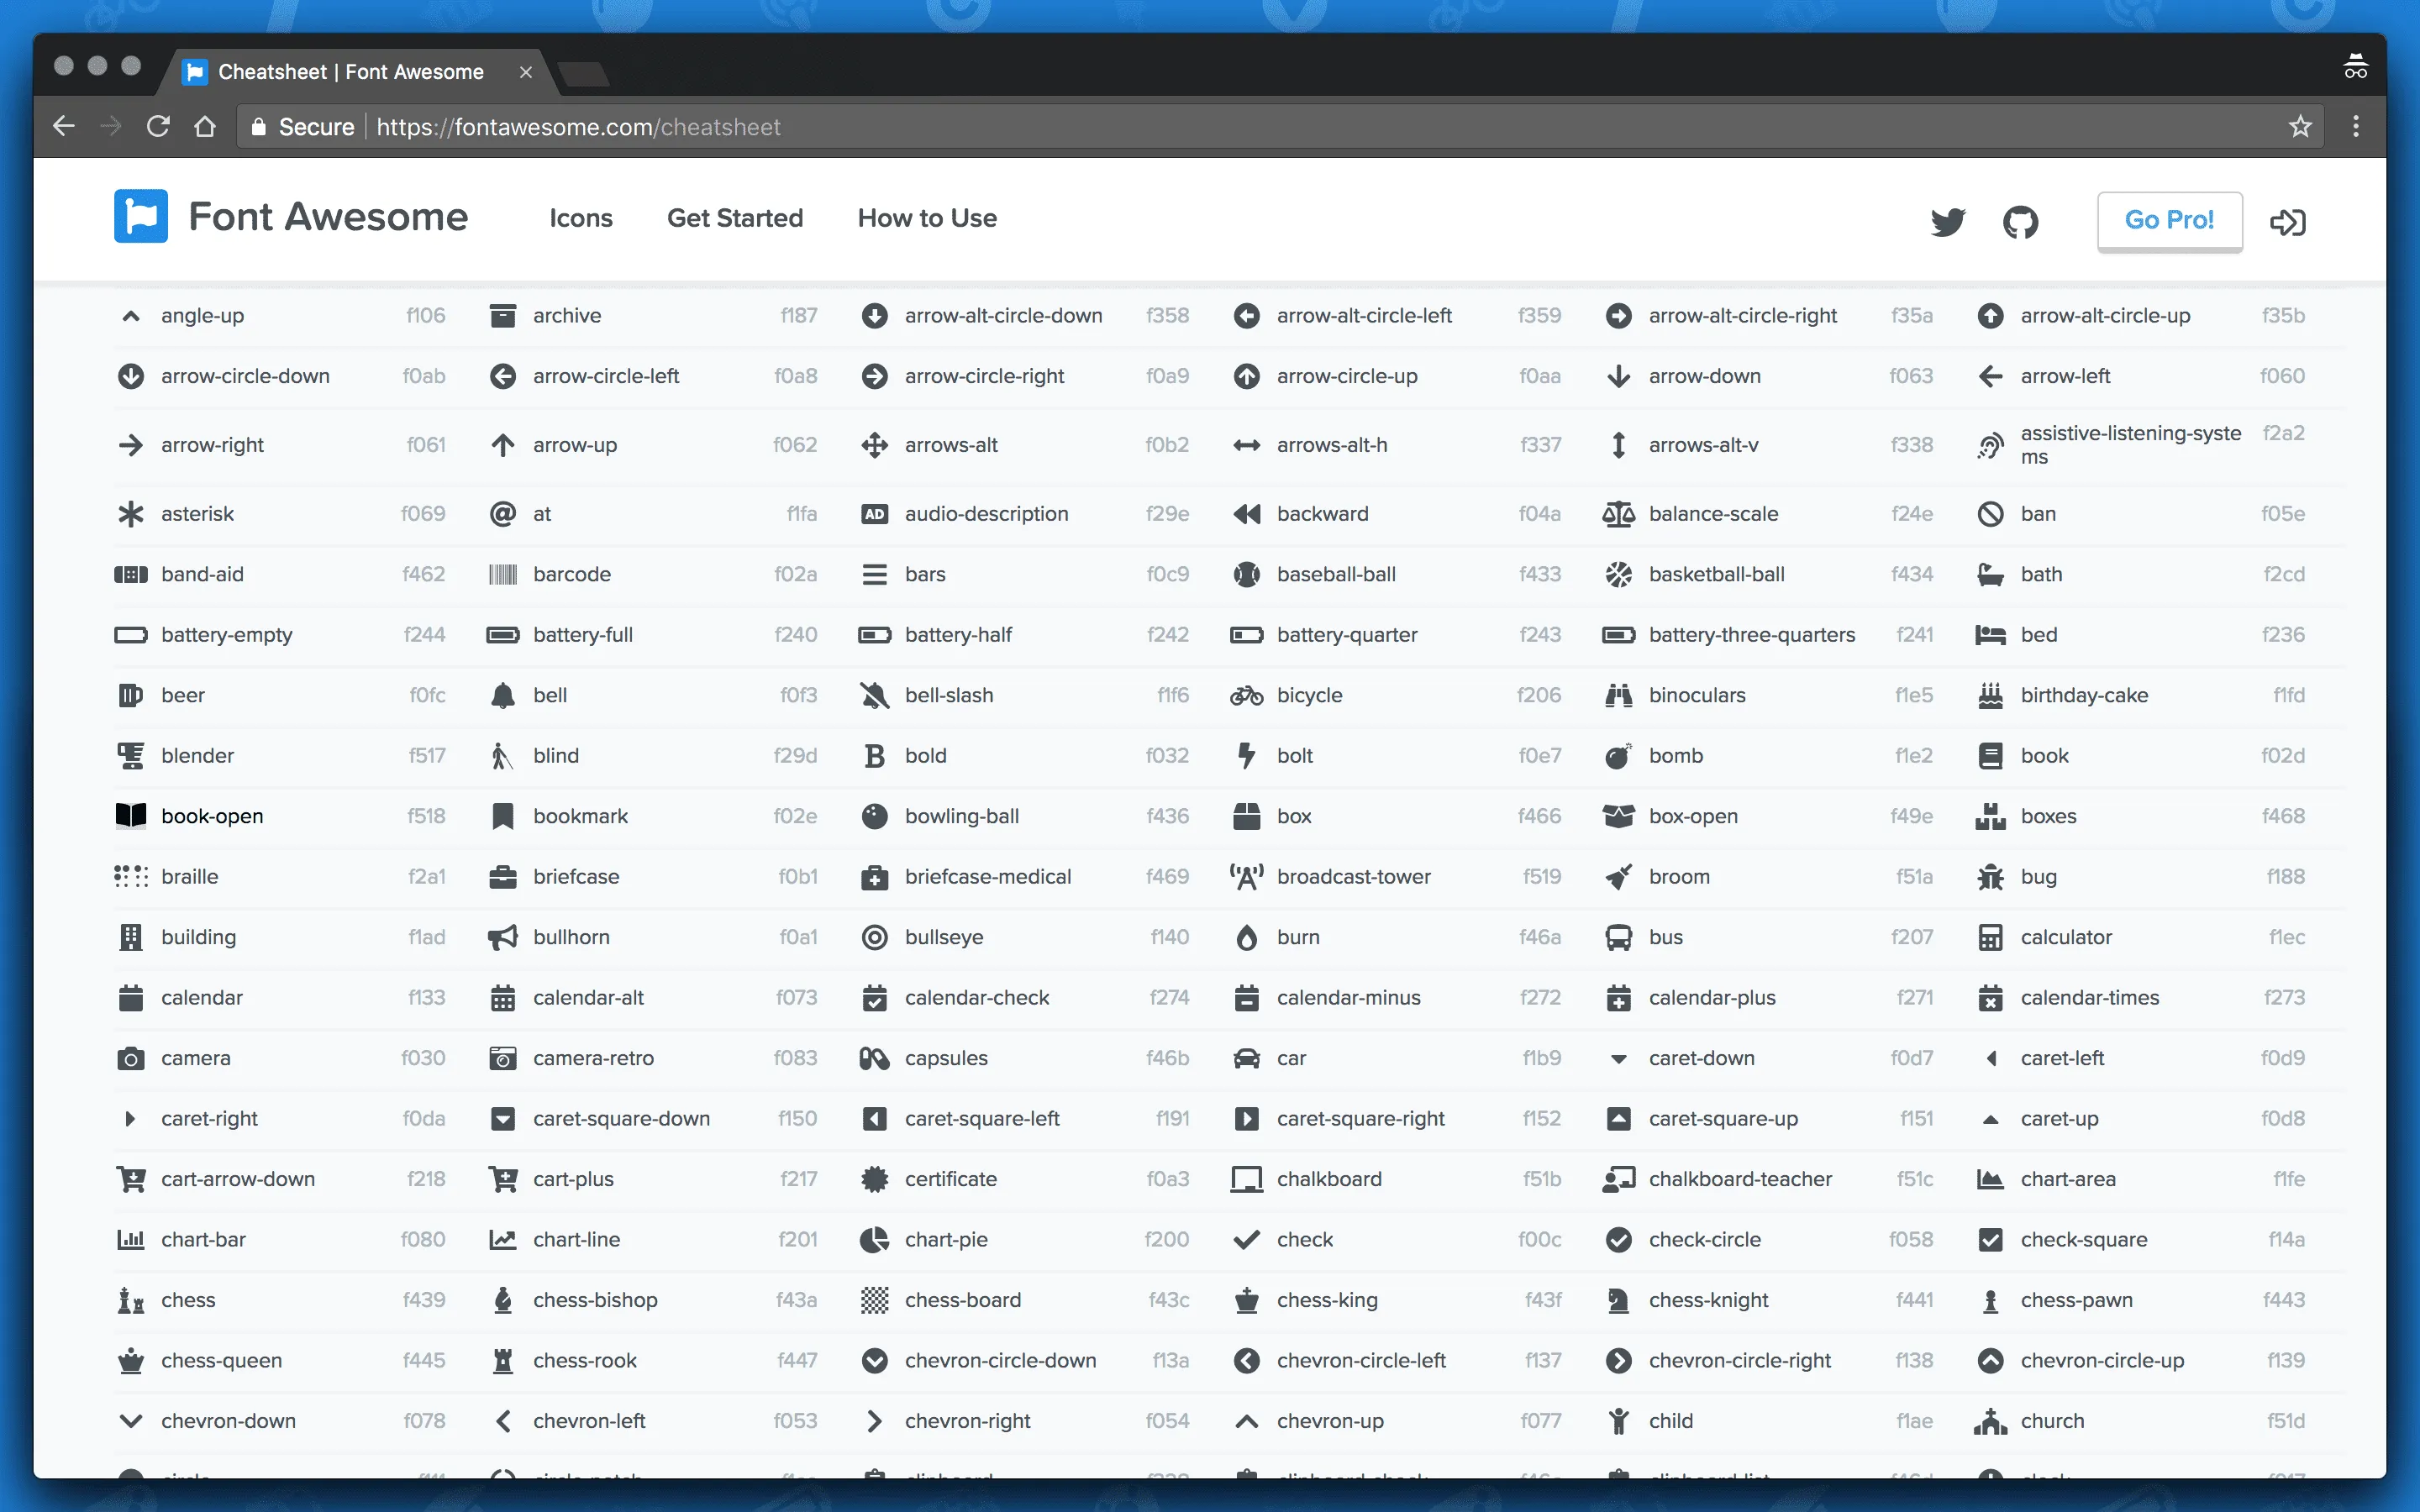
Then, paste the glyph of that icon into the text layer you’ve created.
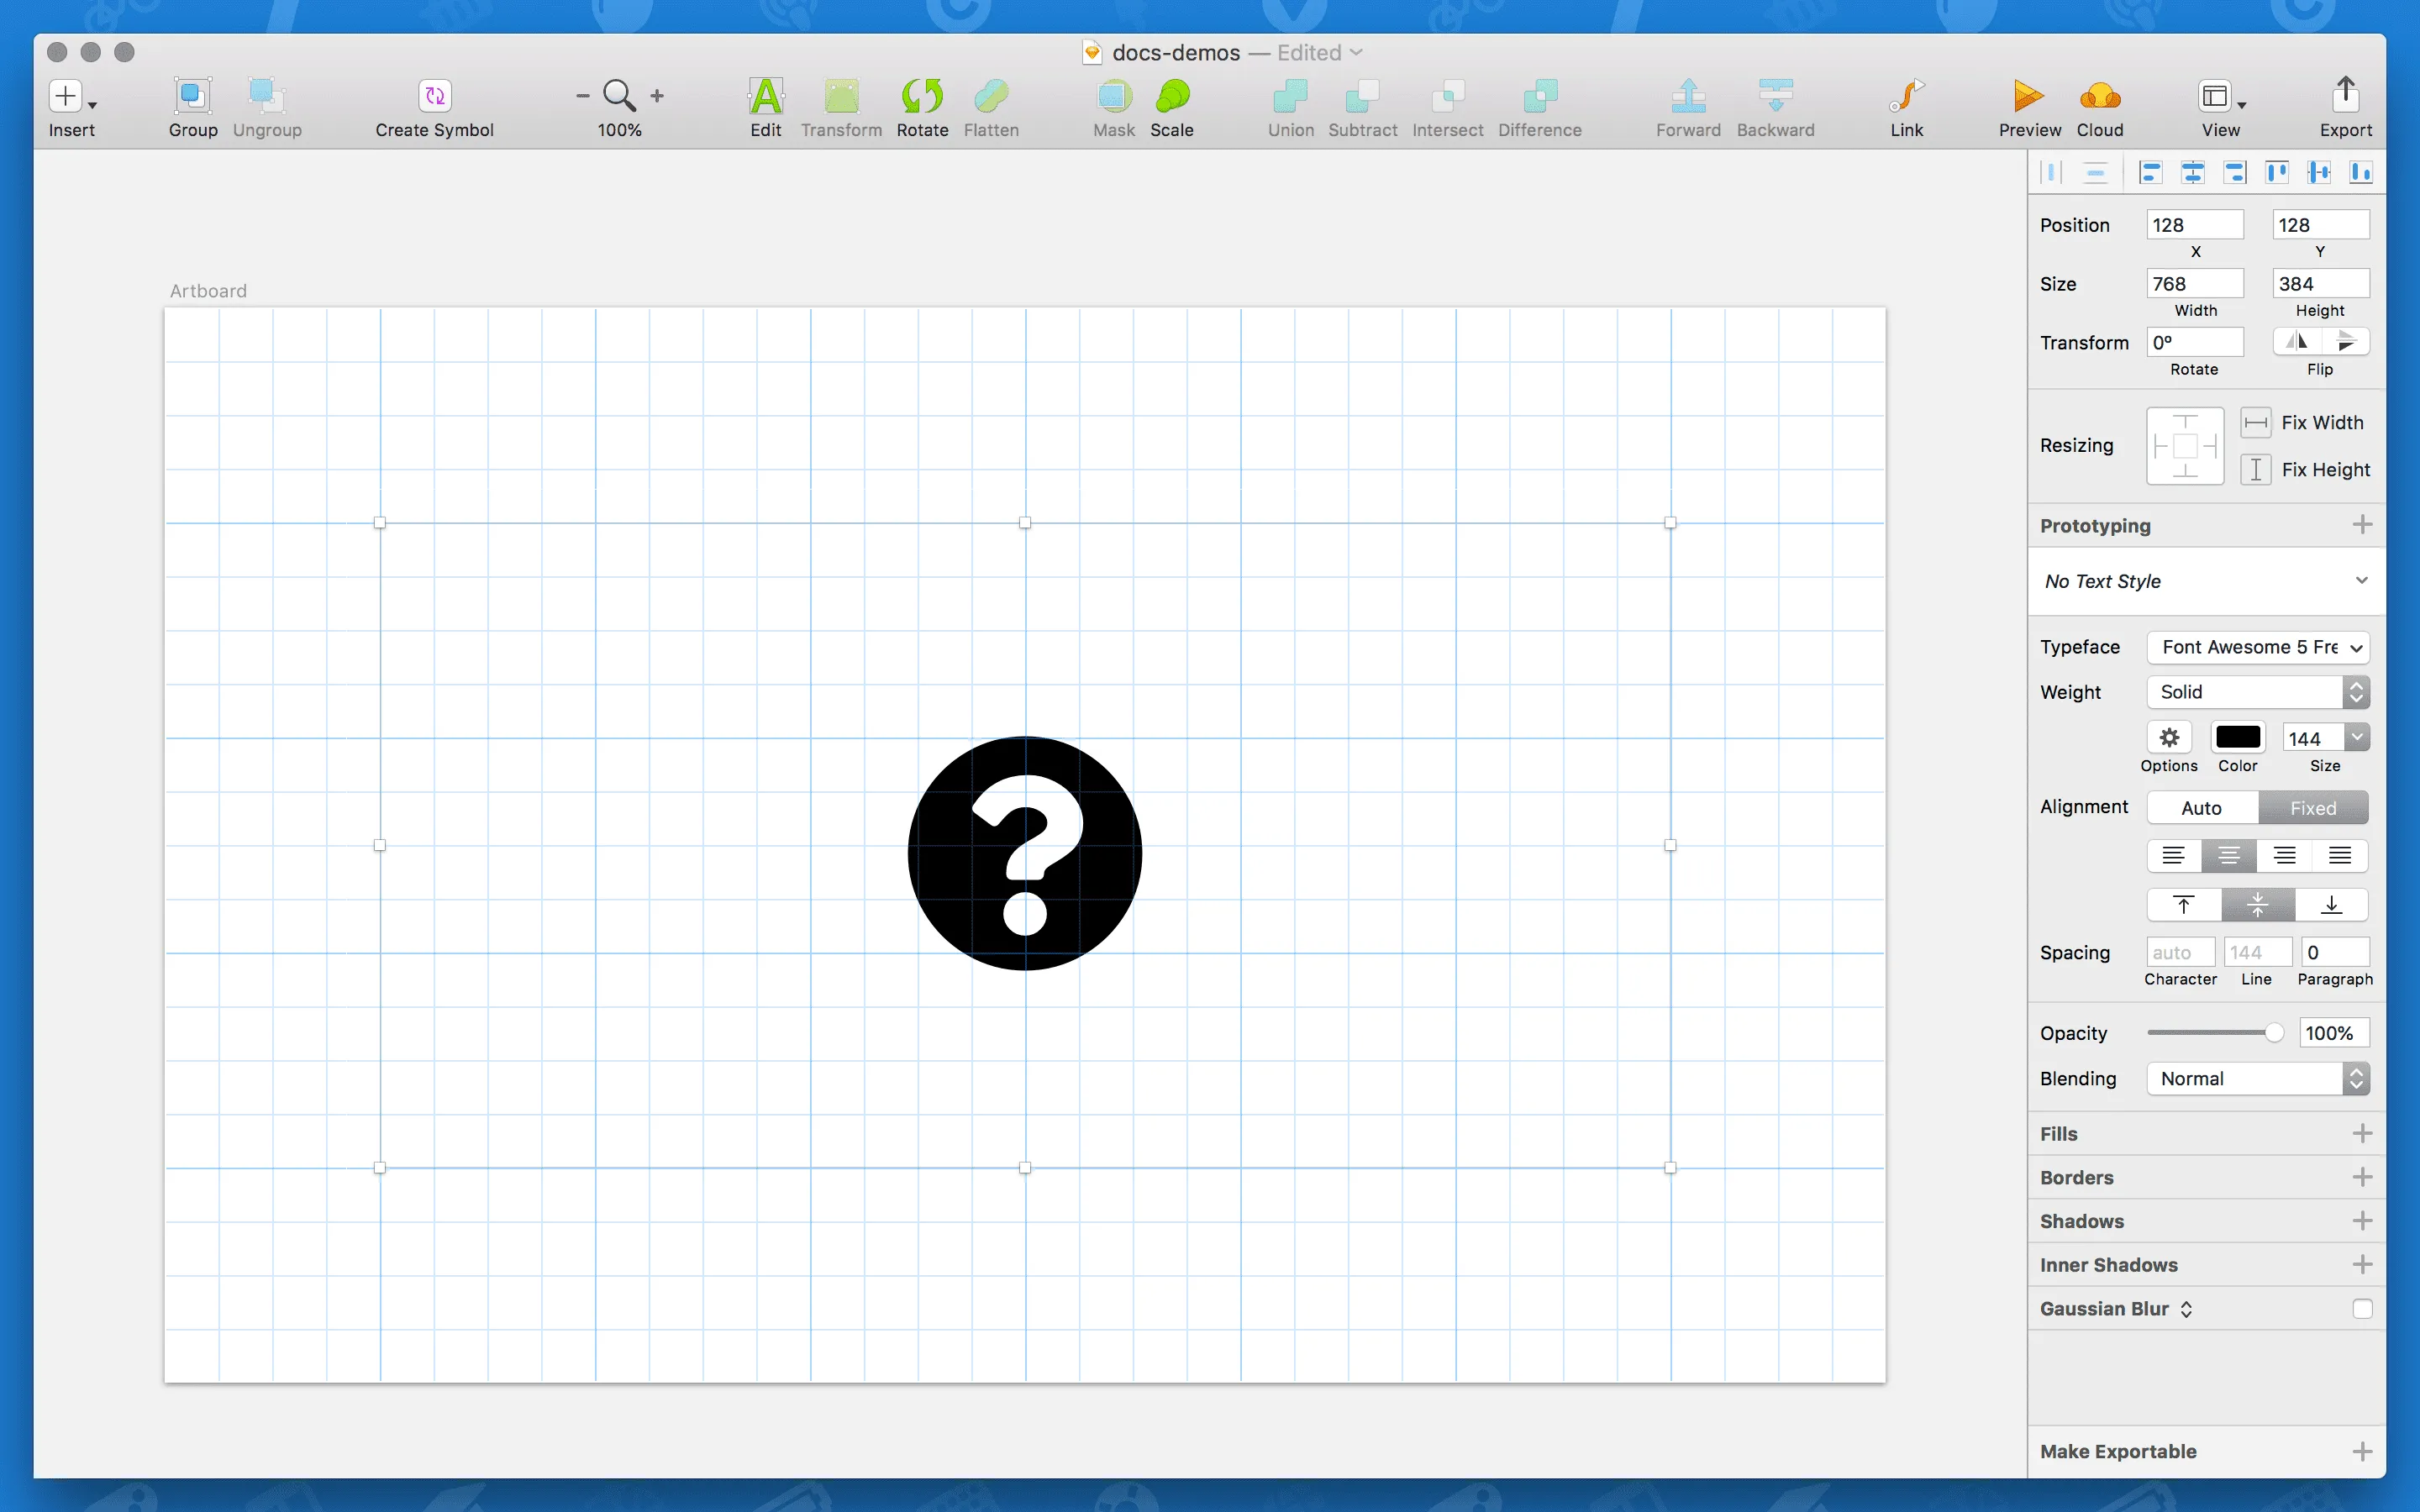
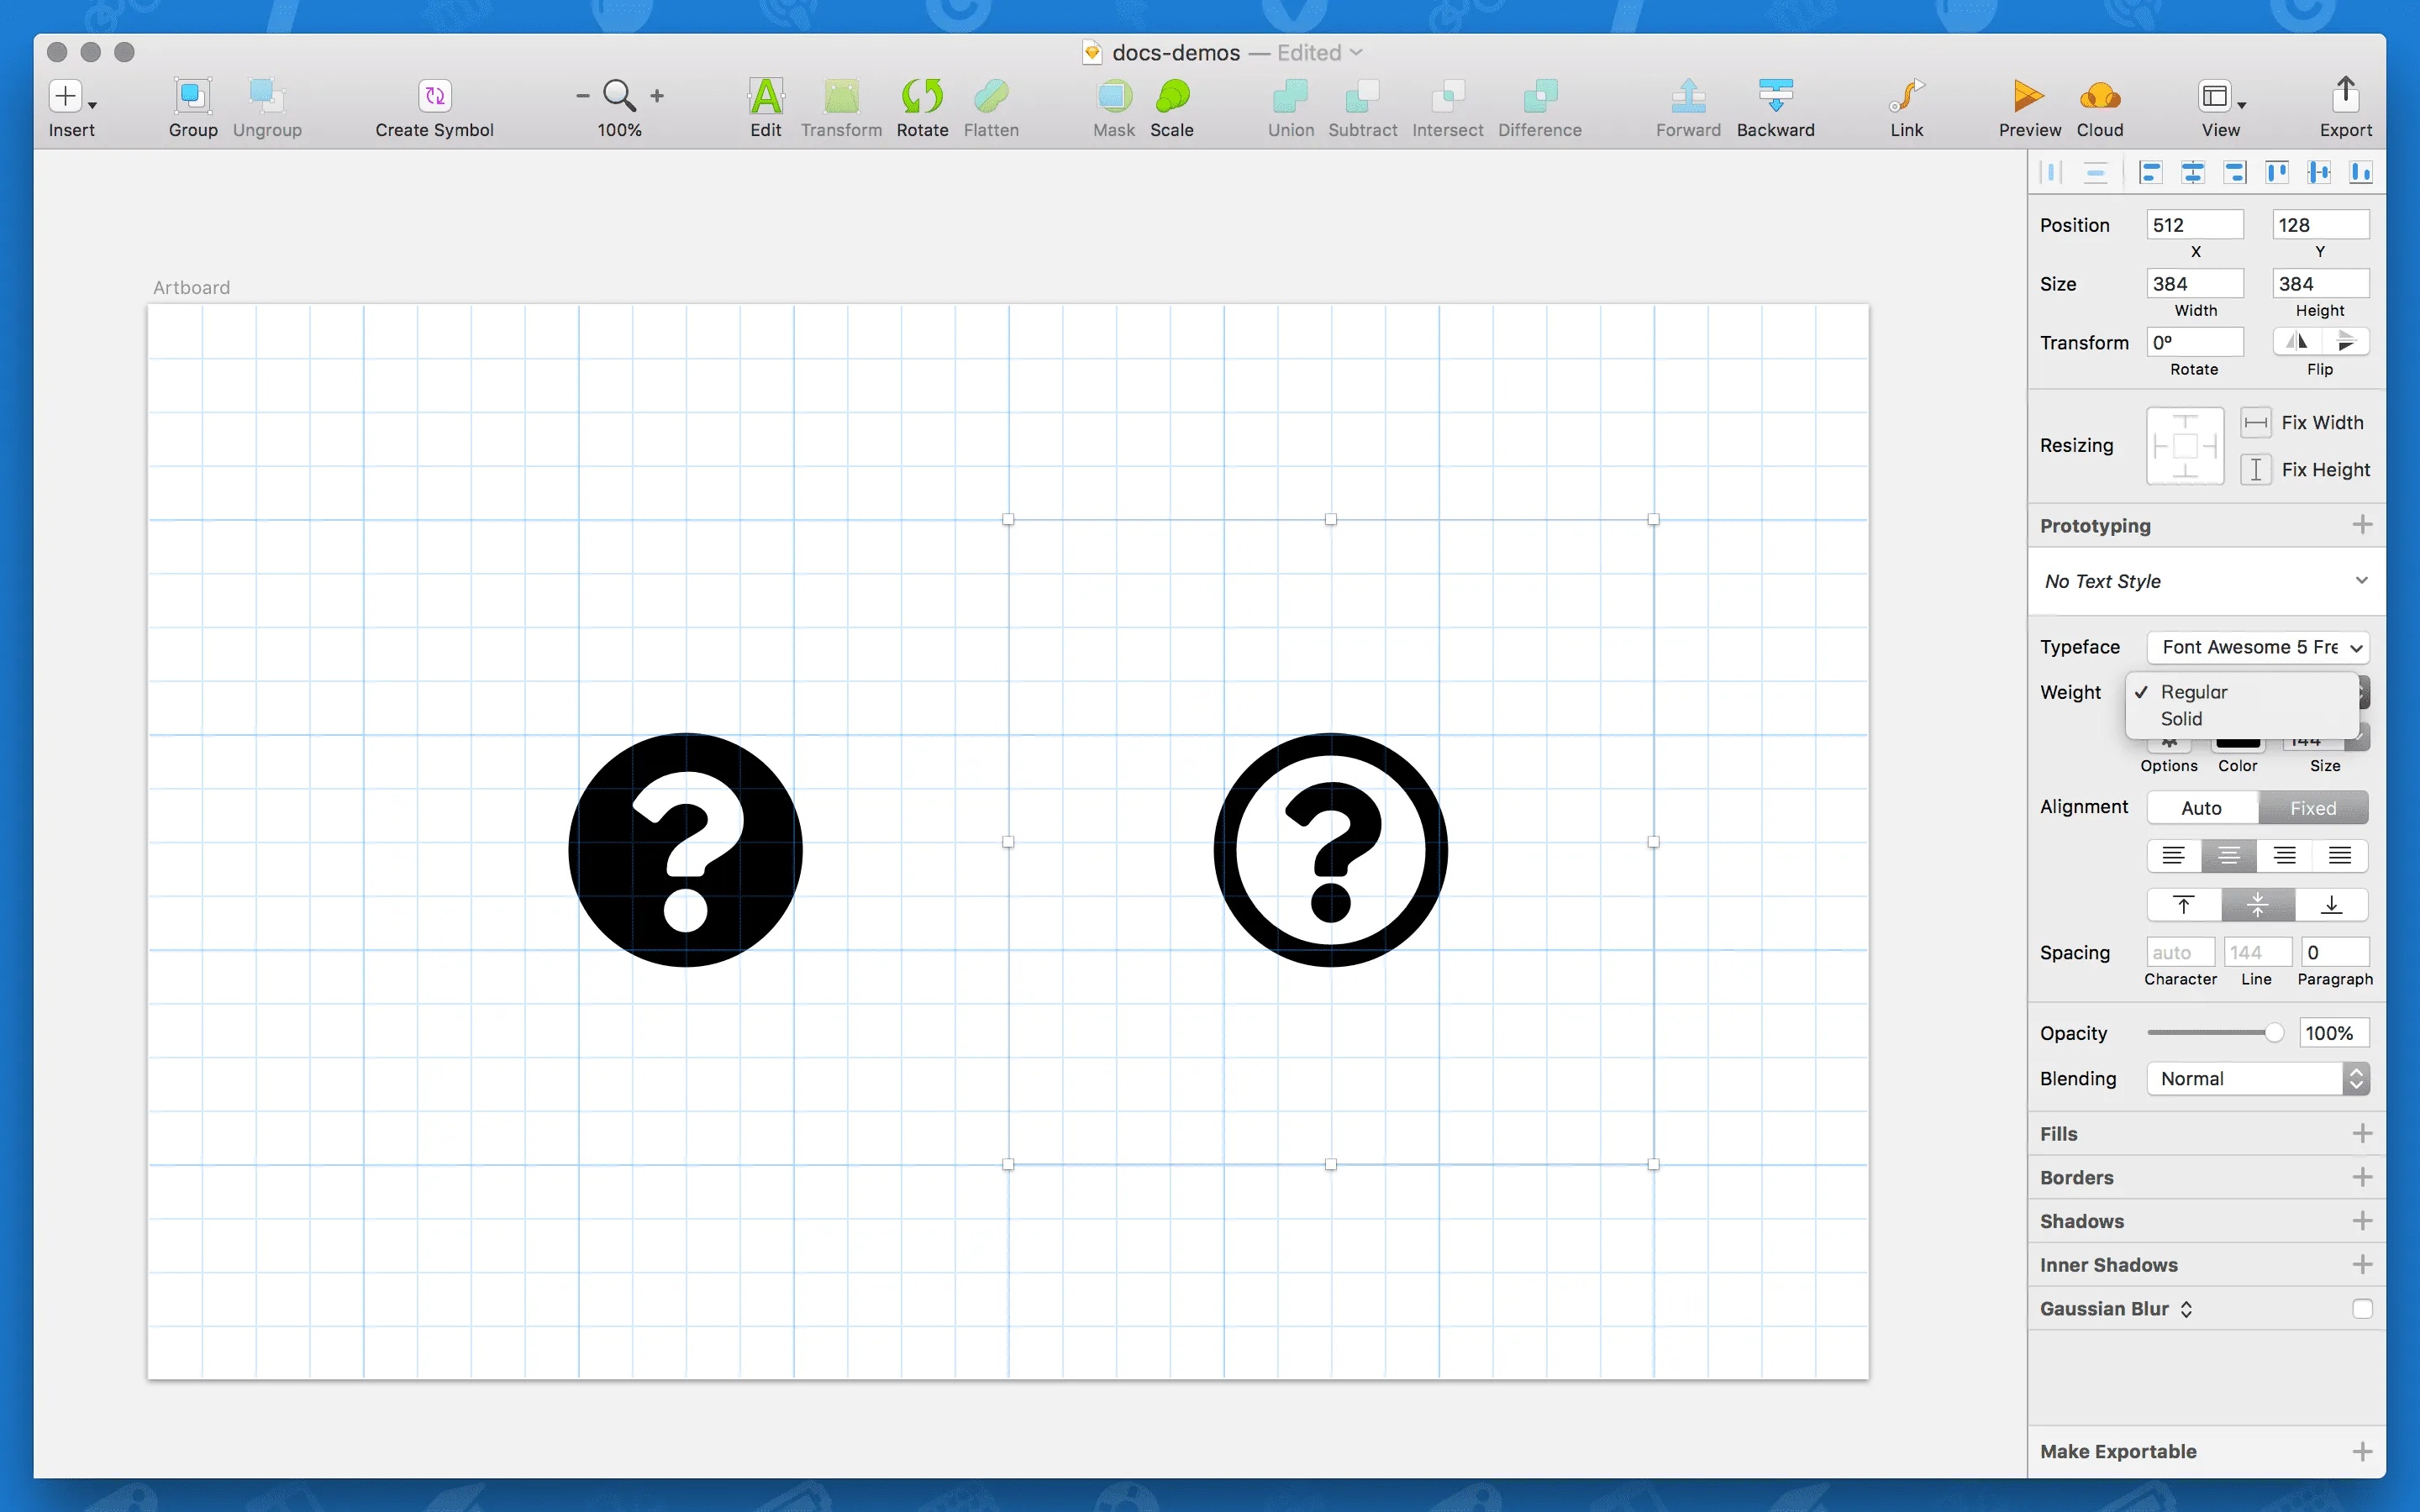
Adjusting Styles/Weights
Section titled “Adjusting Styles/Weights”Font Awesome 5 comes in 4 styles/weights (plus our brands count as a fourth option). If you’ve installed all .otfs, you can change the weight of your text layer/block to switch between visual styles.
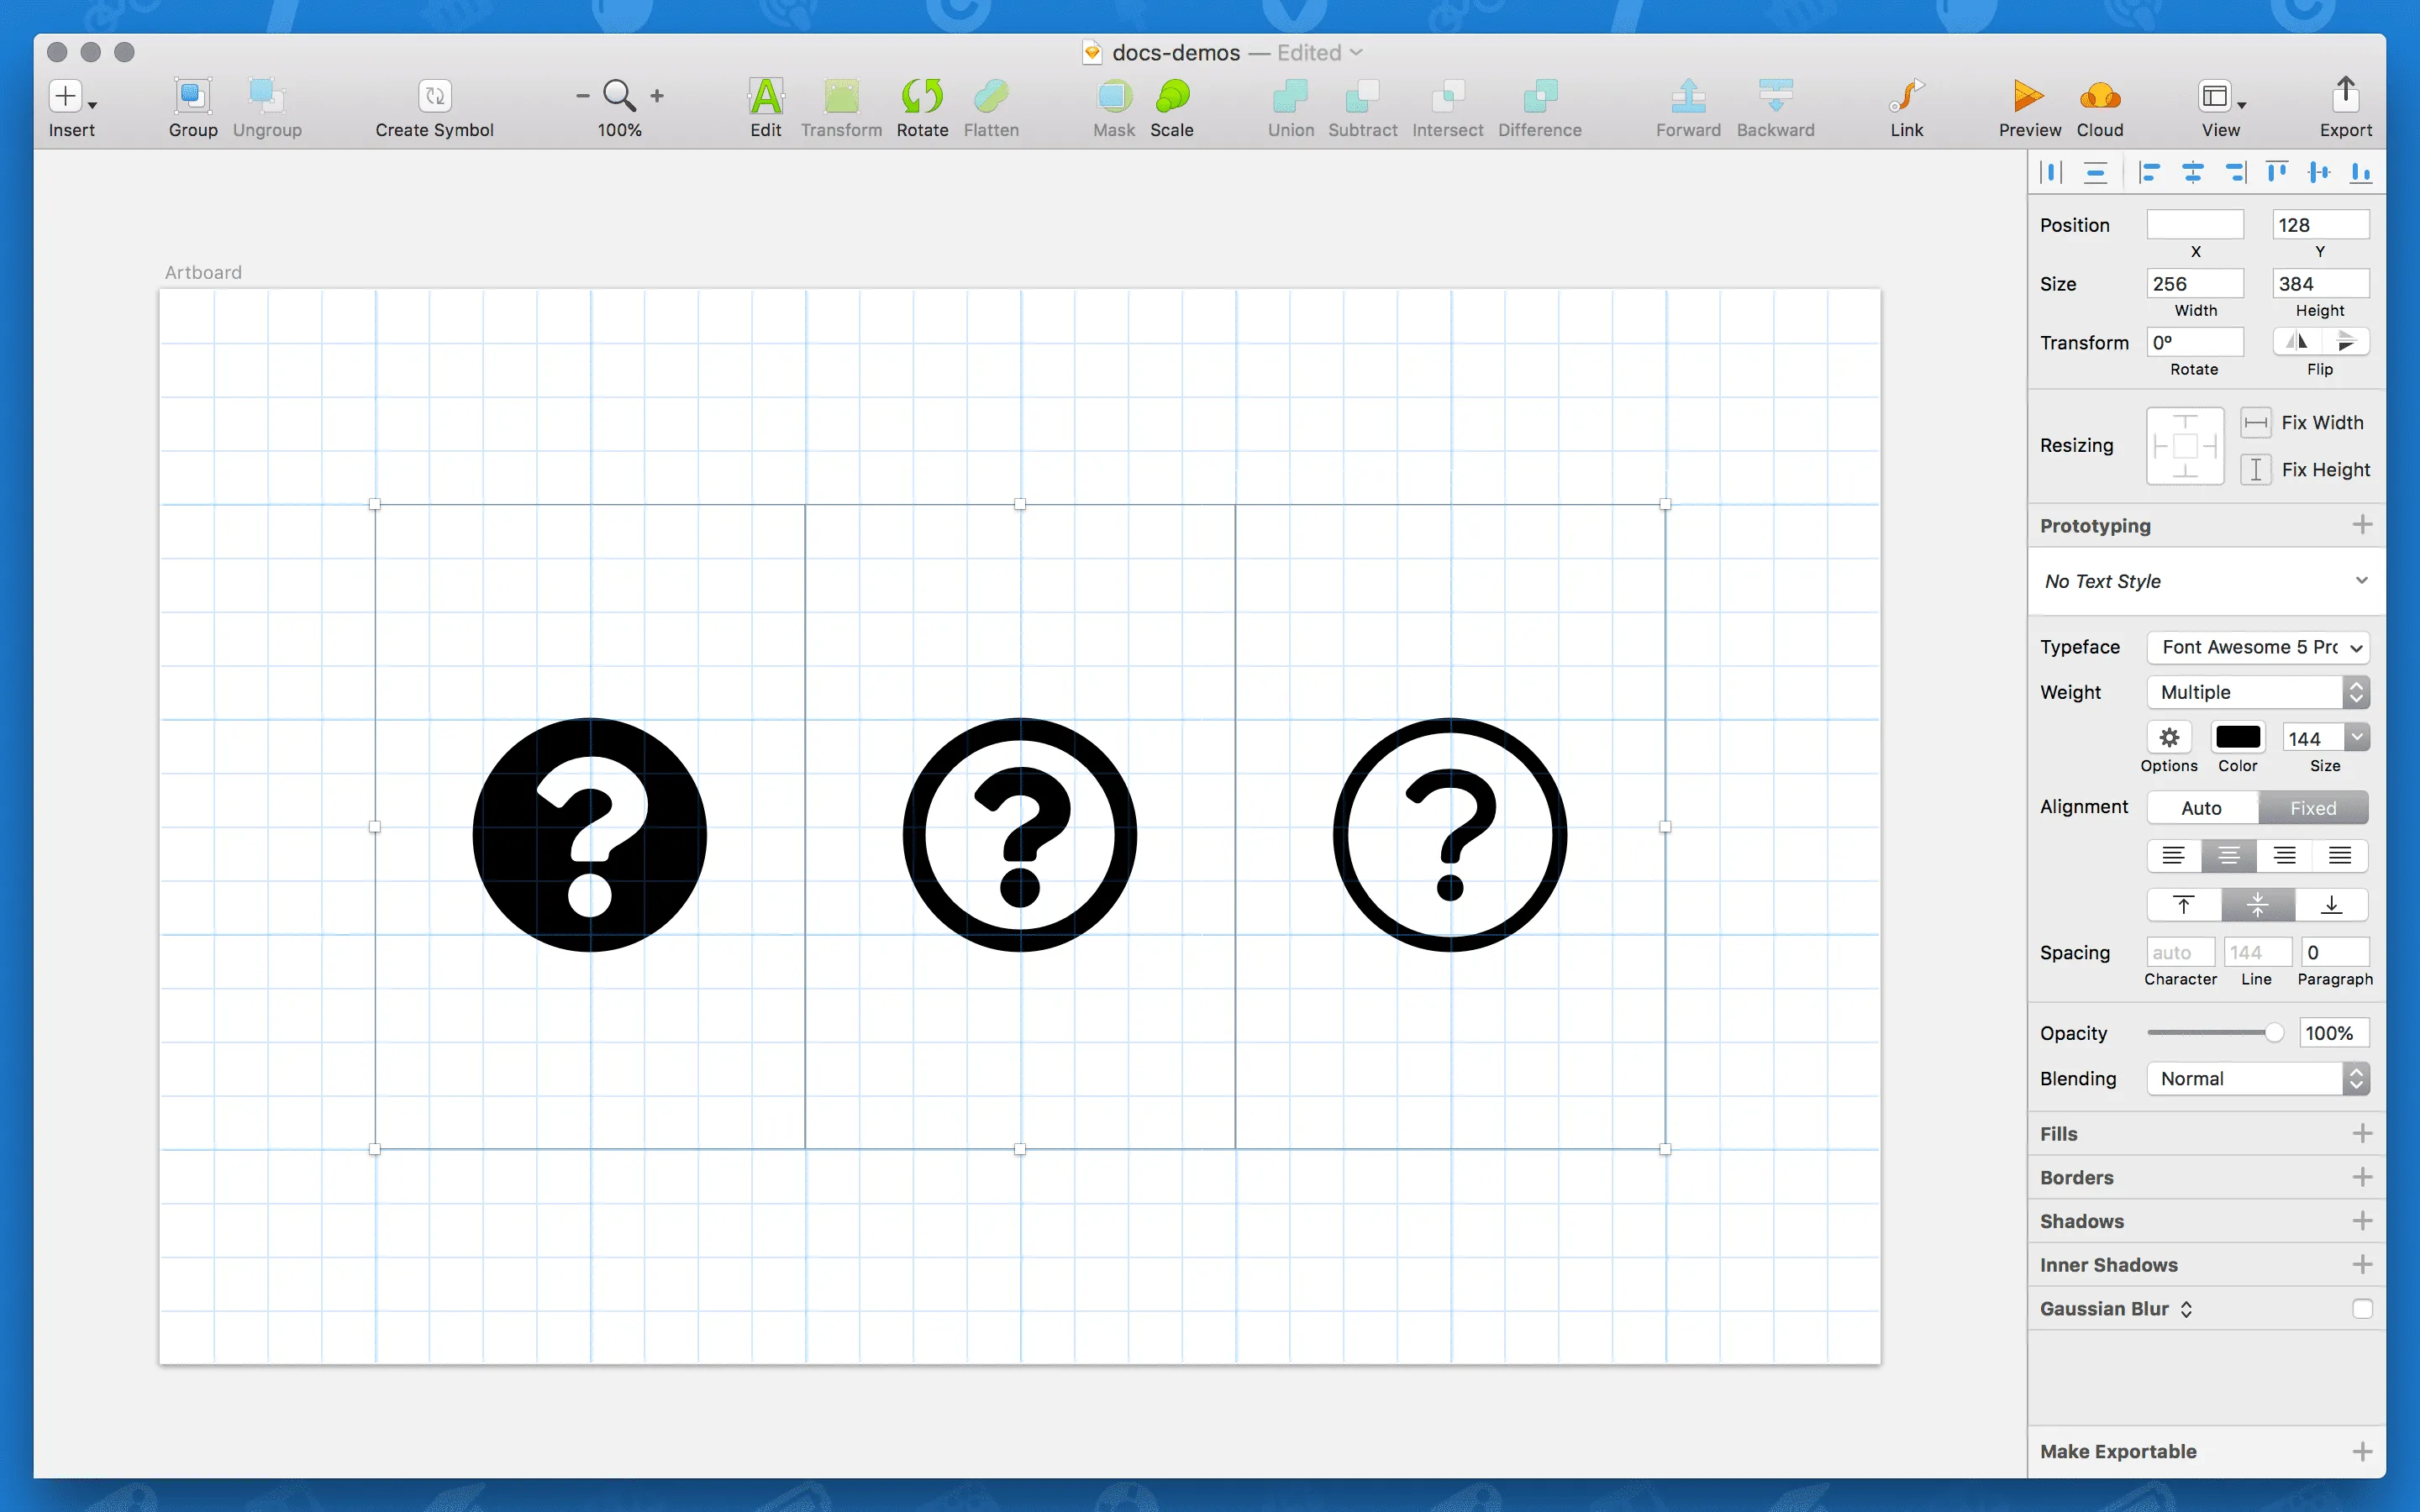
Stop! Demo Time!
Section titled “Stop! Demo Time!”Need some examples to learn from or troubleshoot with? Download and check out these files we’ve prepped.
| File | What’s It Do? |
|---|---|
| Sketch Glyphs Demo | Several examples of styles and icons being referenced in Sketch App using Font Awesome 5’s icons referenced by glyphs |