Use Ligatures
A new addition with v5, our ligatures feature allows you to more easily insert icons into a documents text layer. Here’s how to get around and use them.
Open a Document in Your Desktop App
Section titled “Open a Document in Your Desktop App”After completing the steps in getting started, open a new or existing document in the Desktop app you want to use Font Awesome icons in. We’ll use a new document in Sketch App for the walkthrough below.
Create a New Text Layer
Section titled “Create a New Text Layer”However your app allows you, create a new layer or text block to insert text into.
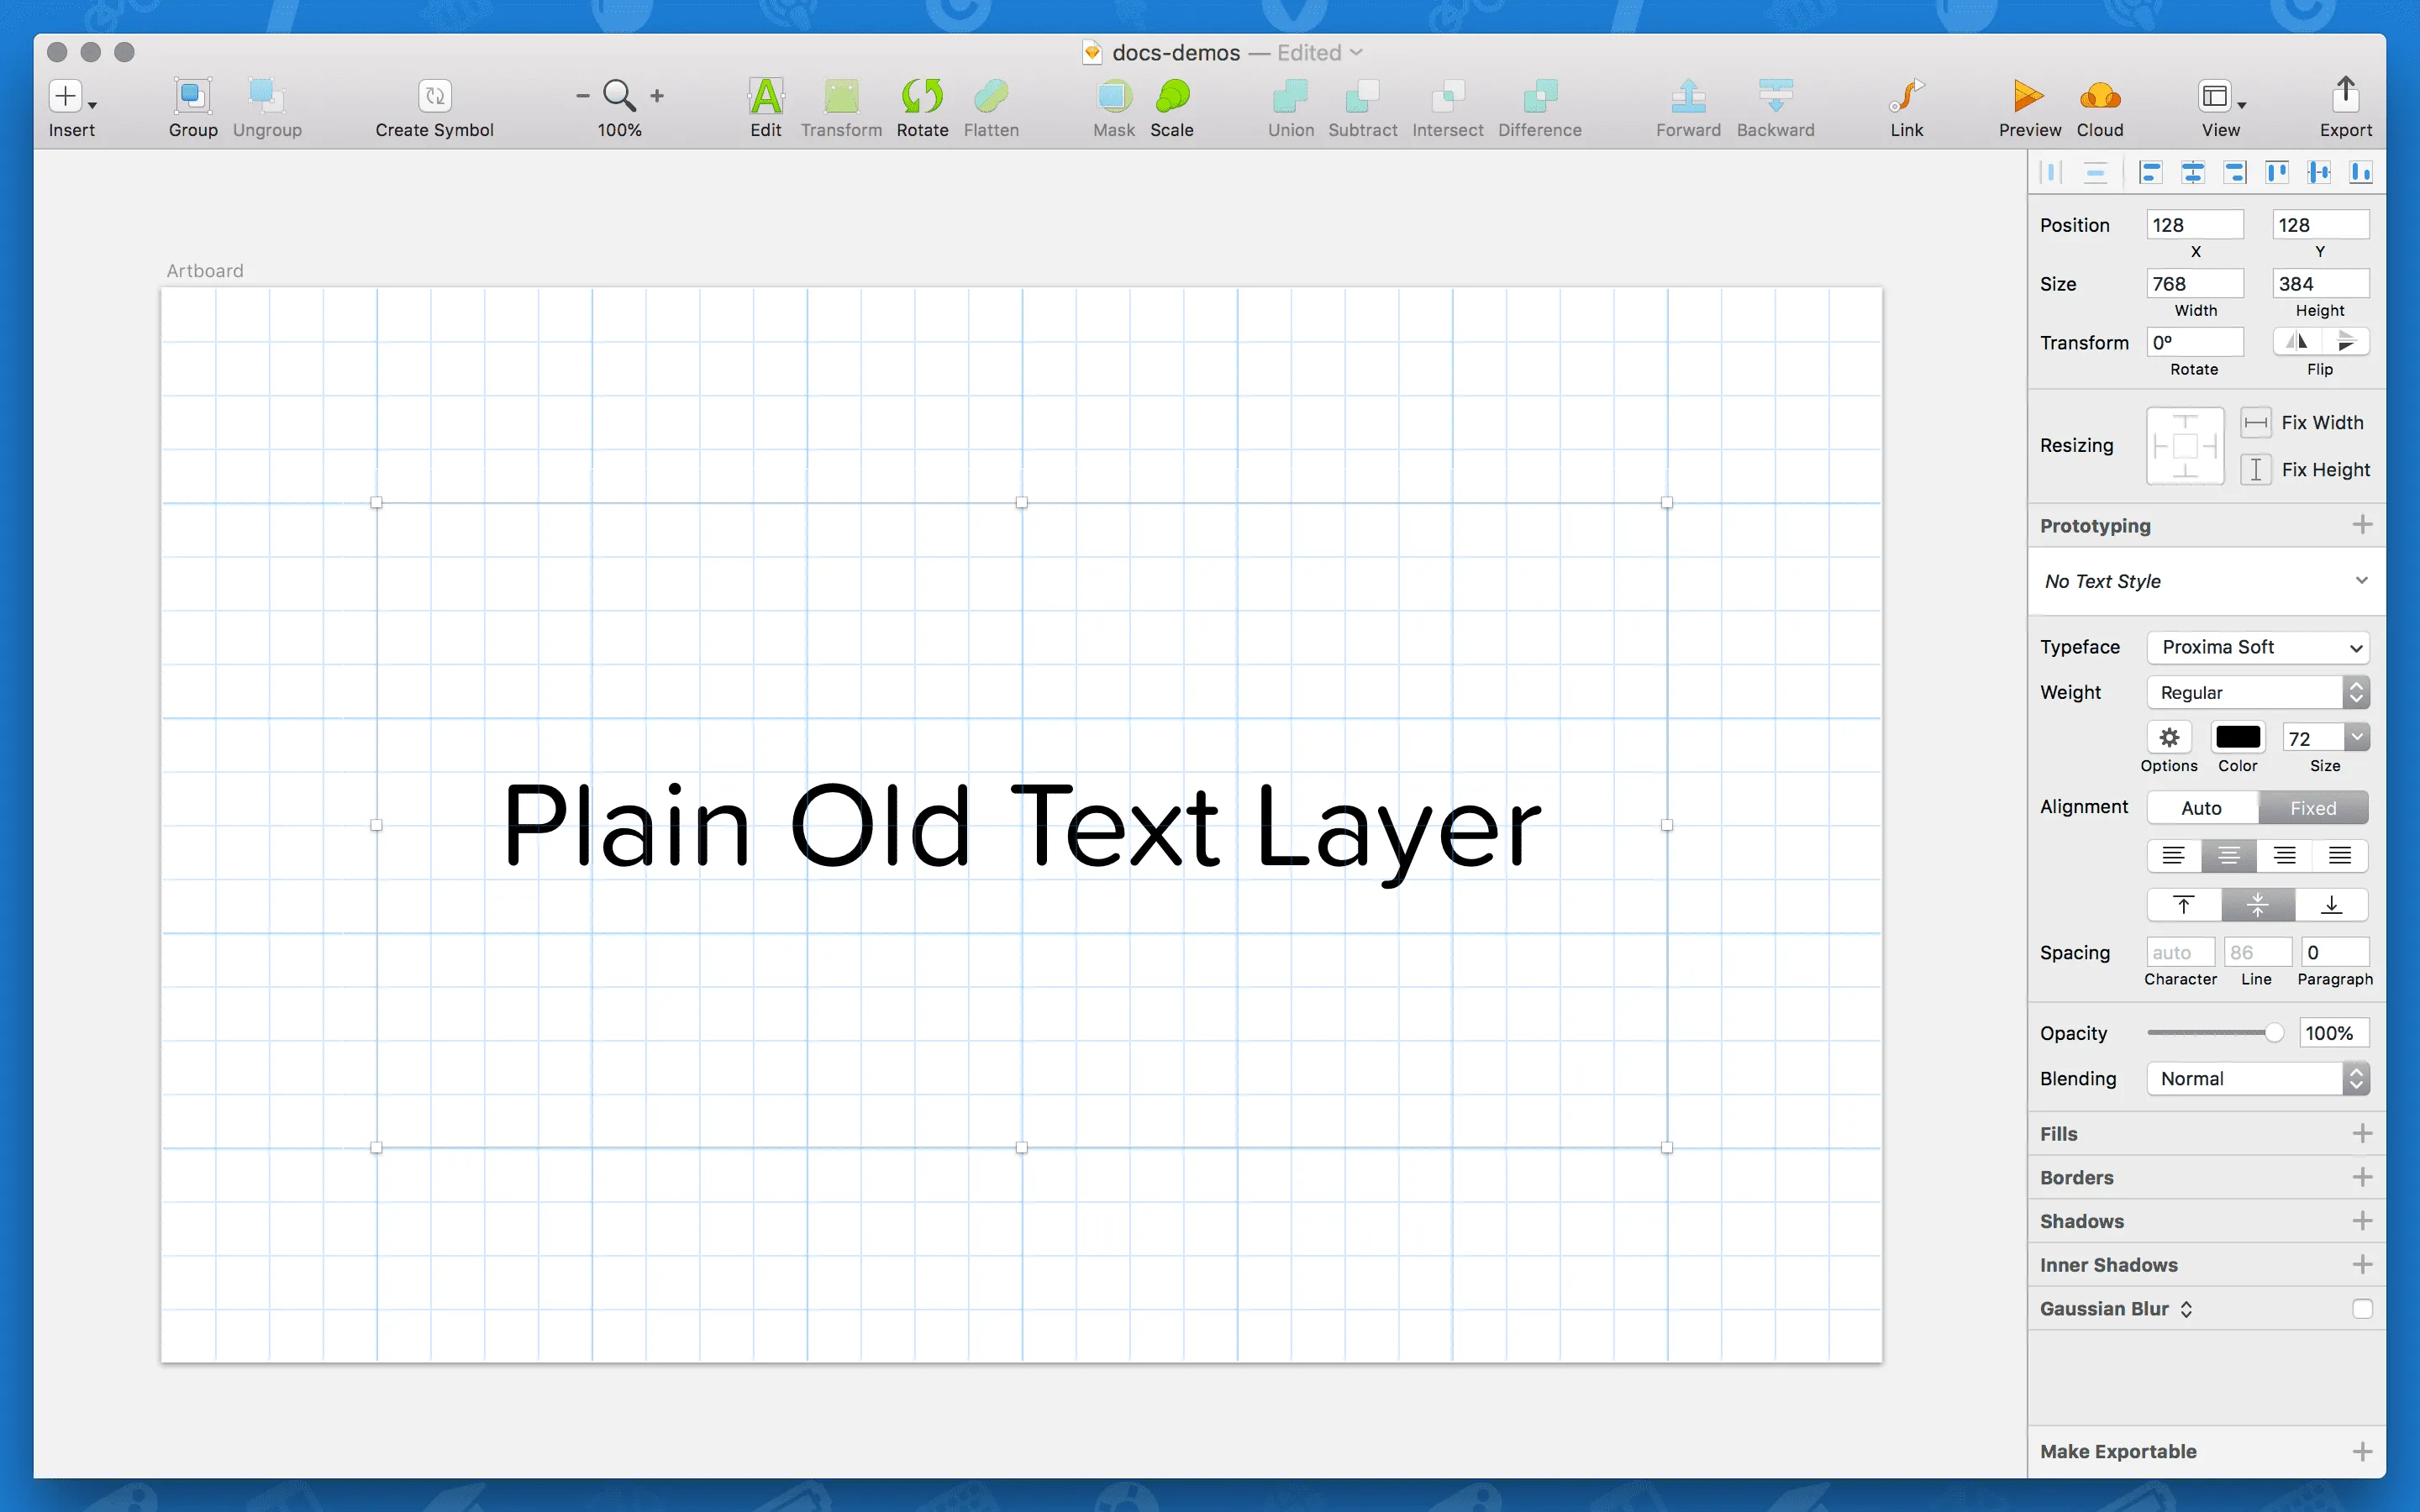
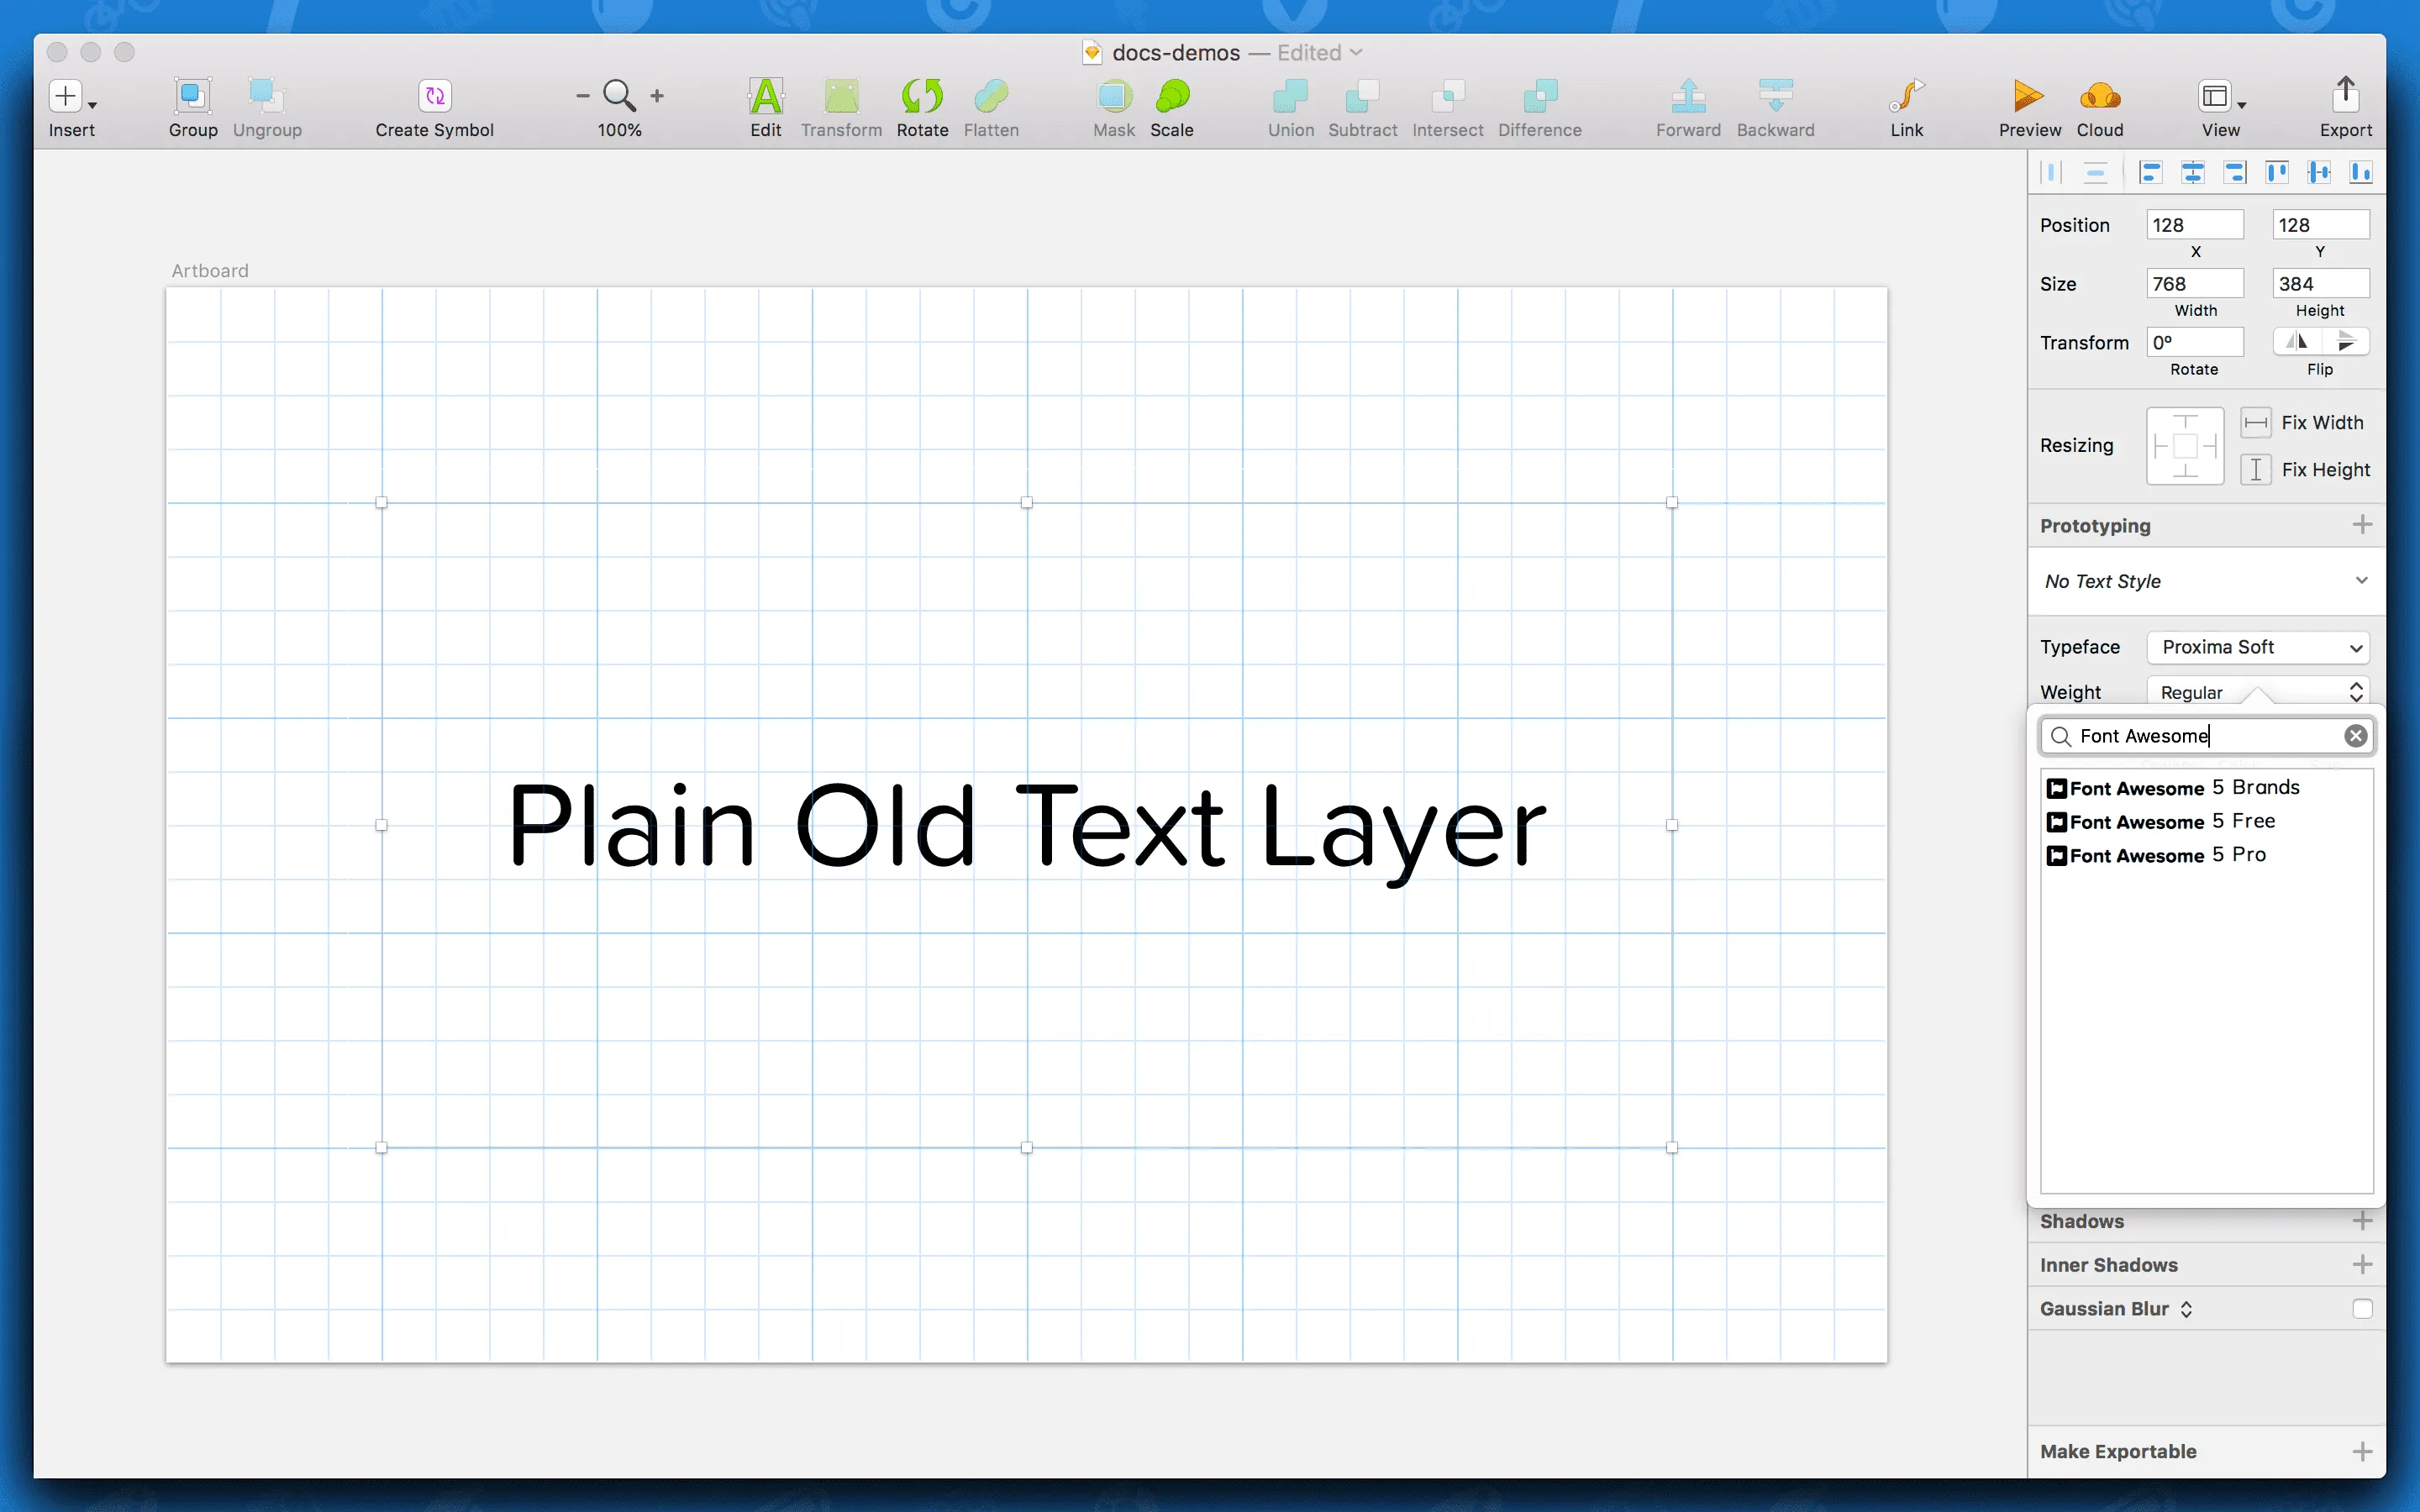
Set the Font/Typeface to Font Awesome 5
Section titled “Set the Font/Typeface to Font Awesome 5”Next, using your app’s font/typeface selector, find and select “Font Awesome 5 Free” or “Font Awesome 5 Pro” as the one you want to use for the current text layer/block. Remember, if you want to insert a brand icon, choose the “Font Awesome 5 Brands” font/typeface.
Type the Icon’s Name
Section titled “Type the Icon’s Name”Next, you’re all set to reference the icon you want to use. Just start typing the icon’s name and as you finish, our ligatures should convert the letters into the correct symbol. Geee, Mr. Wizard!
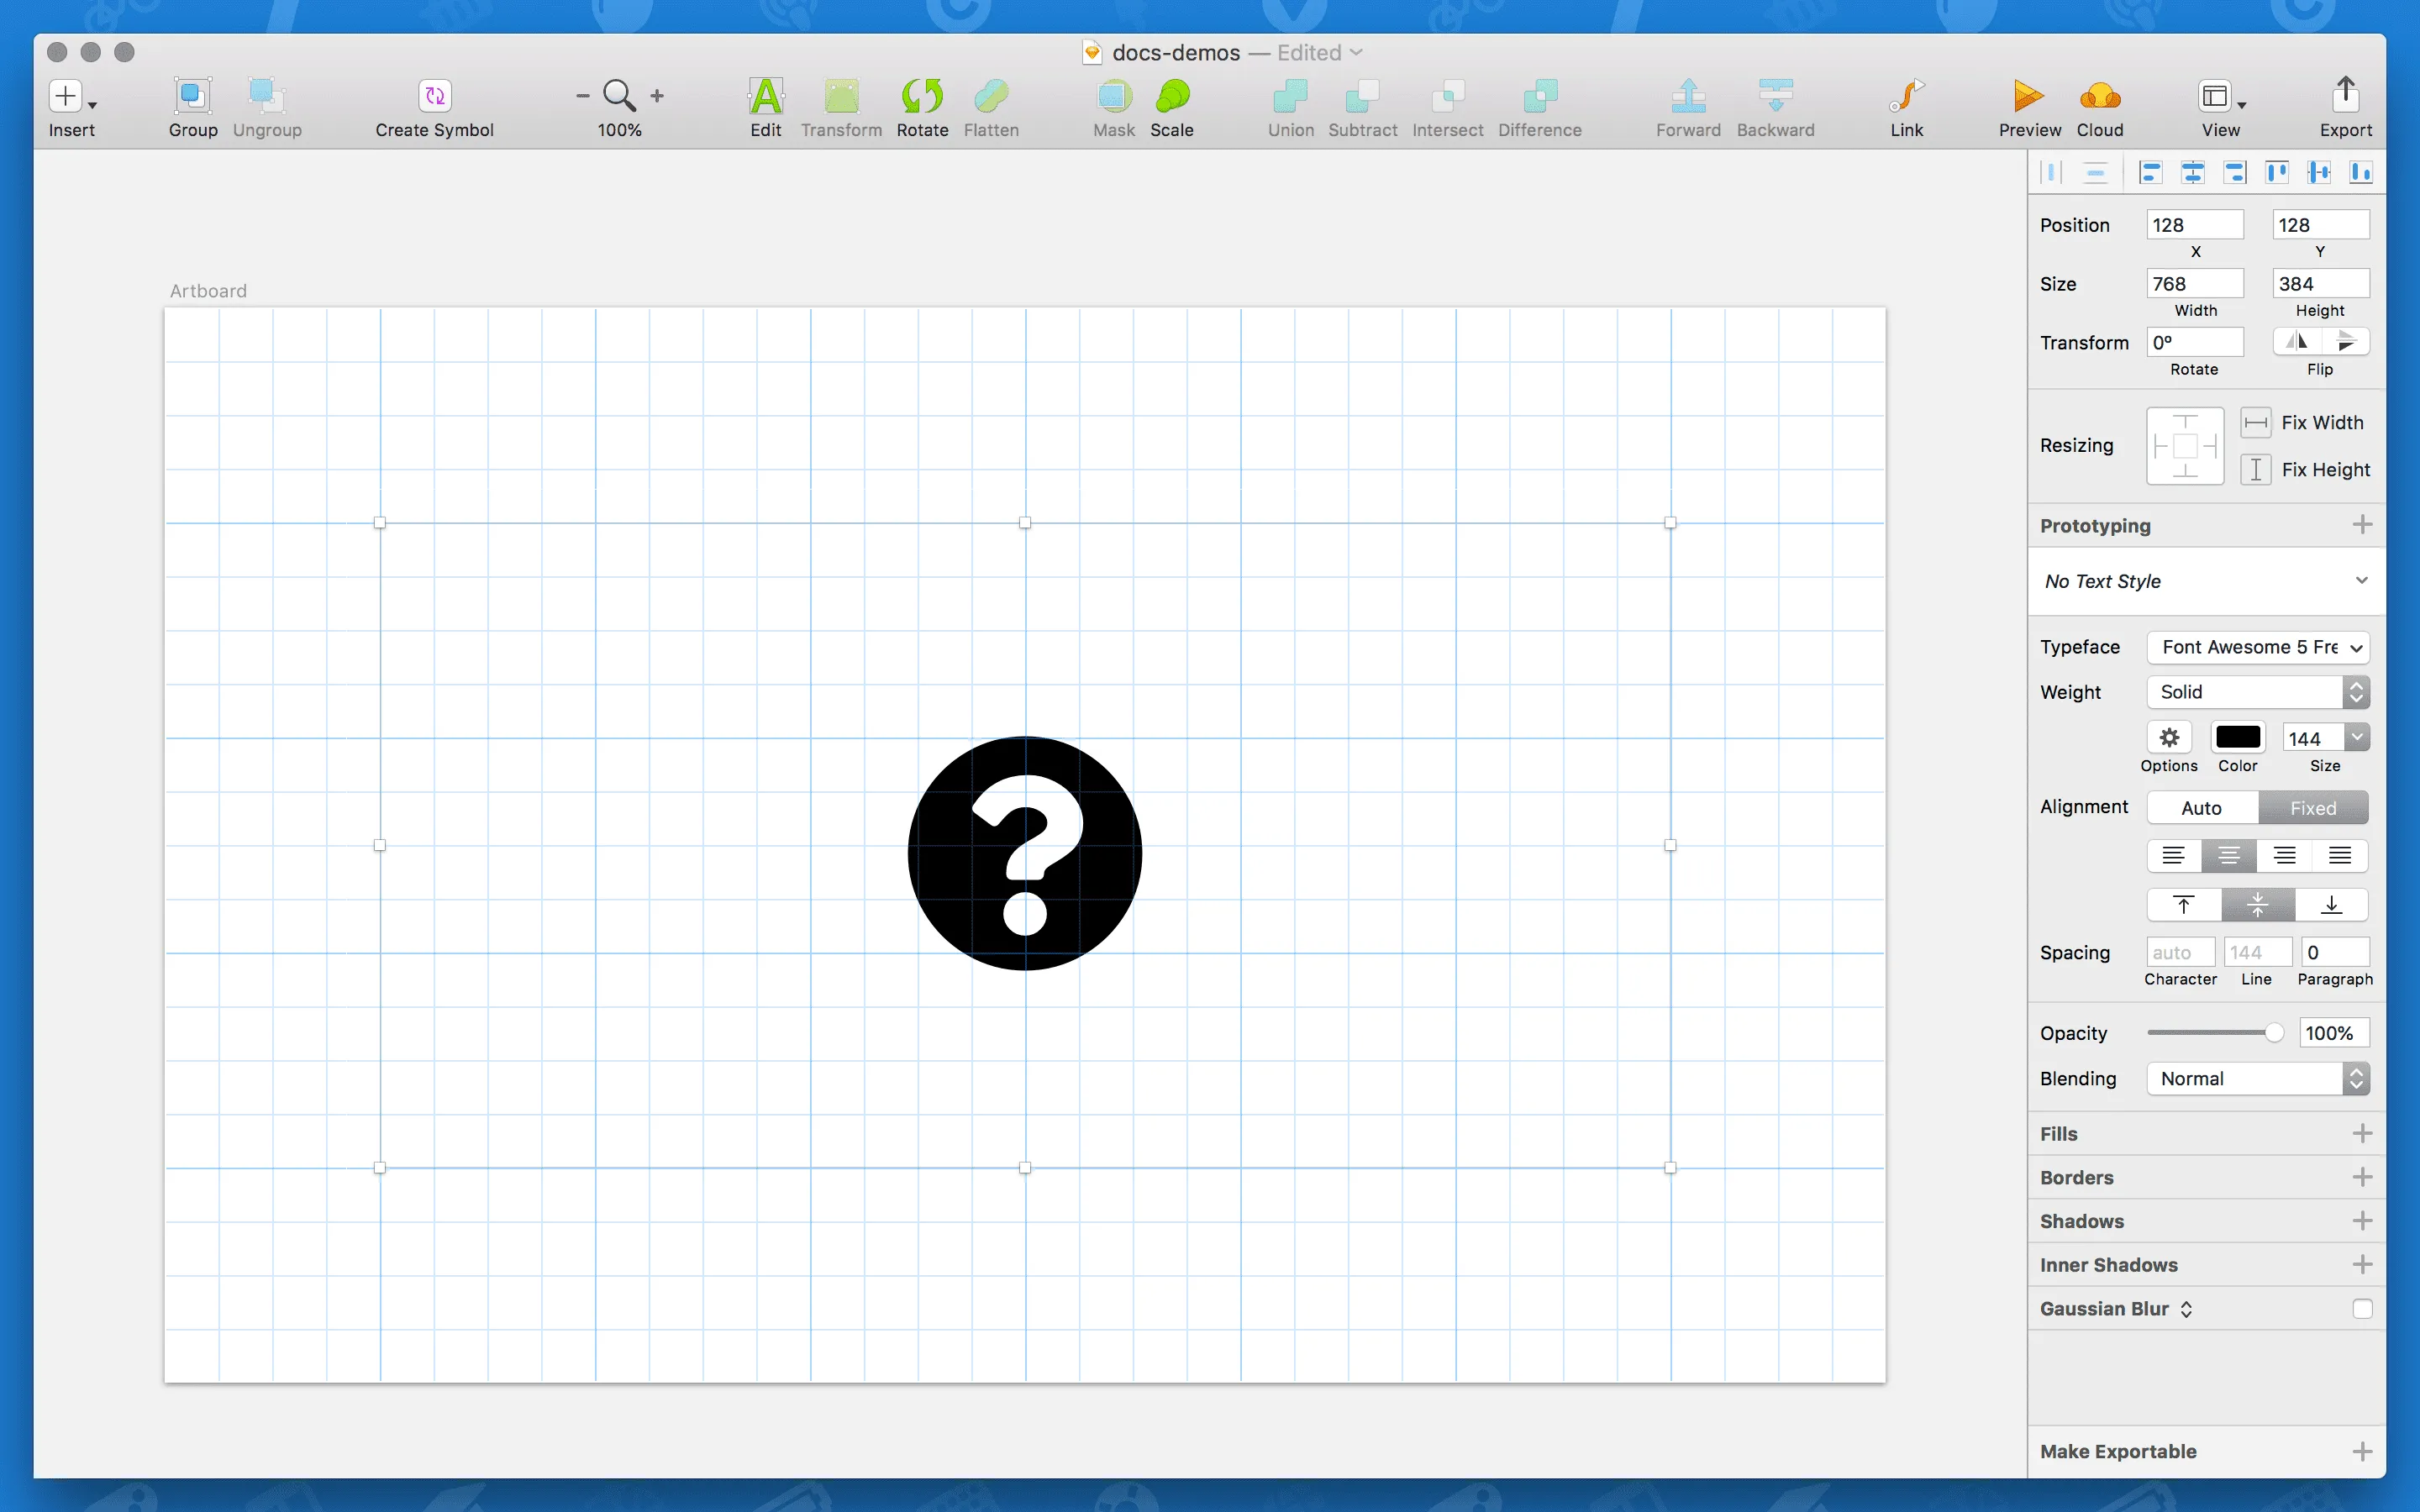
Don’t worry if other icons (like th or question) appear as you complete typing the text for the icon you want. Once you’re done, our ligatures will honor the final word you’ve typed.
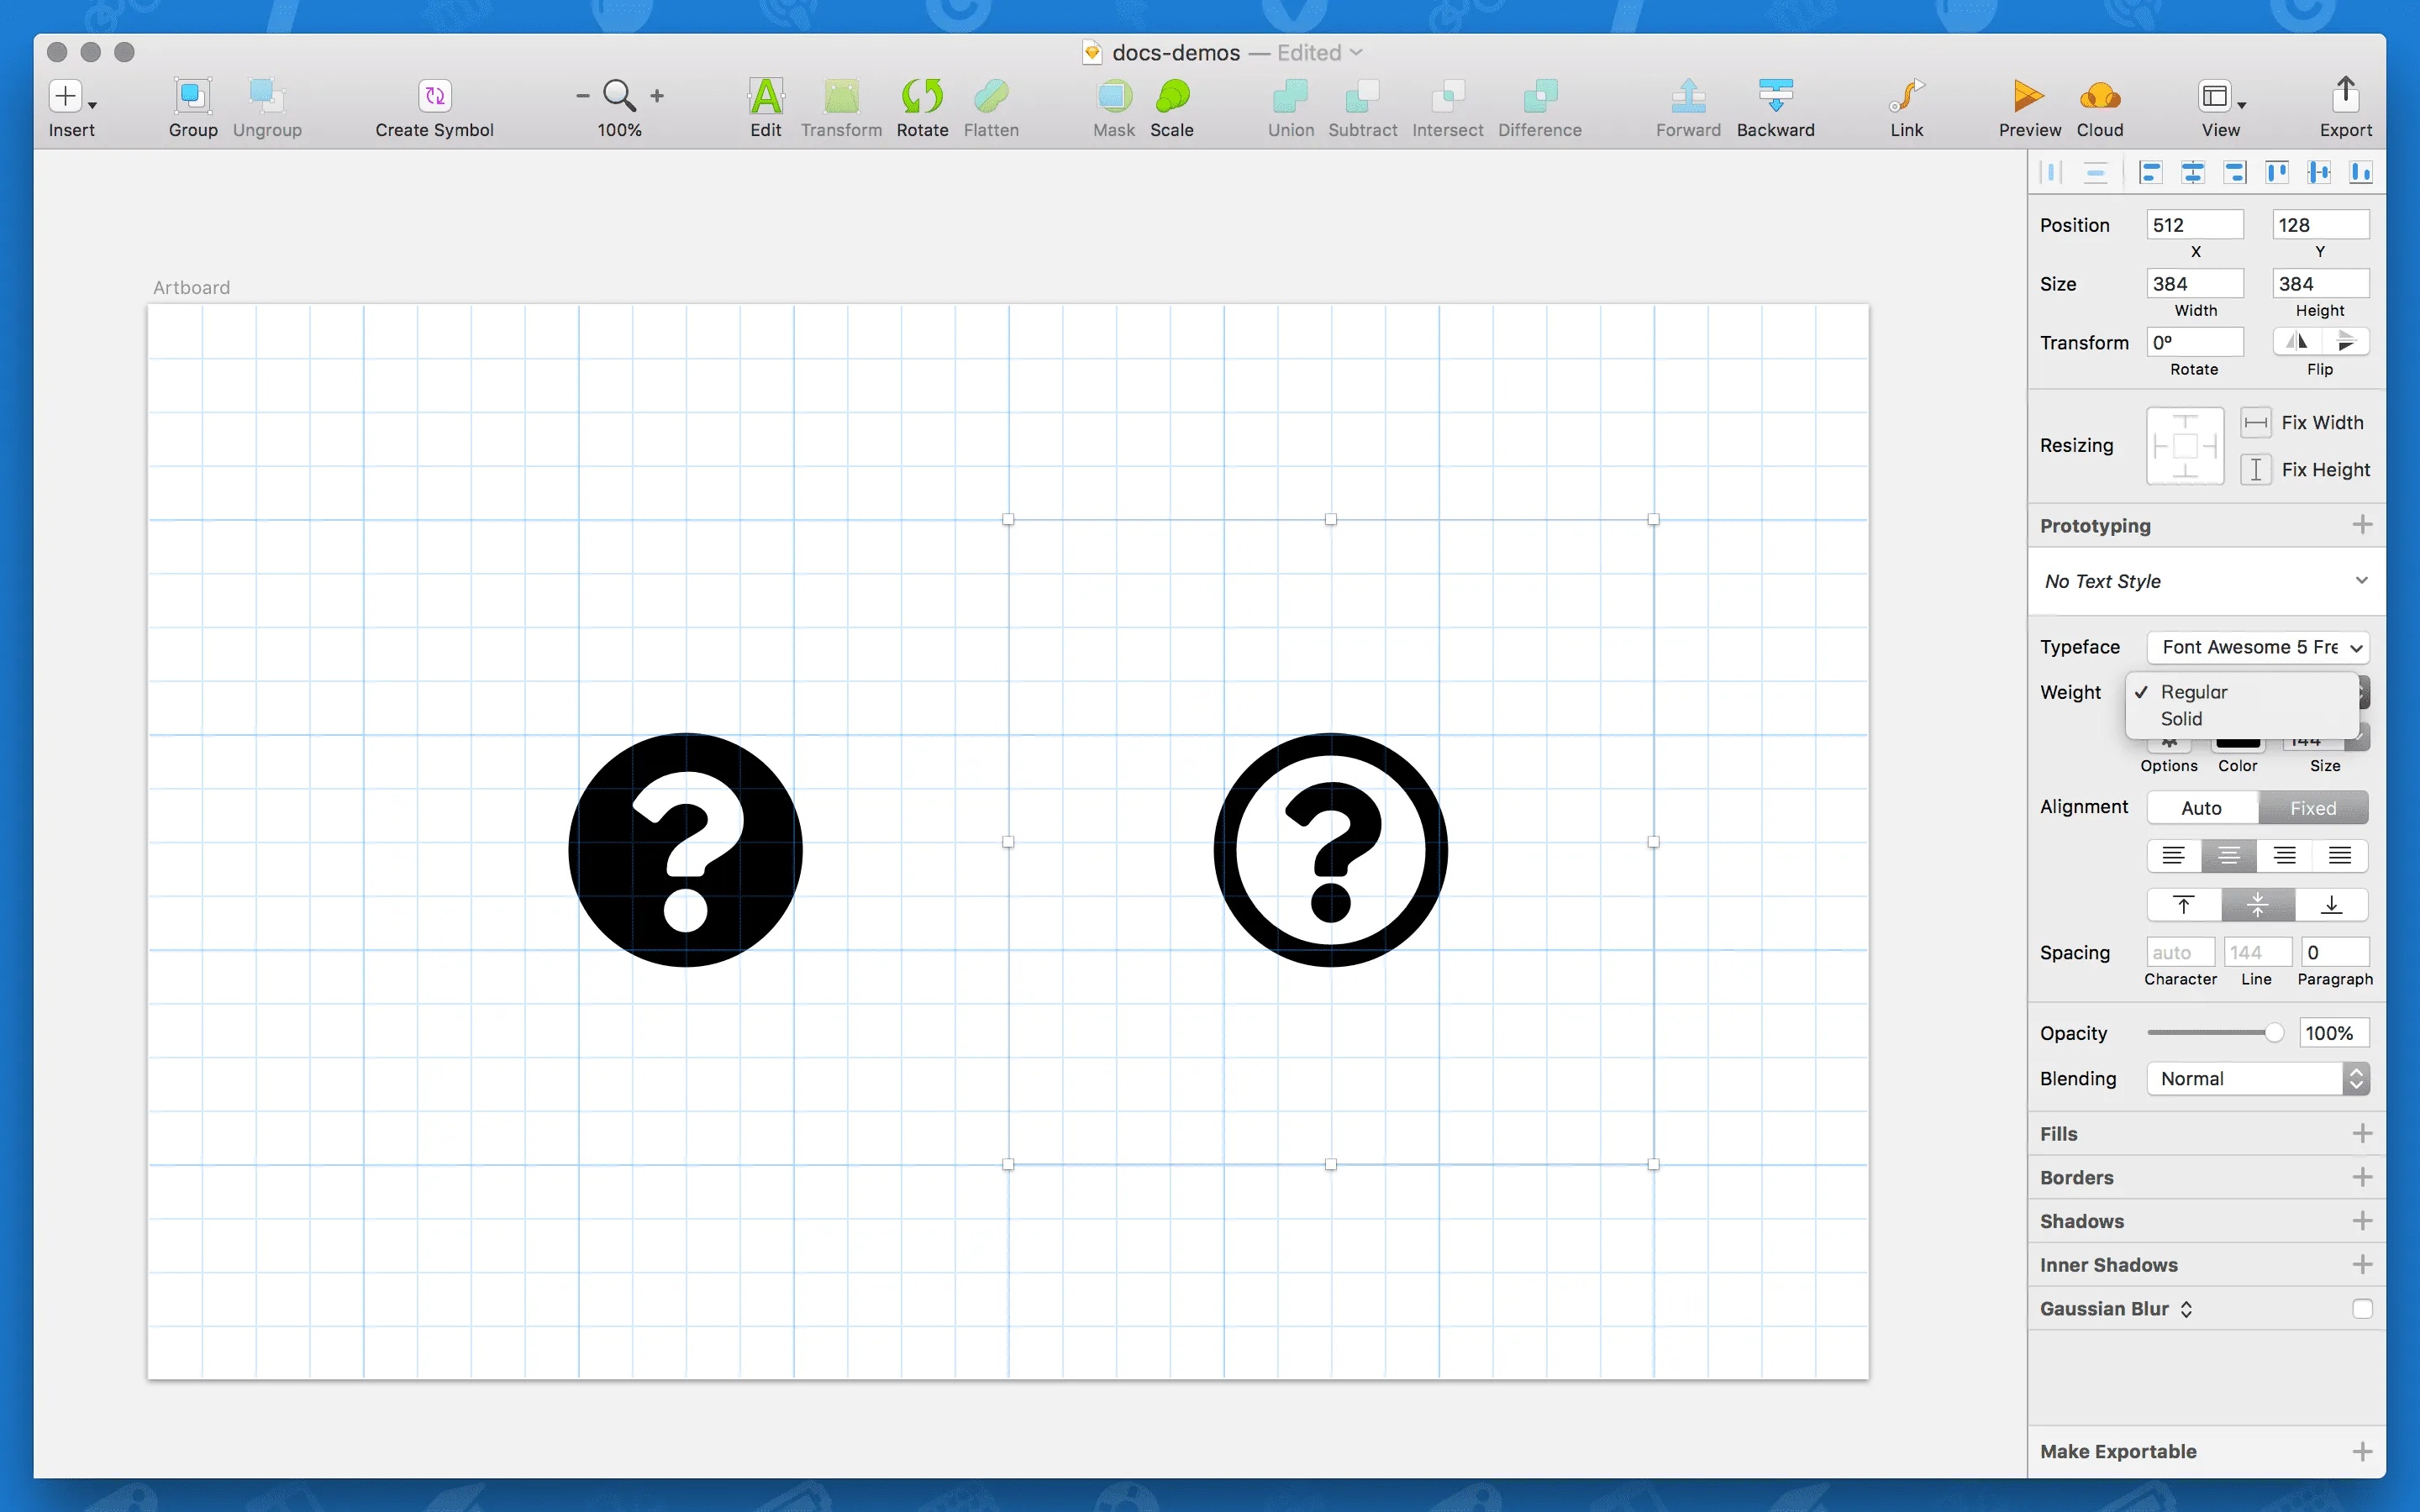
Adjusting Styles/Weights
Section titled “Adjusting Styles/Weights”Font Awesome 5 comes in 3 styles/weights (plus our brands count as a fourth option). If you’ve installed all .otfs, you can change the weight of your text layer/block to switch between visual styles.
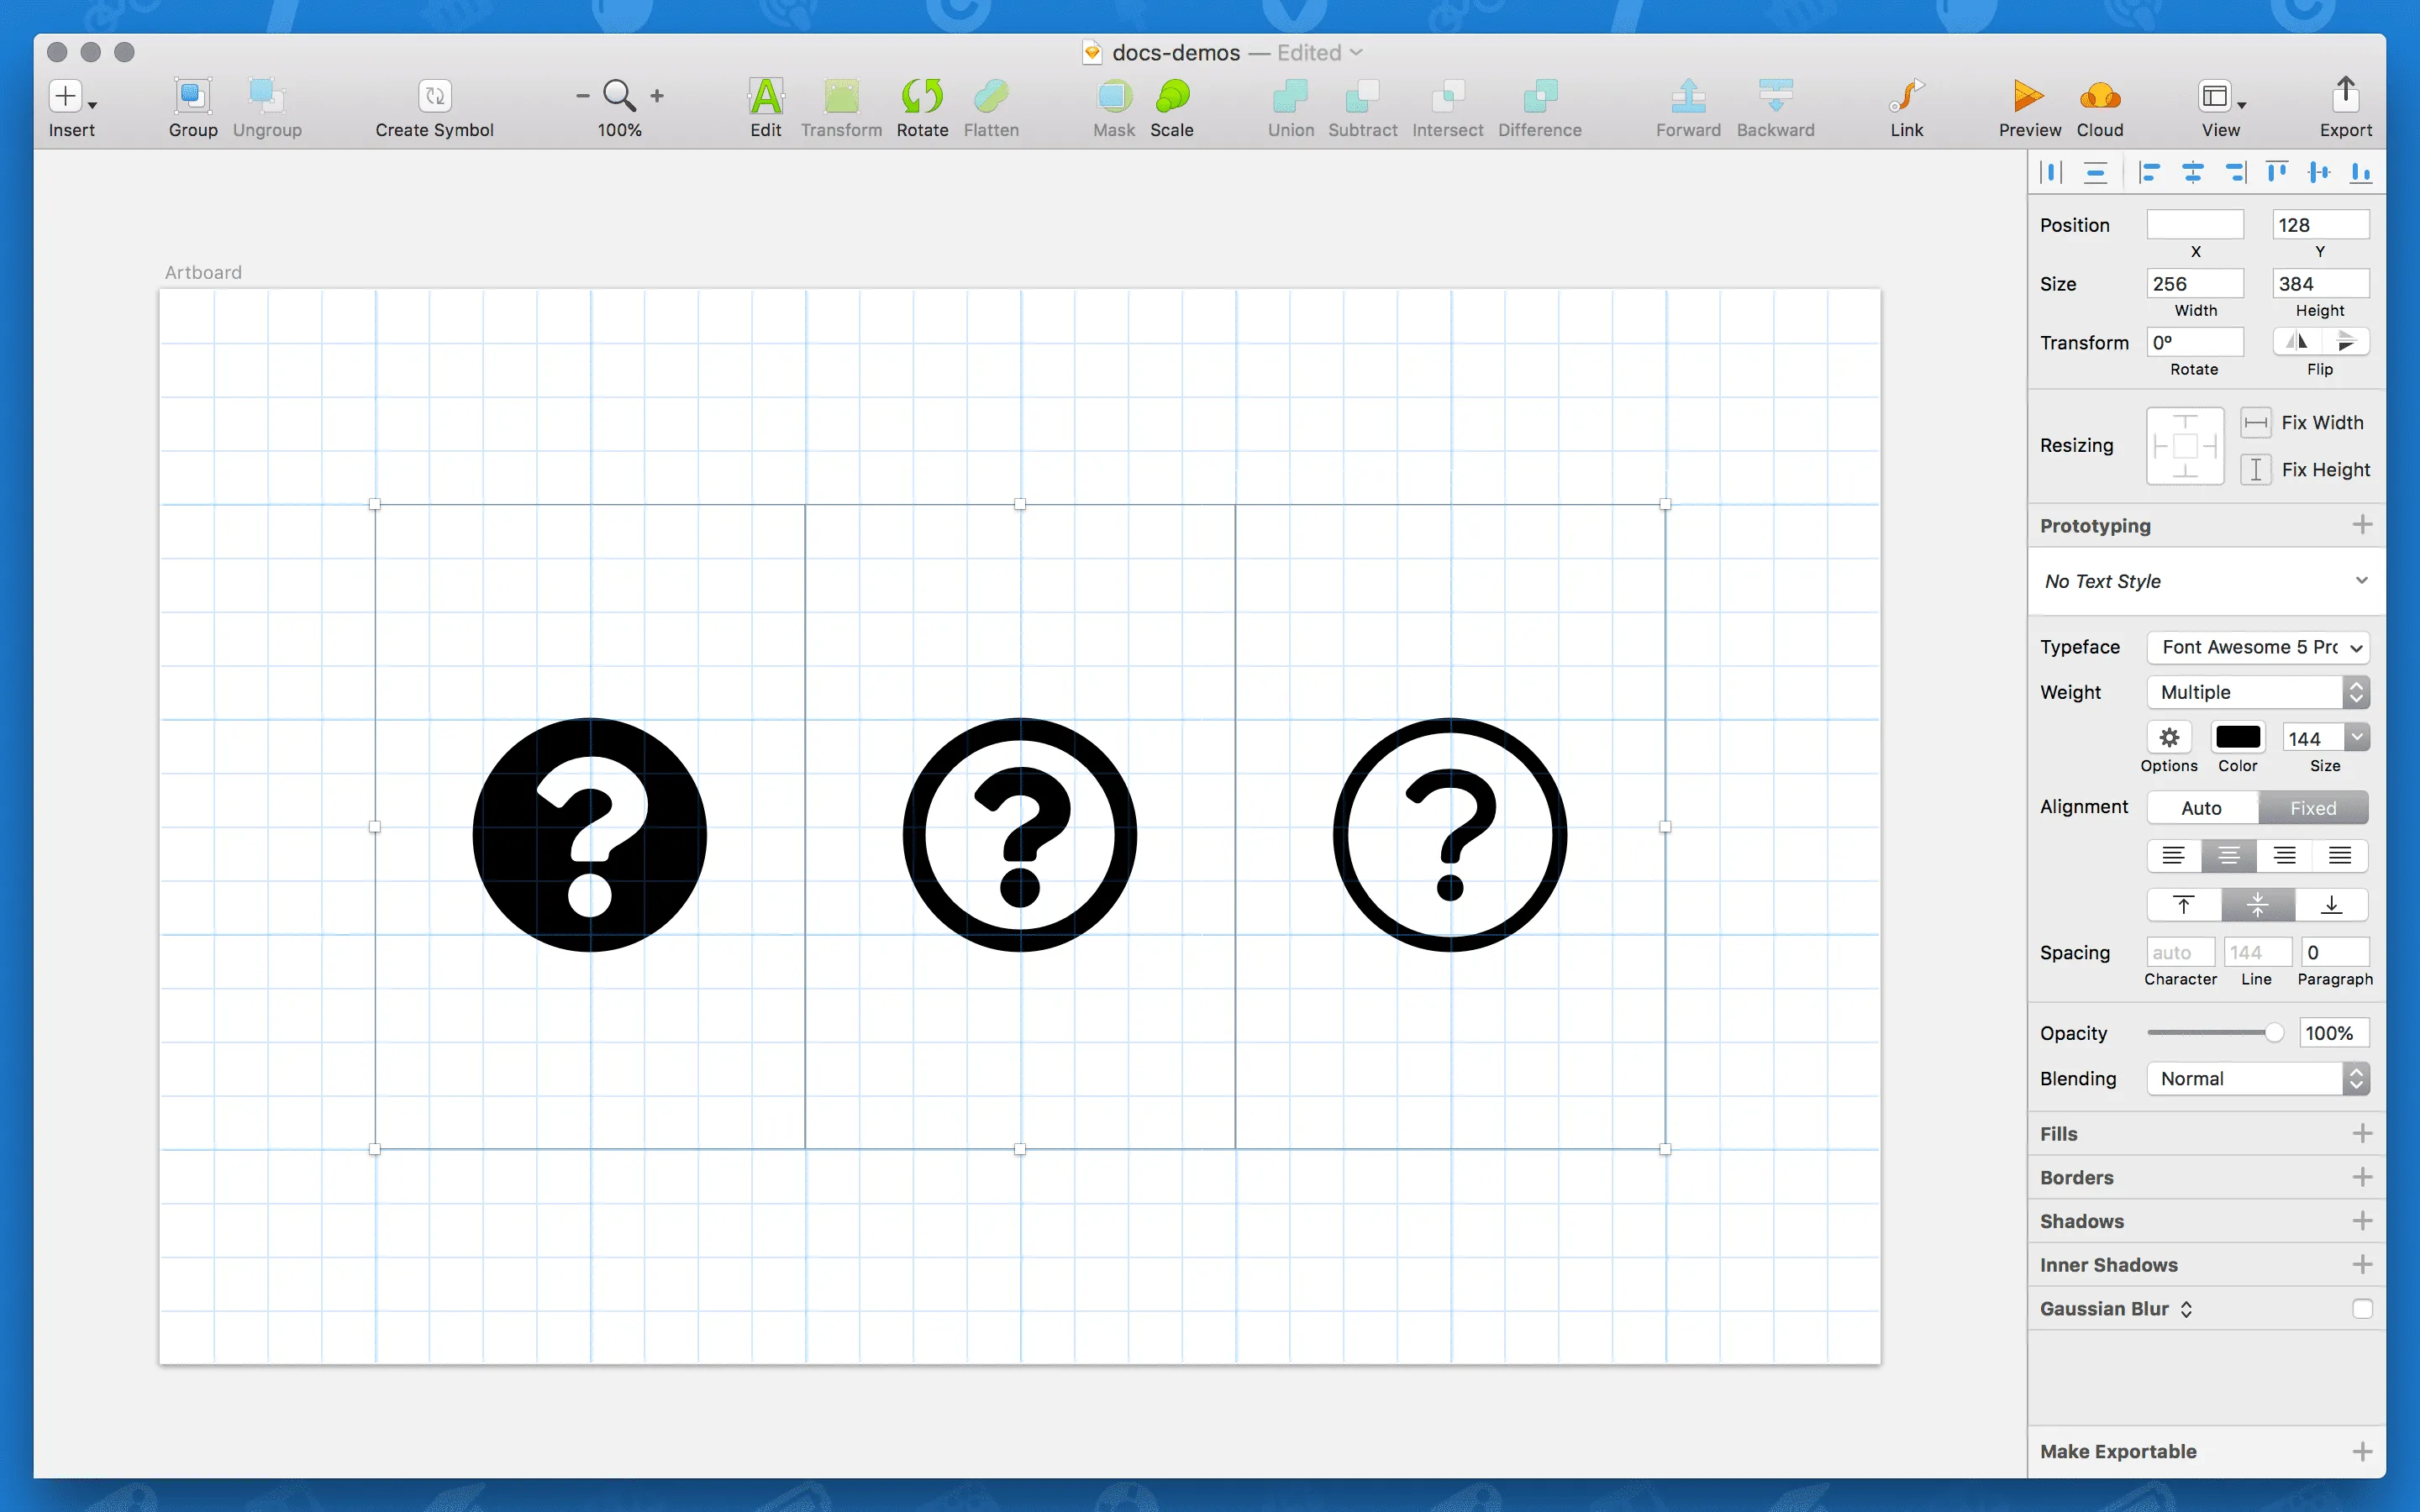
Stop! Demo Time!
Section titled “Stop! Demo Time!”Need some examples to learn from or troubleshoot with? Download and check out these files we’ve prepped…
| Download | What’s it good for? Do? |
|---|---|
| Sketch Ligatures Demo | Several examples of styles and icons being referenced in Sketch App using Font Awesome 5’s ligatures feature |