Server Side Rendering
With the introduction of SVG’s to Font Awesome we can now render icons on the server if you are generating or serving your pages with JavaScript. By rendering server side you save the browser the effort required to download additional files or perform the rendering calculations. For this example we’re going to use a static site generator called Metalsmith.
Setting Things Up
Section titled “Setting Things Up”Clone the project and use the static-site example. Also, remember to install dependencies right after that.
git clone https://github.com/metalsmith/metalsmith.git \ cd metalsmith/examples/static-site npm install \ npm i --save @fortawesome/fontawesome-svg-core \ npm i --save @fortawesome/free-solid-svg-iconsCreate a Helper
Section titled “Create a Helper”Create a file in the static-site directory called helpers.js.
  var Handlebars  = require('handlebars');  var library     = require('@fortawesome/fontawesome-svg-core').library;  var dom         = require('@fortawesome/fontawesome-svg-core').dom;  var icon        = require('@fortawesome/fontawesome-svg-core').icon;  var fas         = require('@fortawesome/free-solid-svg-icons').fas;
// Adds all the icons from the Solid style into our library for easy lookuplibrary.add(fas)
Handlebars.registerHelper('fontawesome-css', function () {return new Handlebars.SafeString(dom.css())})
Handlebars.registerHelper('fontawesome-icon', function (args) {return new Handlebars.SafeString(icon({ prefix: 'fas', iconName: args.hash.icon }).html)})
Add this to the Metalsmith File
Section titled “Add this to the Metalsmith File”Edit index.js and require the new helper file.
  var Metalsmith  = require('metalsmith');  var markdown    = require('metalsmith-markdown');  var layouts     = require('metalsmith-layouts');  var permalinks  = require('metalsmith-permalinks');
  require('./helpers')
  …
Edit Layout & Reference Icon
Section titled “Edit Layout & Reference Icon”Edit layouts/layout.html and add this to the <head>. After that change the header.
<style> {{fontawesome-css}} </style> <header> <p> {{fontawesome-icon icon="home"}} <a href="/">Home</a> </p> </header>Build the Static Content
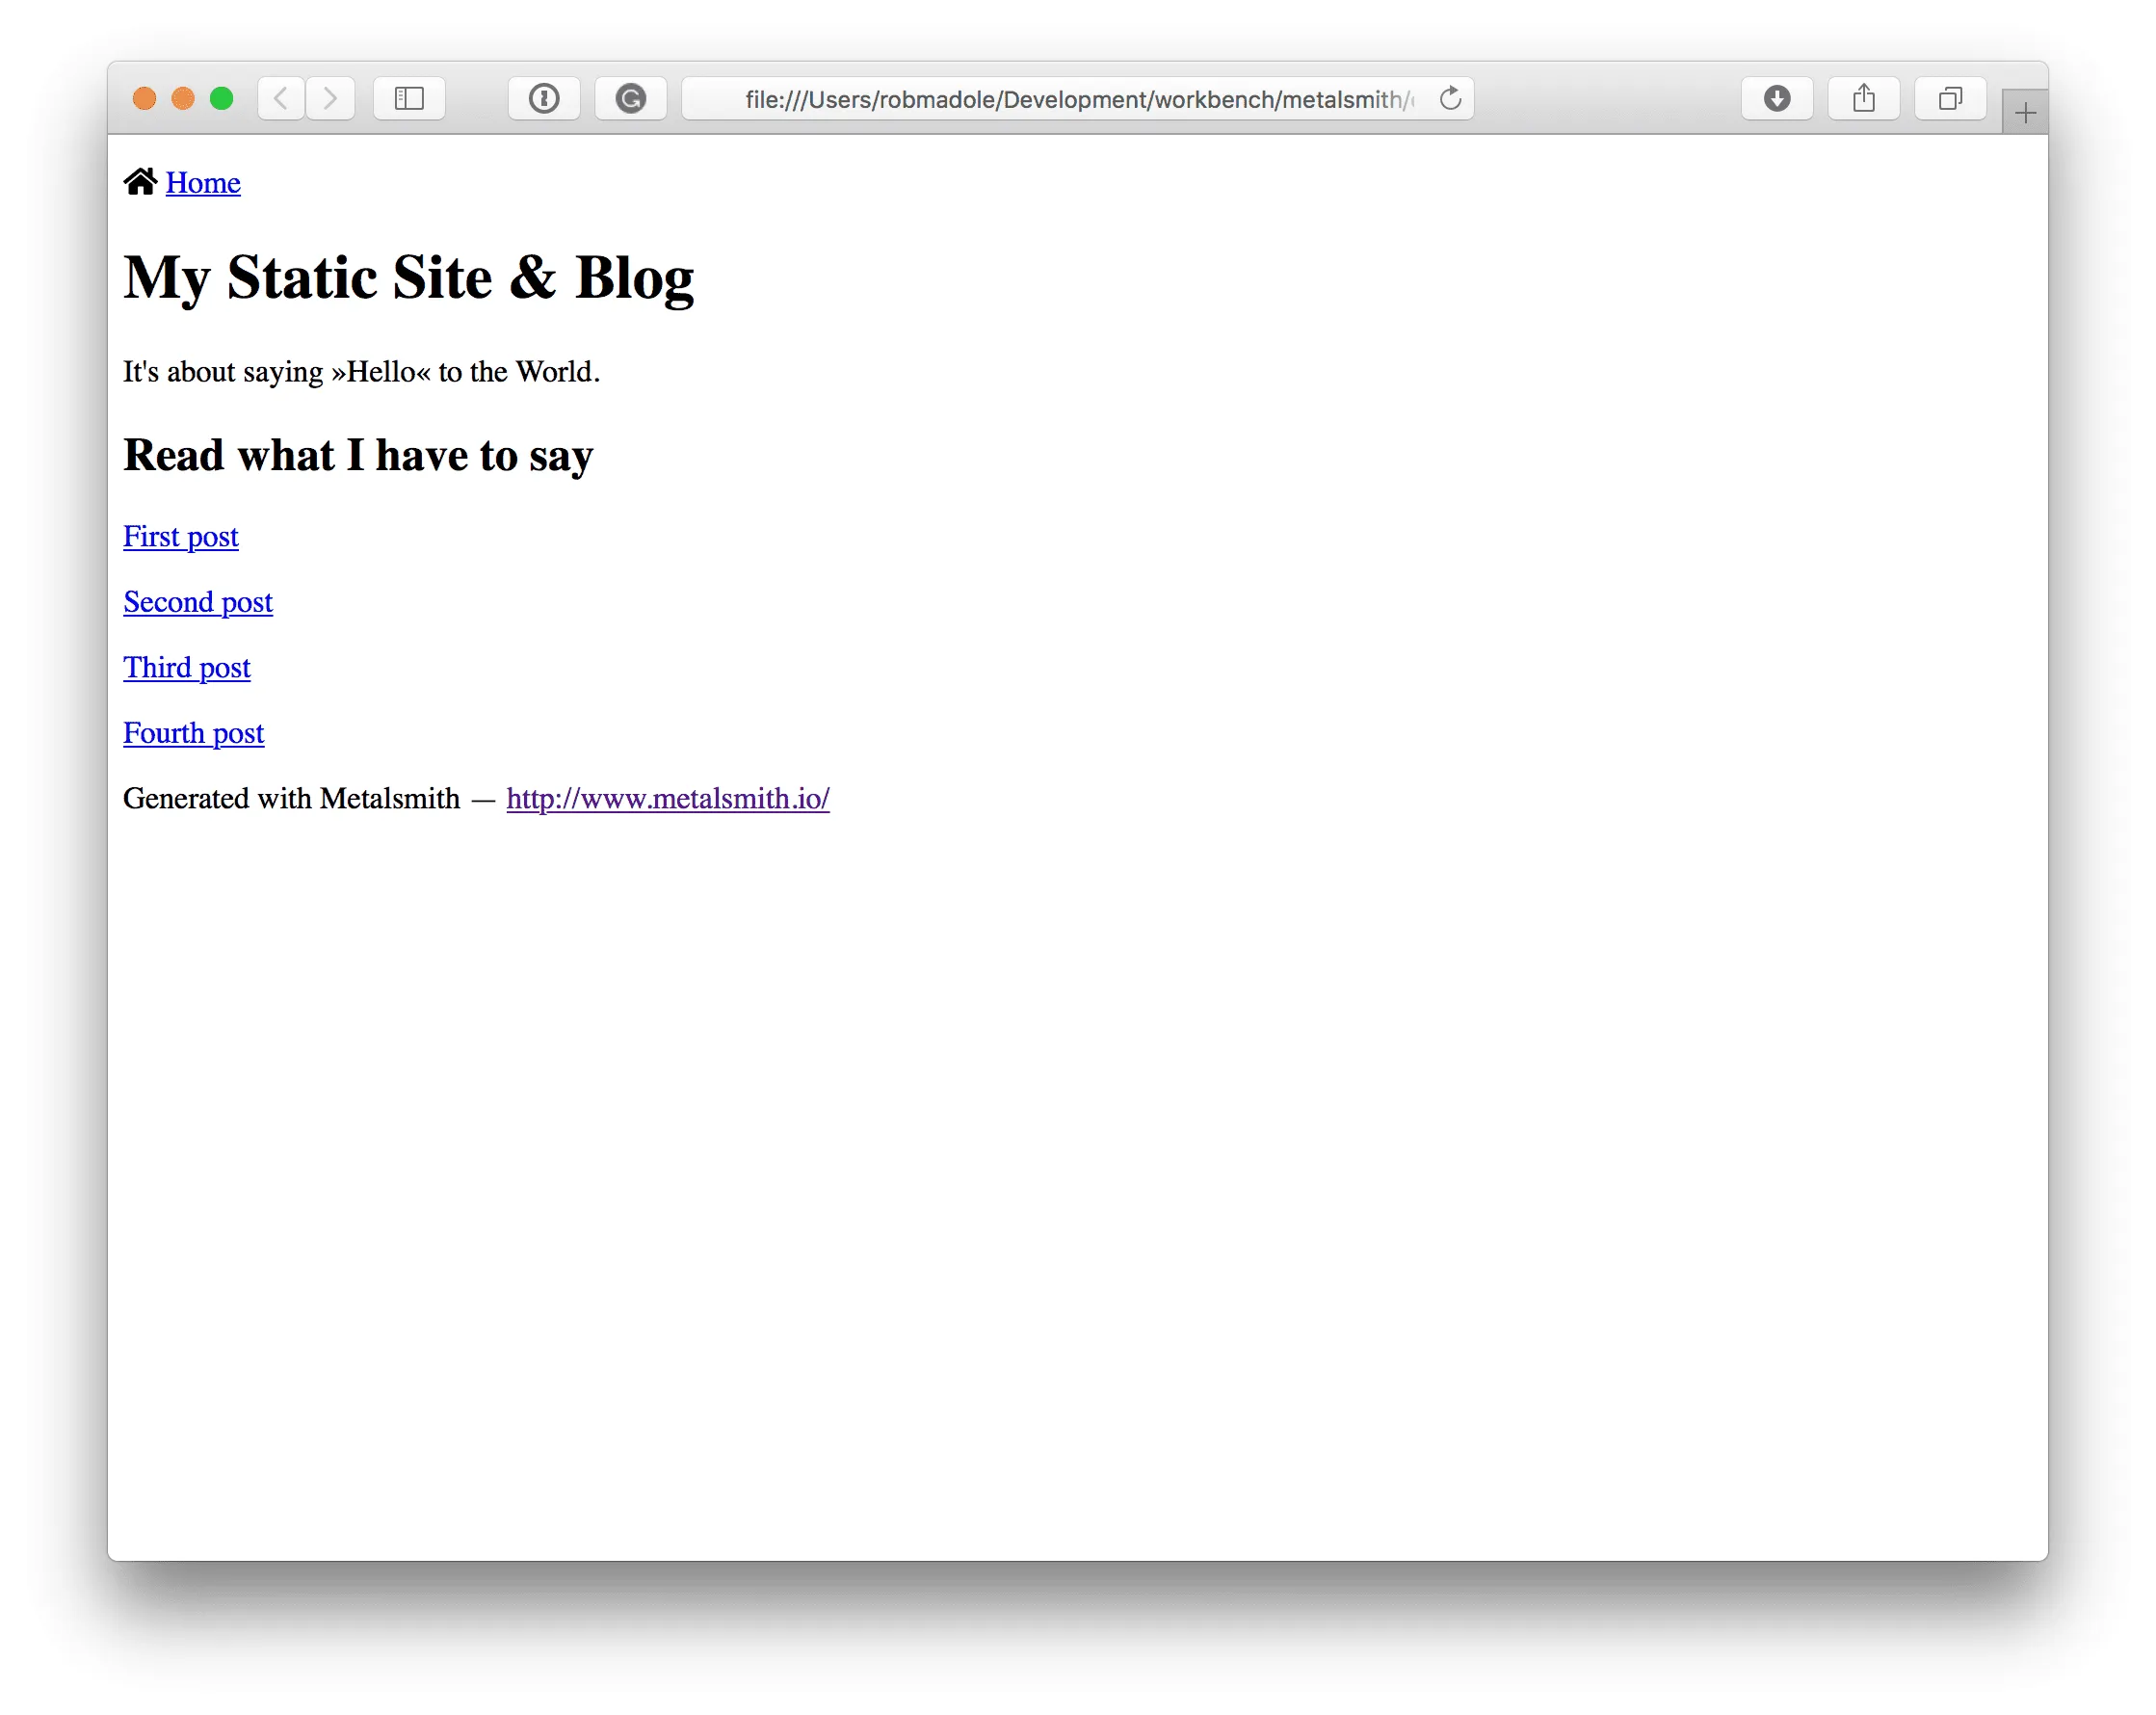
Section titled “Build the Static Content” node index.jsOpen build/index.html to see the rendered icon.

Server side rendering introduces an interesting problem when we consider the CSS that is needed to render an icon effectively.
<svg class="svg-inline--fa fa-github fa-w-16 fa-lg" aria-hidden data-fa-i2svg data-prefix="fab" data-icon="github" role="img" viewBox="0 0 496 512" > <path fill="currentColor" d=""> </path> </svg>The classes svg-inline--fa, fa-w-16, and fa-lg all have a critical role in controlling the size of the icon and the placement in the DOM. If the CSS is missing when this icon displays in the browser it will flash from a very large icon down to a properly sized one a moment later. Here’s how to solve it…
As we saw in the example we can inline the CSS directly into the page.
<style> {{fontawesome-css}} </style>This Handlebars helper is calling dom.css() which returns a String representing all the styles required for displaying icons at the correct size. You can link to the external CSS, which is specific to using SVG with JavaScript. It can be found in the svg-with-js/css/fa-svg-with-js.css folder.
Use it similar to this:
<head> <link href="https://use.fontawesome.com/releases/vVERSION/css/svg-with-js.css" rel="stylesheet"></link> </head>