Add Icons with WordPress
Once you’ve set up your plugin, you’re ready to add icons to your pages and posts using the new Icon Chooser, shortcodes, or HTML snippets.
Adding Icons Using the Icon Chooser
Section titled “Adding Icons Using the Icon Chooser”Starting with the official 4.0 plugin release, we added an icon search in the plugin to make it easier for you to find and insert the icons you need into your WordPress content.
You’ll find the Font Awesome Icon menu option in the extended format bar when you’re in a Gutenberg text block (or above the format bar in the WordPress Classic editor).
 Find the Font Awesome menu item in the extended format bar
You’ll be able to search Font Awesome icons by icon name, category, or keyword using the Icon Chooser search.
 The icon chooser set up to search all Pro icons, including the Light, Thin, Duotone styles, and uploaded icons
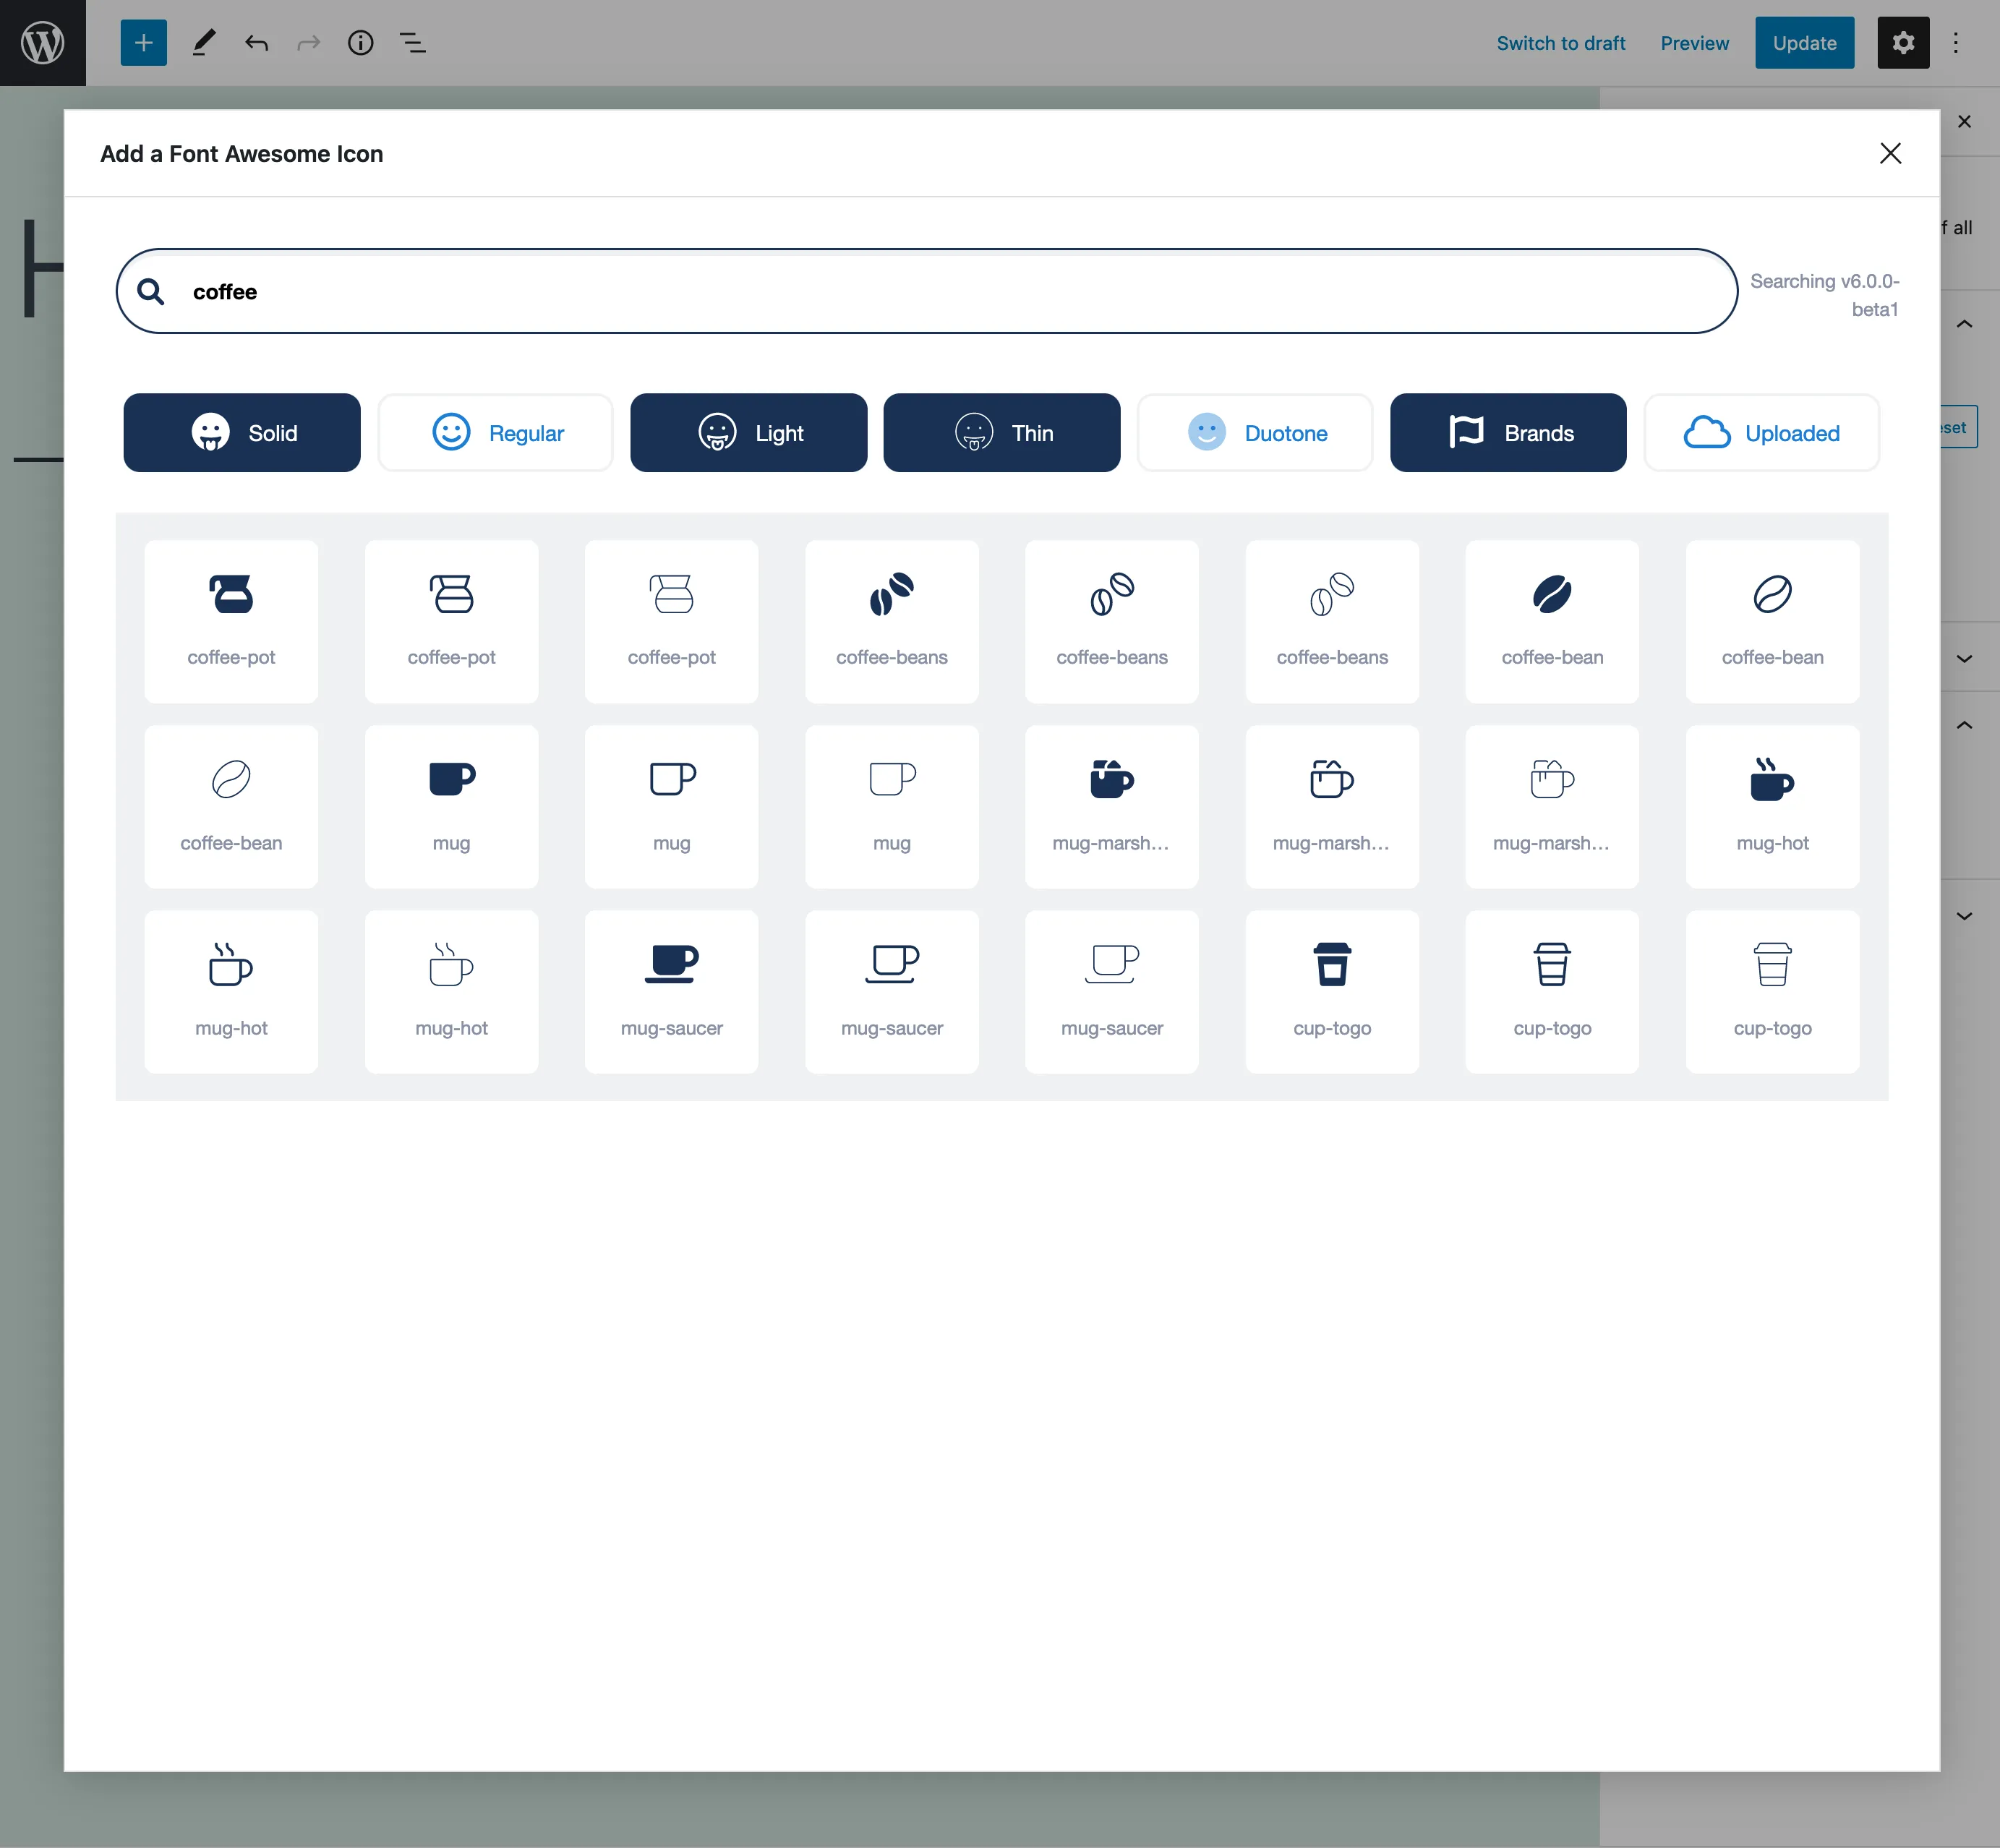 Searching the icon chooser for a coffee icon with several styles selected
Once you select an icon, you’ll see the shortcode is inserted into your content, and you can see the icon when you preview or publish your post or page.
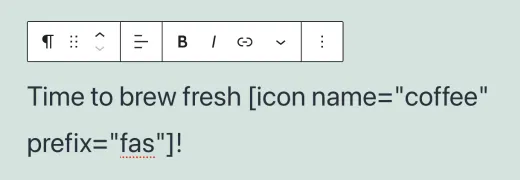 Icon shortcode inserted into content
 Viewing the icon in Preview mode
Other Ways to Add Icons
Section titled “Other Ways to Add Icons”You can also add icons by using their names in shortcodes or HTML.
When you use shortcodes, you add the name of the icon and a prefix, where the prefix is the style of icon you want to use. Note that you don’t need to include the fa- part of the name. And if you don’t include any prefix, the style will default to Solid. The shortcode for an icon looks like this:
[icon name="coffee" prefix="fas"]Add Styling and More
Section titled “Add Styling and More”With the official 4.0 release of the WordPress plugin, you can add attributes to the icon shortcodes, including CSS classes.
This means you can make your icons extra fancy with all the features that Font Awesome offers via CSS classes, like:
- Sizing your icons to be bigger or smaller
- Rotating icons to give them a different orientation
- Animating icons to create motion
Here’s an example:
[icon name="yin-yang" prefix="fas" class="fa-2x fa-spin"]Here are attributes that can be passed through the shortcode:
| Attribute | How you can use it |
|---|---|
class | Either your own or Font Awesome-specific CSS classes |
style | For your own custom CSS |
title , aria-hidden , aria-labelledby , role | Accessibility helpers |
Icon name and style prefix | Basic Font Awesome attributes |
Or you can use basic HTML with standard Font Awesome syntax:
<i class="fas fa-coffee"></i>Using Pseudo-elements
Section titled “Using Pseudo-elements”CSS pseudo-elements are a way to add icons before or after content in the HTML without editing the HTML, like adding a caret next to a drop-down menu item or an arrow next to an external link. Some plugins or themes rely on pseudo-elements — If you disable them, be sure to check your site for missing icons.
You should avoid using SVG with pseudo-elements if possible. In fact, for performance reasons, we don’t have the SVG-with-pseudo-elements option when using a Kit. You can enable pseudo-elements with SVG when using the CDN, but know that it can cause your site to be very slow in some situations. Be sure to check your pages — especially ones with lots of elements — after enabling pseudo-elements with SVG to verify that they aren’t loading significantly slower.
Pseudo-elements are enabled by default with Web Font (in both Kits and CDN) since they don’t impact performance with that technology.