Upgrade from v4
Have you used Font Awesome 4 on the desktop and are ready to upgrade?
What’s Changed?
Section titled “What’s Changed?”There are some differences between v4 and v5. In v5, we introduced the 3 styles or weights for each icon - solid, regular, and light. We also separated out brand icons into their own style/category for easier use.
| Icon Style | Availability | Font Files in the Download |
|---|---|---|
| Solid | Free | Font Awesome 5 Free-Solid-900.otf |
| Regular | Free | Font Awesome 5 Free-Regular-400.otf |
| Brands | Free | Font Awesome 5 Brands-Regular-400.otf |
| Solid | Pro only | Font Awesome 5 Pro-Solid-900.otf |
| Regular | Pro only | Font Awesome 5 Pro-Regular-400.otf |
| Light | Pro only | Font Awesome 5 Pro-Light-300.otf |
We also cleaned up our icon naming conventions. There are a number of v4 icons that have been renamed with that in mind.
Remove v4 Fonts and Assets
Section titled “Remove v4 Fonts and Assets”Firstly, through your operating system’s font management software, find and remove any of Font Awesome 4’s assets (as they can cause confusion and rendering issues). Look for, deactivate, and delete a font named “FontAwesome”.
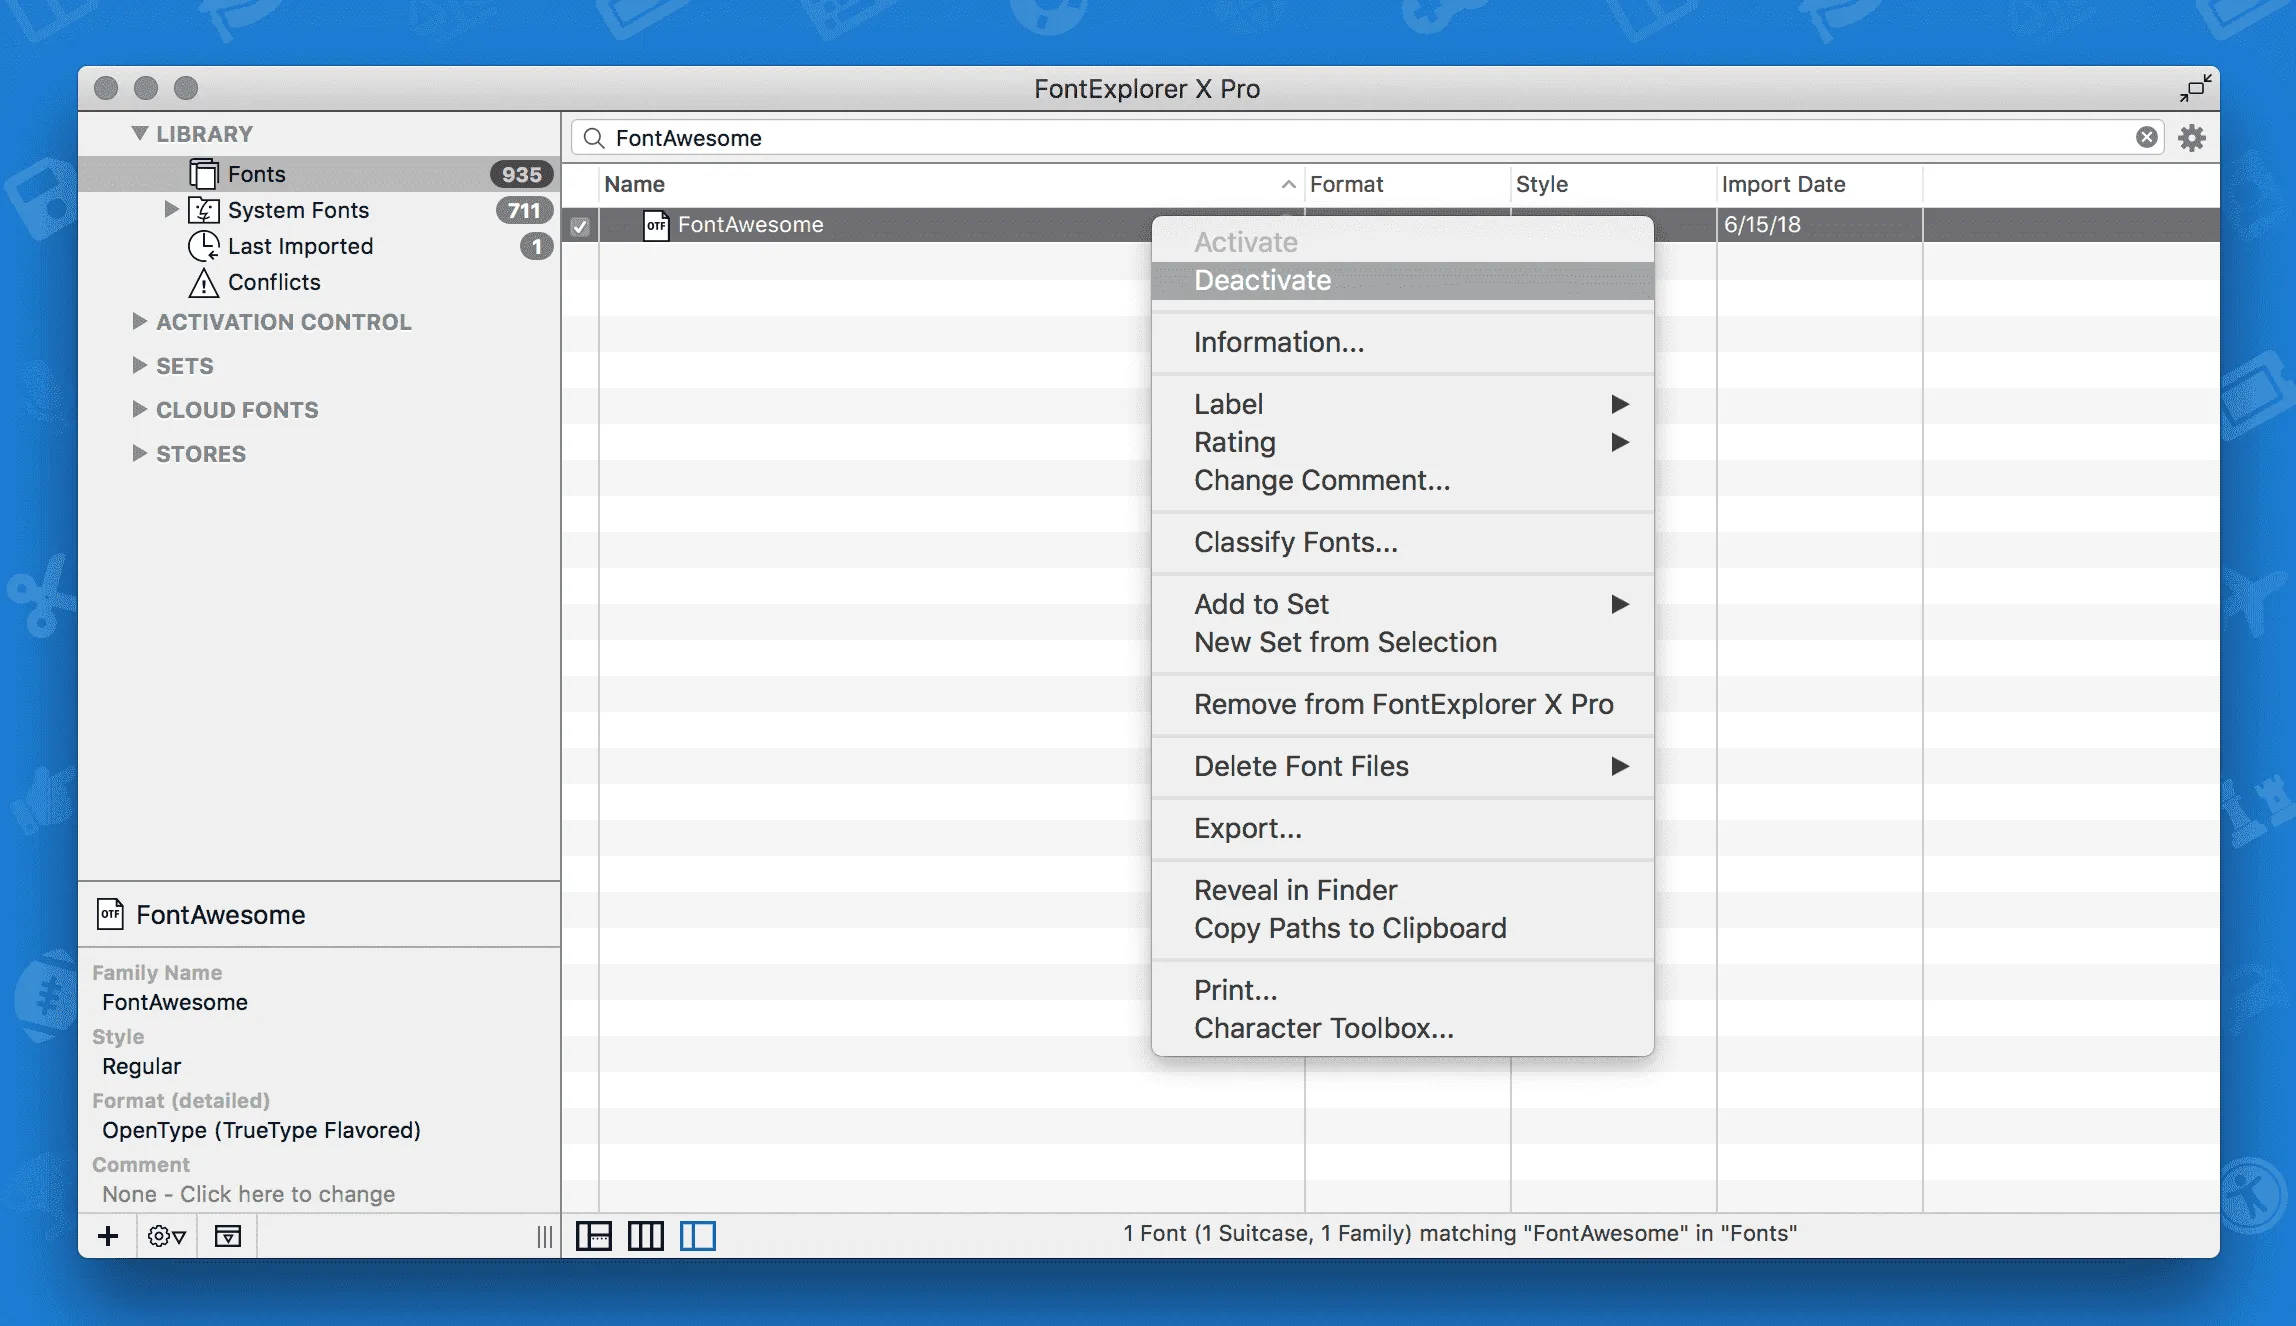 Deactivate the v4 Font
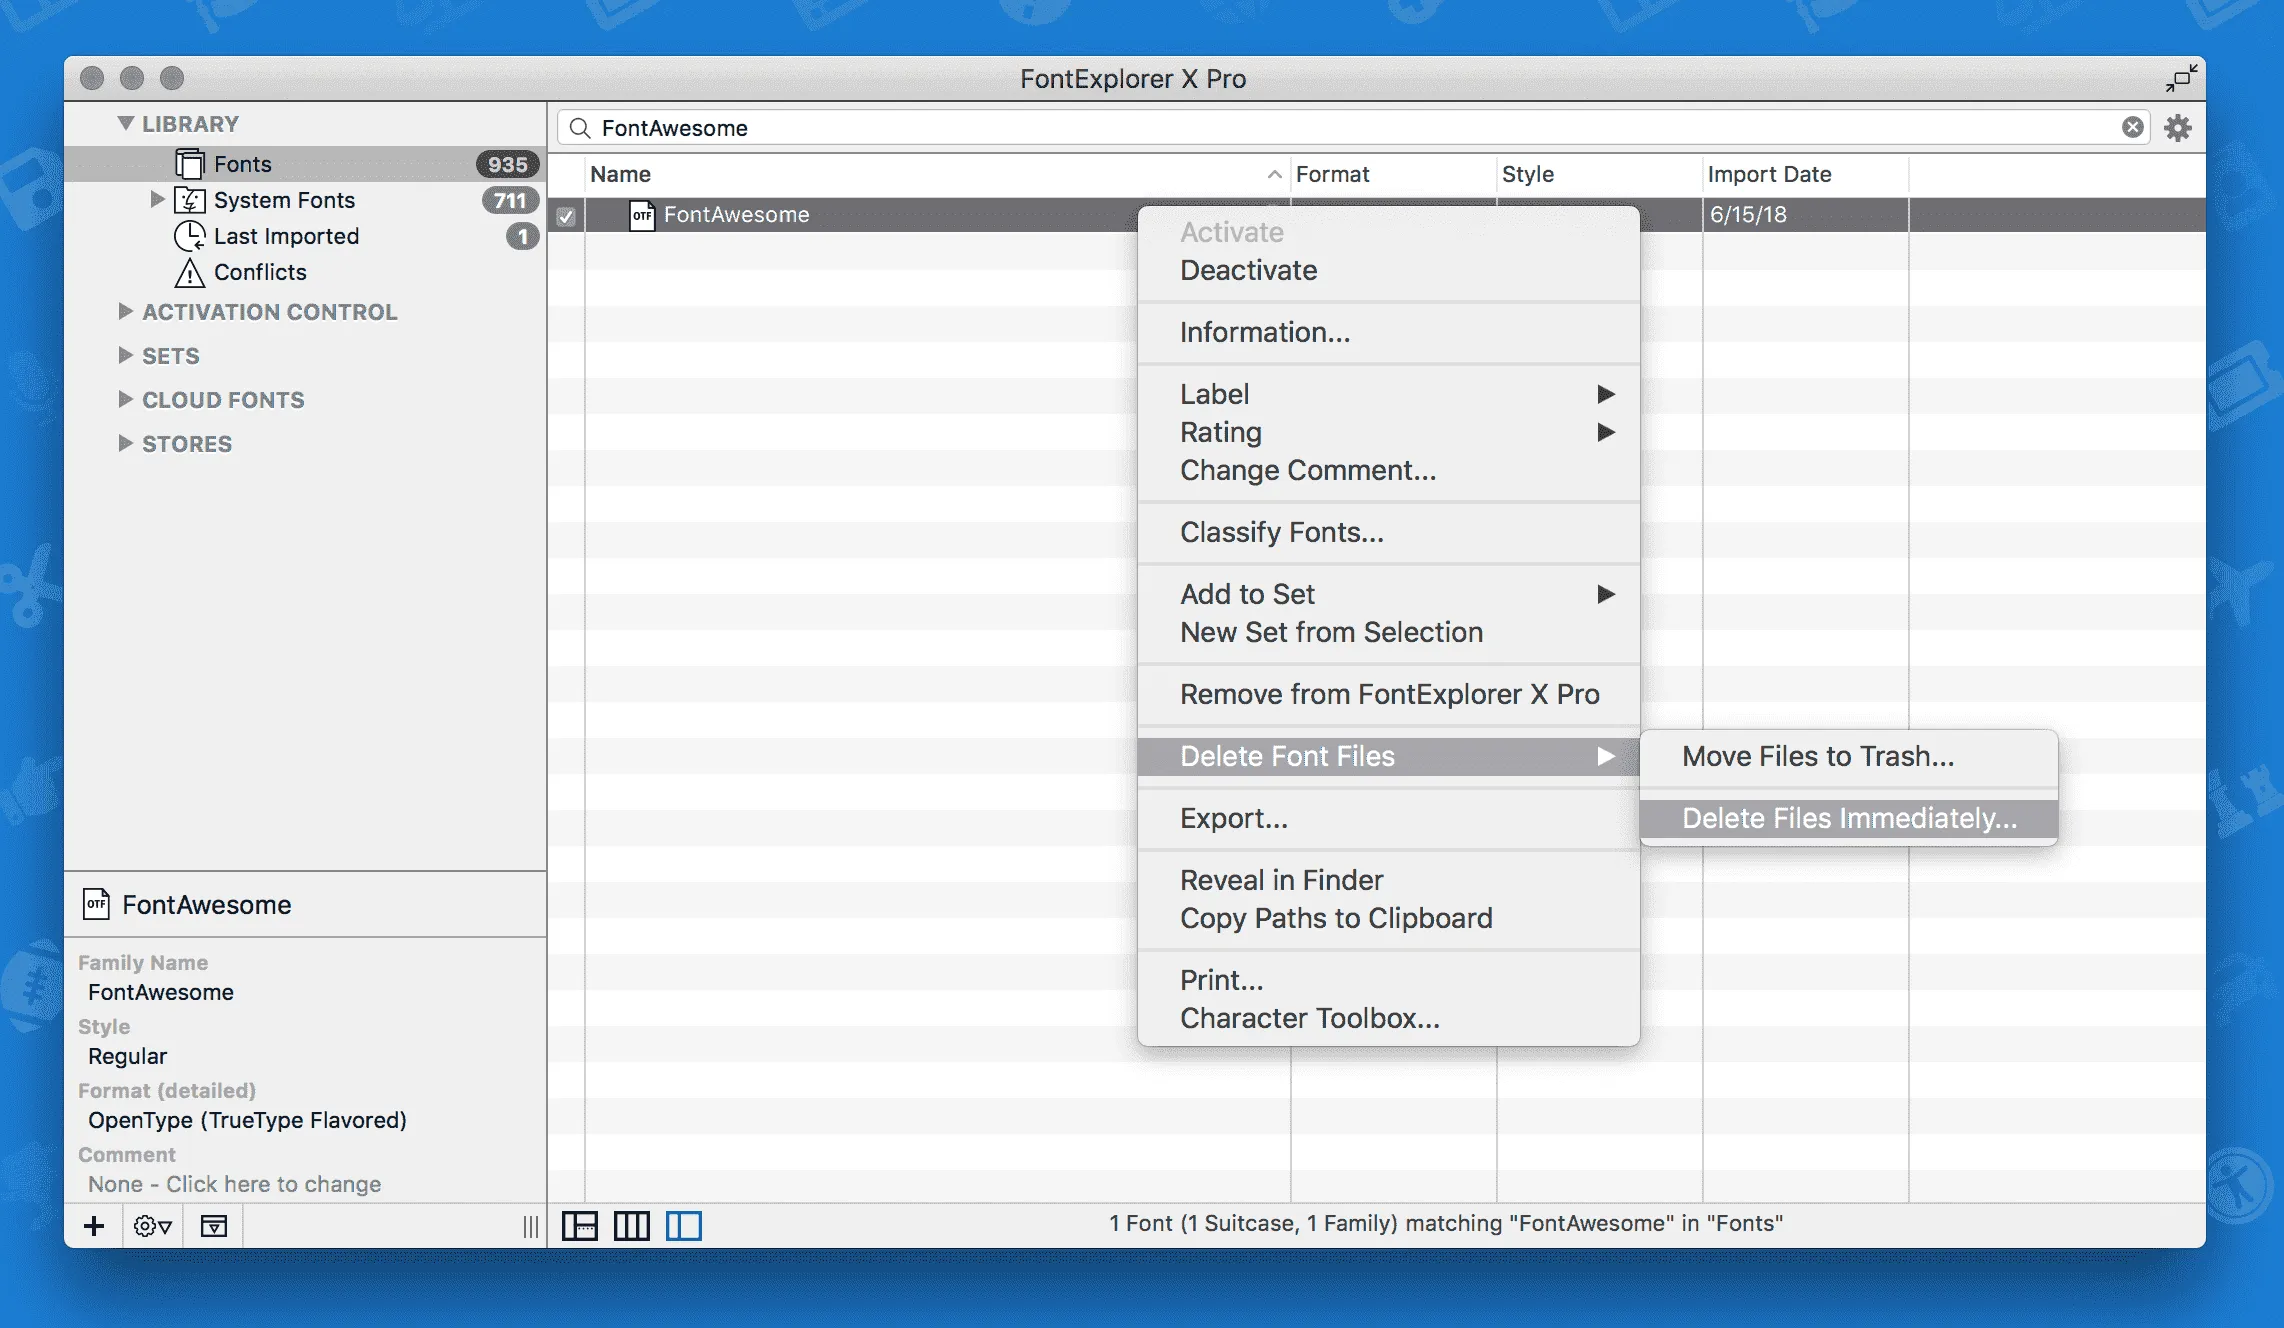 Delete the v4 Font
Install and Use v5 Ligature-based Fonts
Section titled “Install and Use v5 Ligature-based Fonts”Find and install the new fonts found in the /use-on-the-desktop folder of the Font Awesome Desktop download. Make sure that you include brands as well as solid and regular weights to match with v4. For Macs, that is often Font Book or Font Explorer X. Also, depending on your operating system and management software, make sure you activate/enable the new fonts in the Font Manager once they are installed.
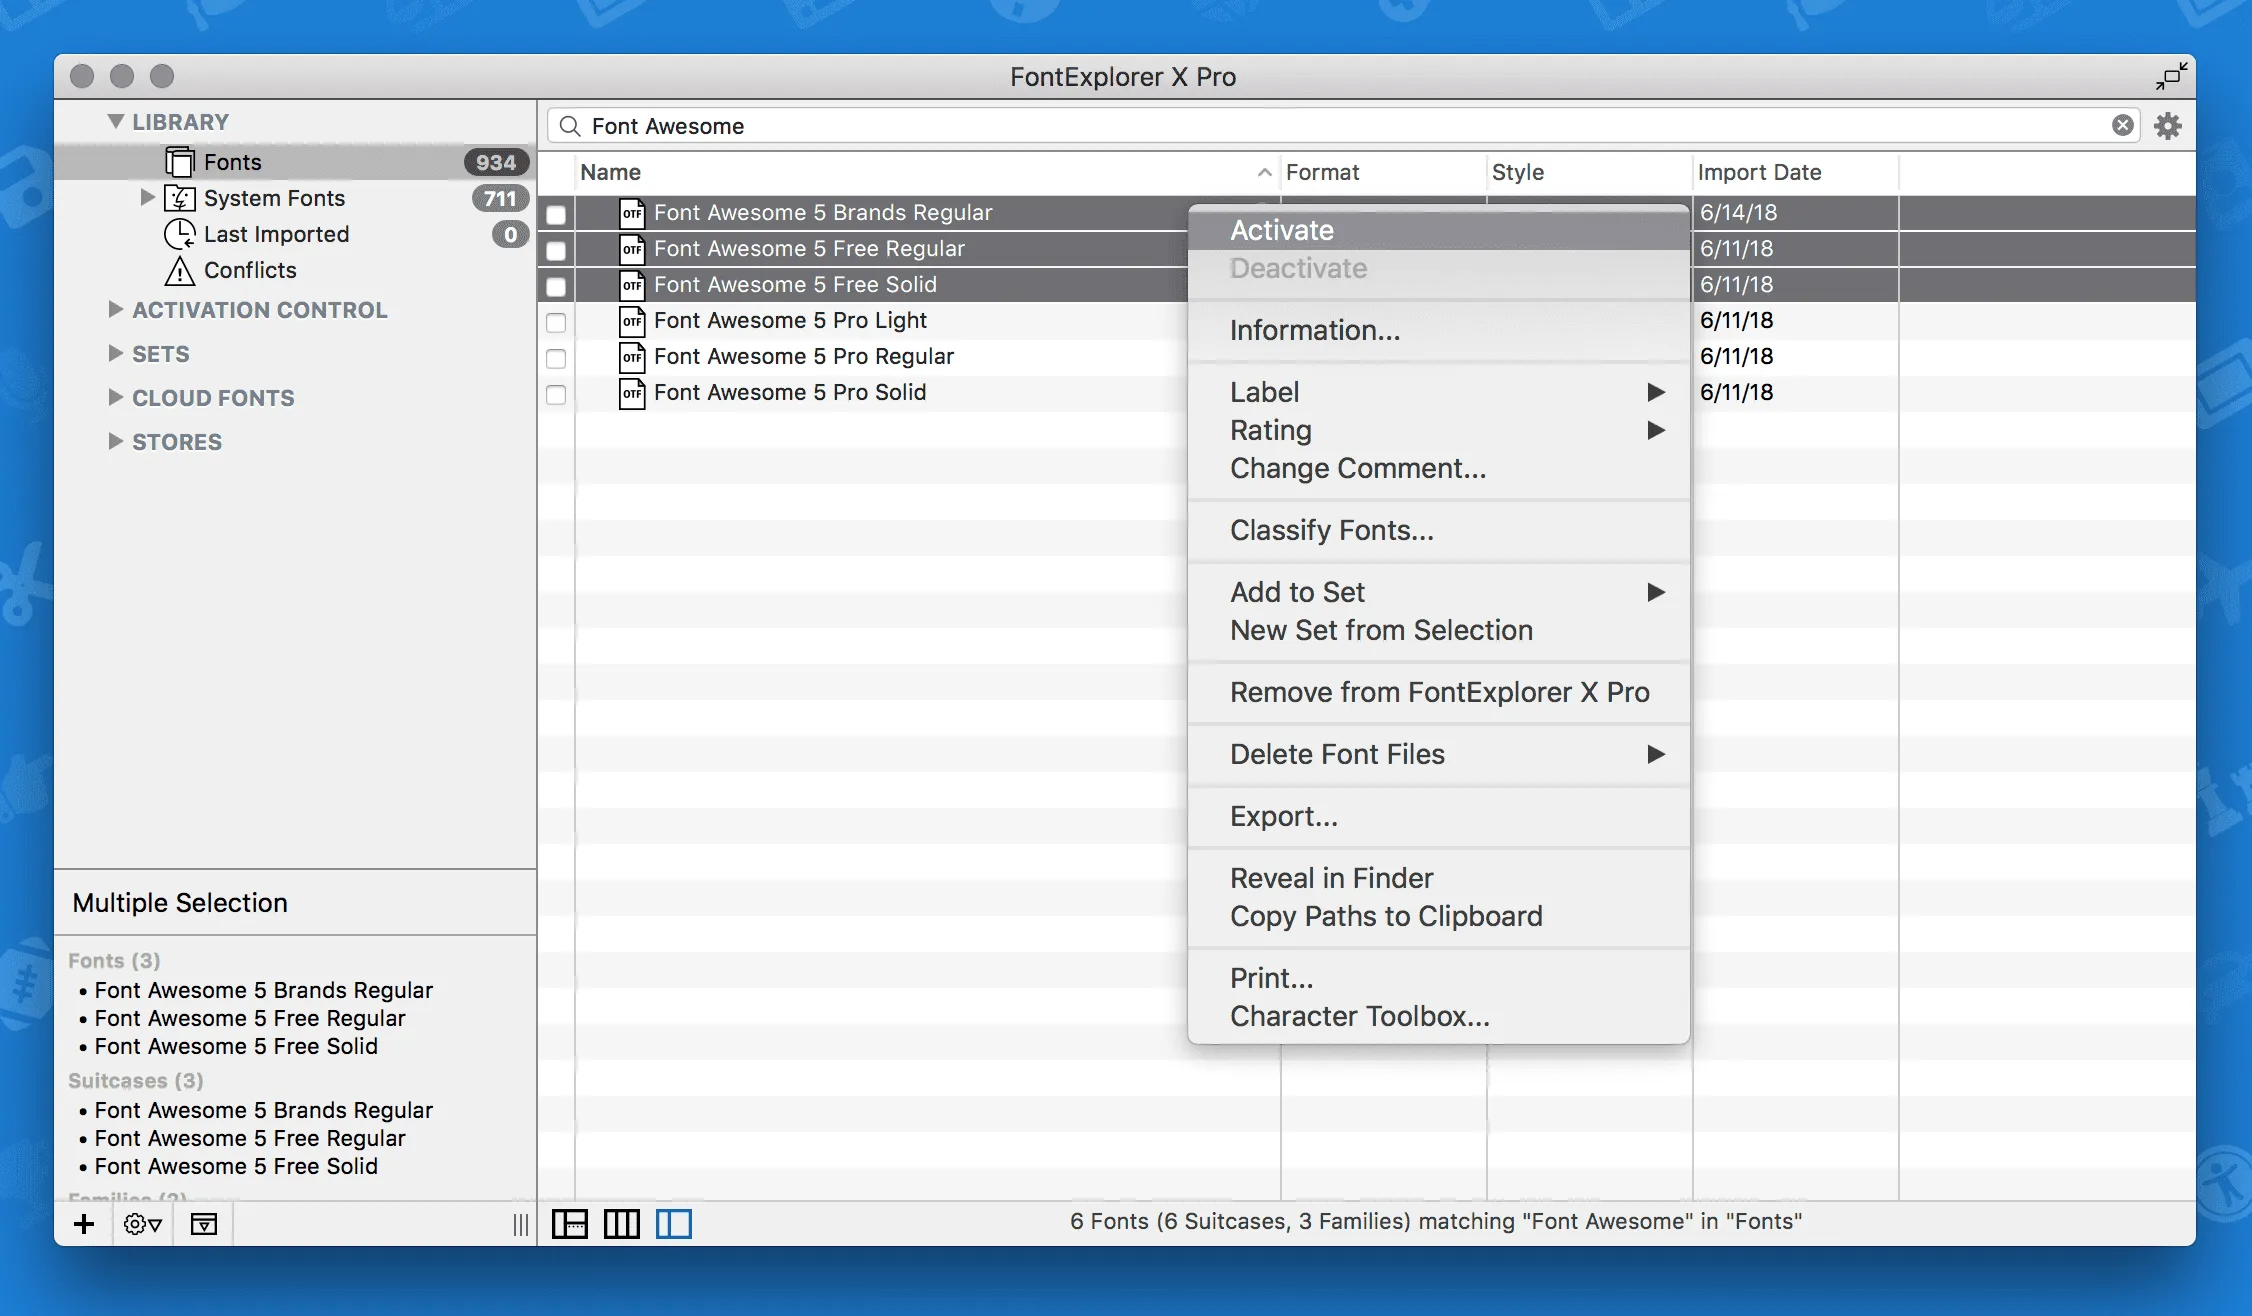 Install and activate the v5 Fonts
Check out these articles for installing fonts on PC and installing fonts on Mac to get more details and guidance on installing and activating fonts for your machine.
Updating and Proofing Existing Documents
Section titled “Updating and Proofing Existing Documents”We recommend visually checking your existing documents that were using v4’s icons. On top of that, you’ll need to change the typeface used in those documents to be “Font Awesome 5 Free” or “Font Awesome 5 Pro” if you are a Pro license holder using Pro icons. We’ve tried to map any existing unicode and glyph values v4 icons had to the correct v5 icon, so you shouldn’t have to do much if your document has text layers with copied + pasted glyphs from v4.
Next Steps
Section titled “Next Steps”You’re ready to get going with v5’s icons. Head on over to how to reference icons using ligatures or using glyphs.