Require.js
Font Awesome works well with Require.js, especially if you are using Web Fonts. But if you’re using SVG + JS, you’ll need to make a few adjustments.
We’ll cover the step-by-step basics of getting Require.js set up with Font Awesome, adding a style, displaying icons, and accessing Font Awesome’s API.
Step-by-Step
First, create a new directory called myproject.
- Download Require.js and place it in a
scriptsdirectory. - Download Font Awesome and copy all the files in the
jsdirectory intoscripts/vendors/fontawesome. - Create an empty
scripts/main.jsfile. - Create an empty
index.htmlfile.
After you finish, your directory structure should look something like this:
myproject├── index.html└── scripts ├── main.js ├── require.js └── vendor └── fontawesome ├── all.js ├── all.min.js ├── brands.js ├── brands.min.js ├── conflict-detection.js ├── conflict-detection.min.js ├── fontawesome.js ├── fontawesome.min.js ├── regular.js ├── regular.min.js ├── solid.js ├── solid.min.js ├── v4-shims.js └── v4-shims.min.jsIf you are using Font Awesome Pro, you can download and copy the files the same way. You’ll just have more files since you’ll have all the Font Awesome styles at your fingertips.
Requiring Font Awesome
The first step is to configure Require.js, so that it can find Font Awesome and load a minified version. In your index.html file, add the following:
<!DOCTYPE html><html> <head> <meta charset="UTF-8" /> <meta name="viewport" content="width=device-width" /> <title>Require.js + Font Awesome SVG with JavaScript</title> <script data-main="scripts/main" src="scripts/require.js"></script> </head> <body></body></html>Nothing special going on here.
- We use
data-mainand point toscripts/main.jsjust like the getting started Require.js docs tell us to. - We set the
srcattribute to the location we’ve installed Require.js.
Now in your scripts/main.js add:
require.config({  paths: {    fontawesome: 'vendor/fontawesome/fontawesome.min'  }})
require(['fontawesome'], function (fontawesome) {  console.log('Congrats, Font Awesome is installed using Require.js')})
We start by configuring Require.js to understand that when we reference fontawesome it should look in vendors/fontawesome and load the fontawesome.min.js file.
Open the Project in Your Browser
Load your browser, and open the index.html file you just created — we recommend Firefox, Chrome, or Safari — and open the Developer Tools to inspect the console.
 Console message letting us know FontAwesome was installed
Add a Style and Display an Icons
In your index.html file, you can add an icon like this:
<!DOCTYPE html><html> <head> <meta charset="UTF-8" /> <meta name="viewport" content="width=device-width" /> <title>Require.js + Font Awesome SVG with JavaScript</title> <script data-main="scripts/main" src="scripts/require.js"></script> </head> <body> <i class="fa-solid fa-mug-saucer fa-10x"></i> </body></html>In your scripts/main.js file, add the following:
require.config({  paths: {    fontawesome: 'vendor/fontawesome/fontawesome.min',    'fontawesome/solid': 'vendor/fontawesome/solid.min'  },  shim: {    fontawesome: {      deps: ['fontawesome/solid']    }  }})
require(['fontawesome'], function (fontawesome) {  console.log('Congrats, Font Awesome is installed using Require.js')})
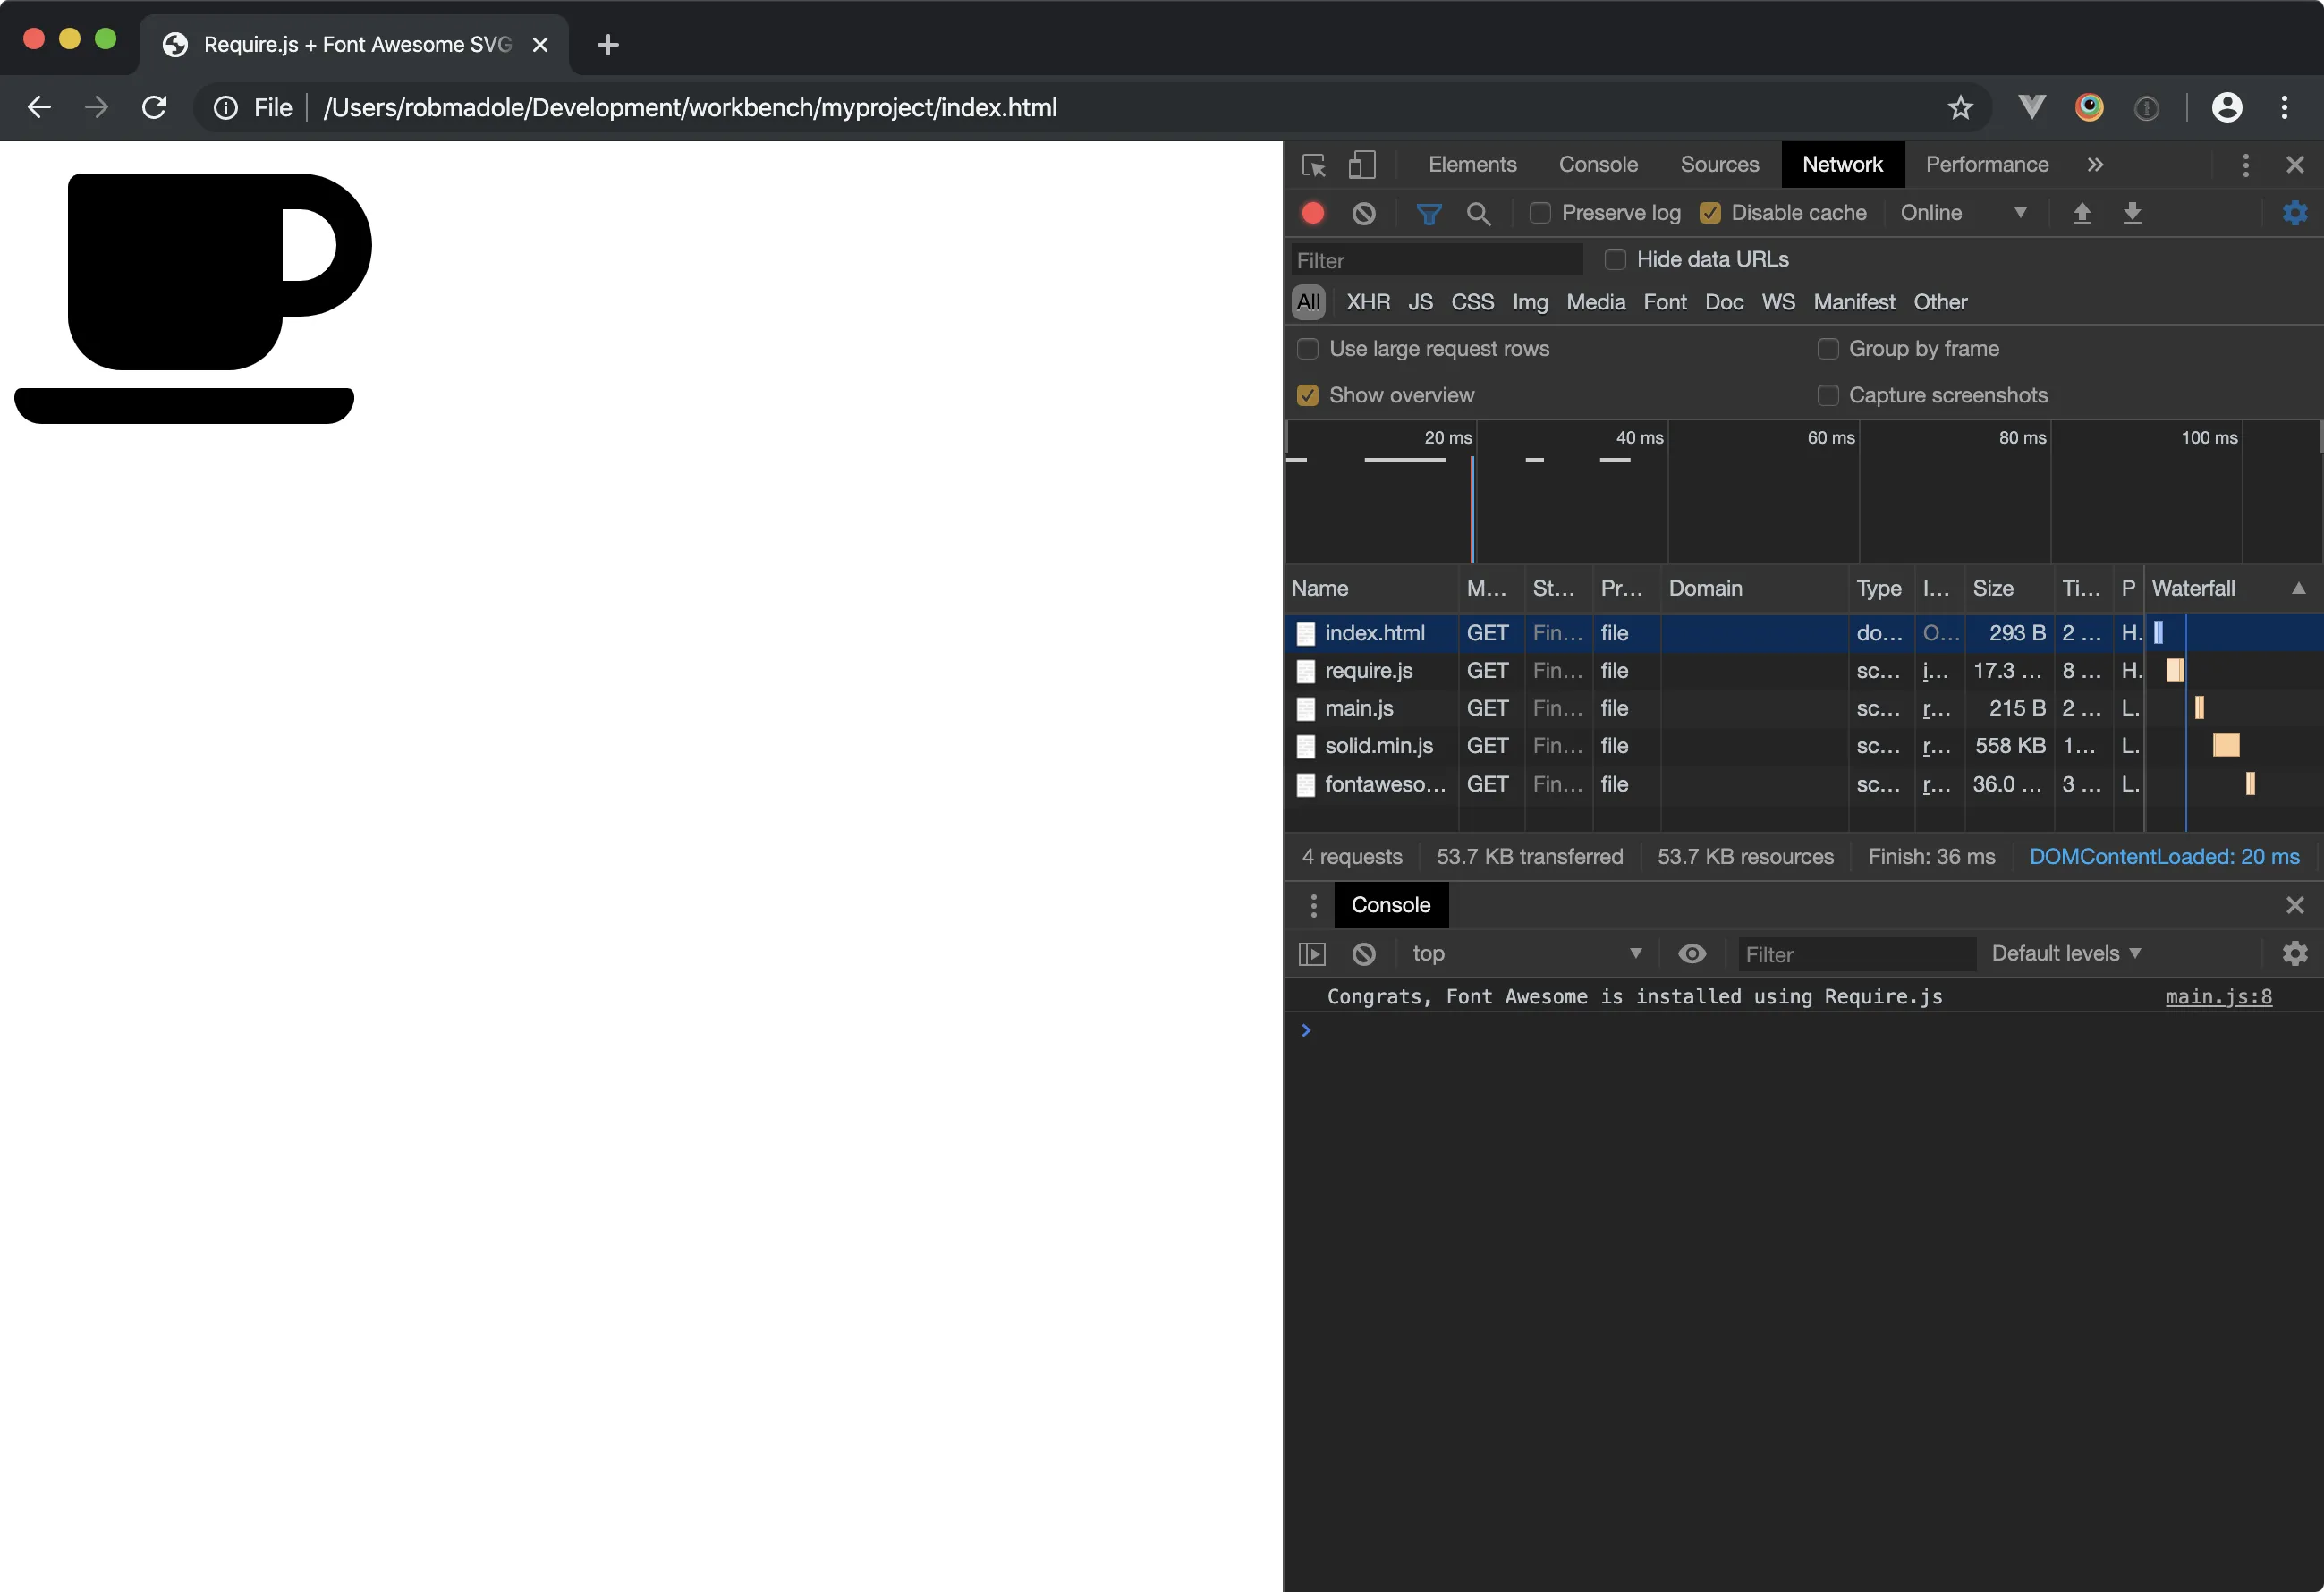
That adds some dependencies to the fontawesome name using the Require.js shim property. The dependency we will load is the Solid style icons anytime fontawesome is loaded.
The paths section of fontawesome/solid points to the minified version of the Solid style.
 Loading the Solid style and displaying an icon
Adding More Icon Styles
But you’ll probably want more than just the Solid icon style. Here’s how to add in other styles. In your index.html file, you can add an Twitter icon from the Brands style:
<!DOCTYPE html><html> <head> <meta charset="UTF-8" /> <meta name="viewport" content="width=device-width" /> <title>Require.js + Font Awesome SVG with JavaScript</title> <script data-main="scripts/main" src="scripts/require.js"></script> </head> <body> <i class="fa-solid fa-mug-saucer fa-10x"></i> <i class="fa-brands fa-twitter fa-10x"></i> </body></html>And in your scripts/main.js, you can add any of the styles you plan to use in your project, like this:
require.config({  paths: {    fontawesome: 'vendor/fontawesome/fontawesome.min',    'fontawesome/solid': 'vendor/fontawesome/solid.min',    'fontawesome/brands': 'vendor/fontawesome/brands.min'    // Pro files can be added like this:    // 'fontawesome/regular': 'vendor/fontawesome/regular.min',    // 'fontawesome/light': 'vendor/fontawesome/light.min',    // 'fontawesome/thin': 'vendor/fontawesome/thin.min',    // 'fontawesome/duotone': 'vendor/fontawesome/duotone.min'    // 'fontawesome/duotone-regular': 'vendor/fontawesome/duotone-regular.min'    // 'fontawesome/duotone-light': 'vendor/fontawesome/duotone-light.min'    // 'fontawesome/duotone-thin': 'vendor/fontawesome/duotone-thin.min'    // 'fontawesome/sharp-solid': 'vendor/fontawesome/sharp-solid.min'    // 'fontawesome/sharp-regular': 'vendor/fontawesome/sharp-regular.min'    // 'fontawesome/sharp-light': 'vendor/fontawesome/sharp-light.min'    // 'fontawesome/sharp-thin': 'vendor/fontawesome/sharp-thin.min'    // 'fontawesome/sharp-duotone-solid': 'vendor/fontawesome/sharp-duotone-solid.min'    // 'fontawesome/sharp-duotone-regular': 'vendor/fontawesome/sharp-duotone-regular.min'    // 'fontawesome/sharp-duotone-light': 'vendor/fontawesome/sharp-duotone-light.min'    // 'fontawesome/sharp-duotone-thin': 'vendor/fontawesome/sharp-duotone-thin.min'  },  shim: {    fontawesome: {      deps: ['fontawesome/solid', 'fontawesome/brands']    }  }})
require(['fontawesome'], function (fontawesome) {  console.log('Congrats, Font Awesome is installed using Require.js')})
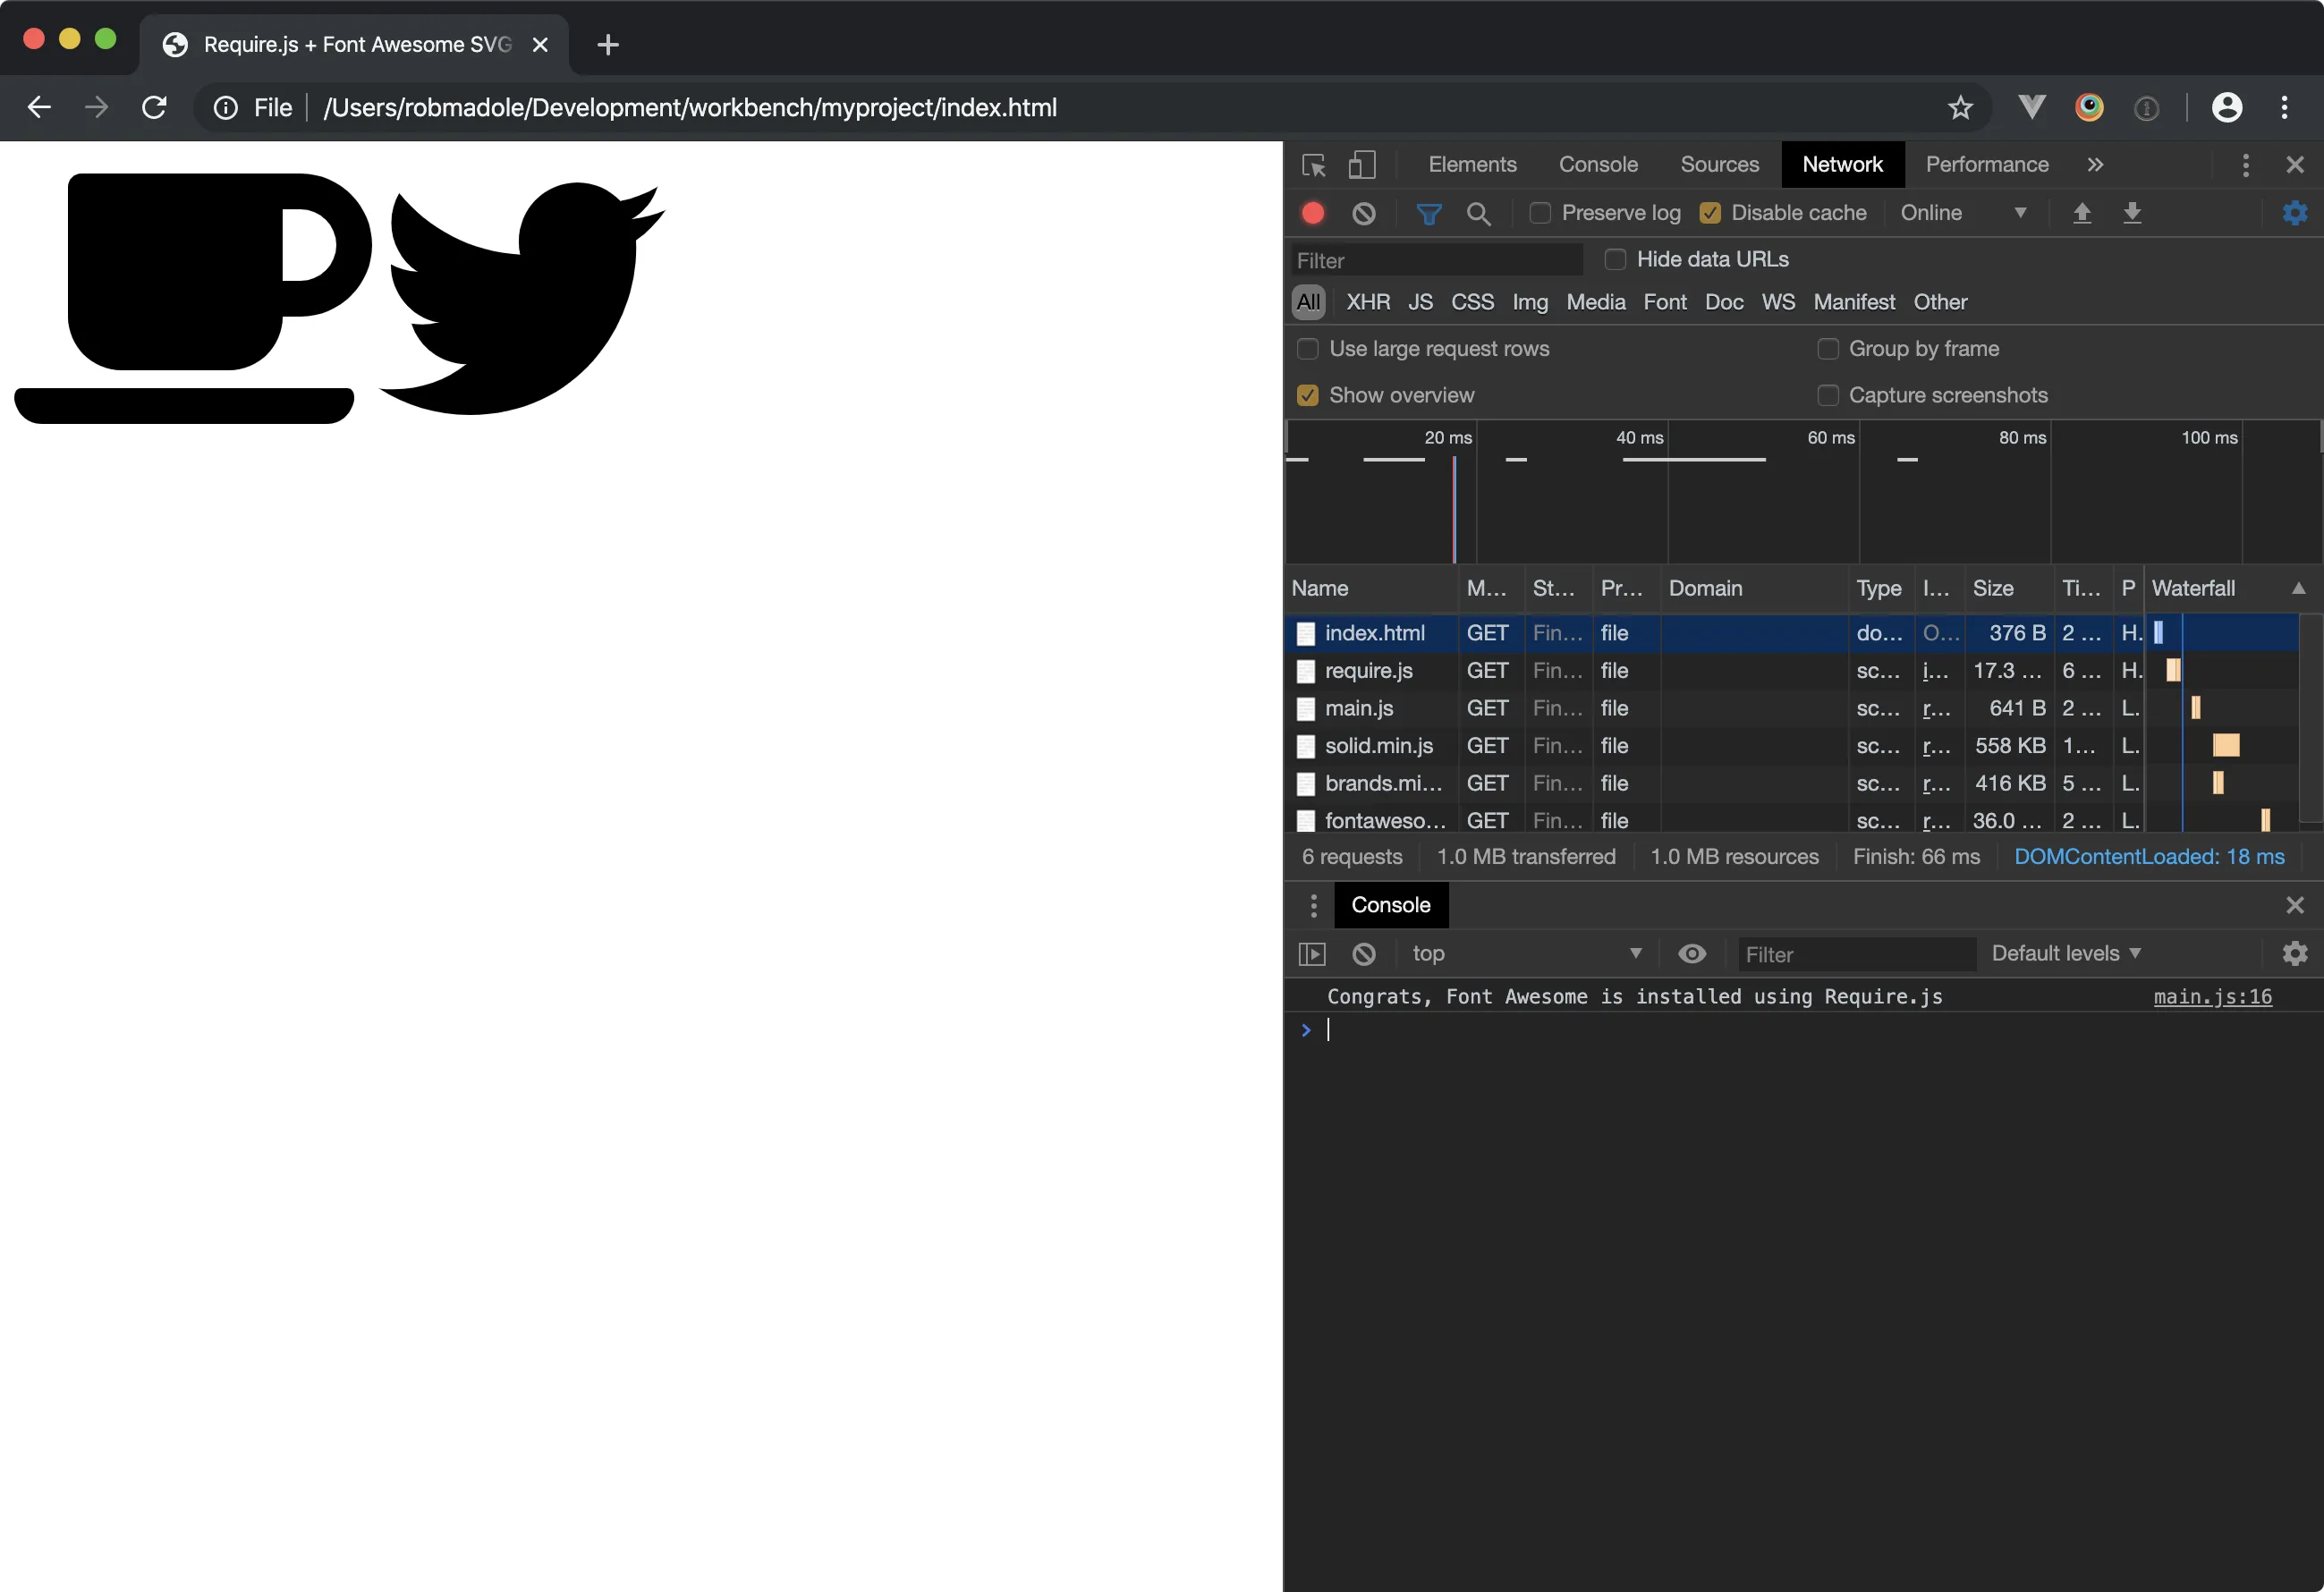
You can see the Twitter icon now appears next to the mug:
 Adding the Brands style
Accessing Font Awesome’s API
You can also use Font Awesome’s Javascript API to add icons. We’ll need to configure Require.js to export it. In your scripts/main.js, you use the API like this:
require.config({  paths: {    fontawesome: 'vendor/fontawesome/fontawesome.min',    'fontawesome/solid': 'vendor/fontawesome/solid.min',    'fontawesome/brands': 'vendor/fontawesome/brands.min'  },  shim: {    fontawesome: {      deps: ['fontawesome/solid', 'fontawesome/brands'],      exports: 'FontAwesome'    }  }})
require(['fontawesome'], function (fontawesome) {  console.log('Congrats, Font Awesome is installed using Require.js')
  var icon = fontawesome.icon(    fontawesome.findIconDefinition({ iconName: 'stroopwafel' }),    {      classes: ['fa-10x']    }  )
  document.body.appendChild(icon.node[0])})
The exports property instructs Require.js to use the global FontAwesome name and make it available as the value passed into the require function callback.
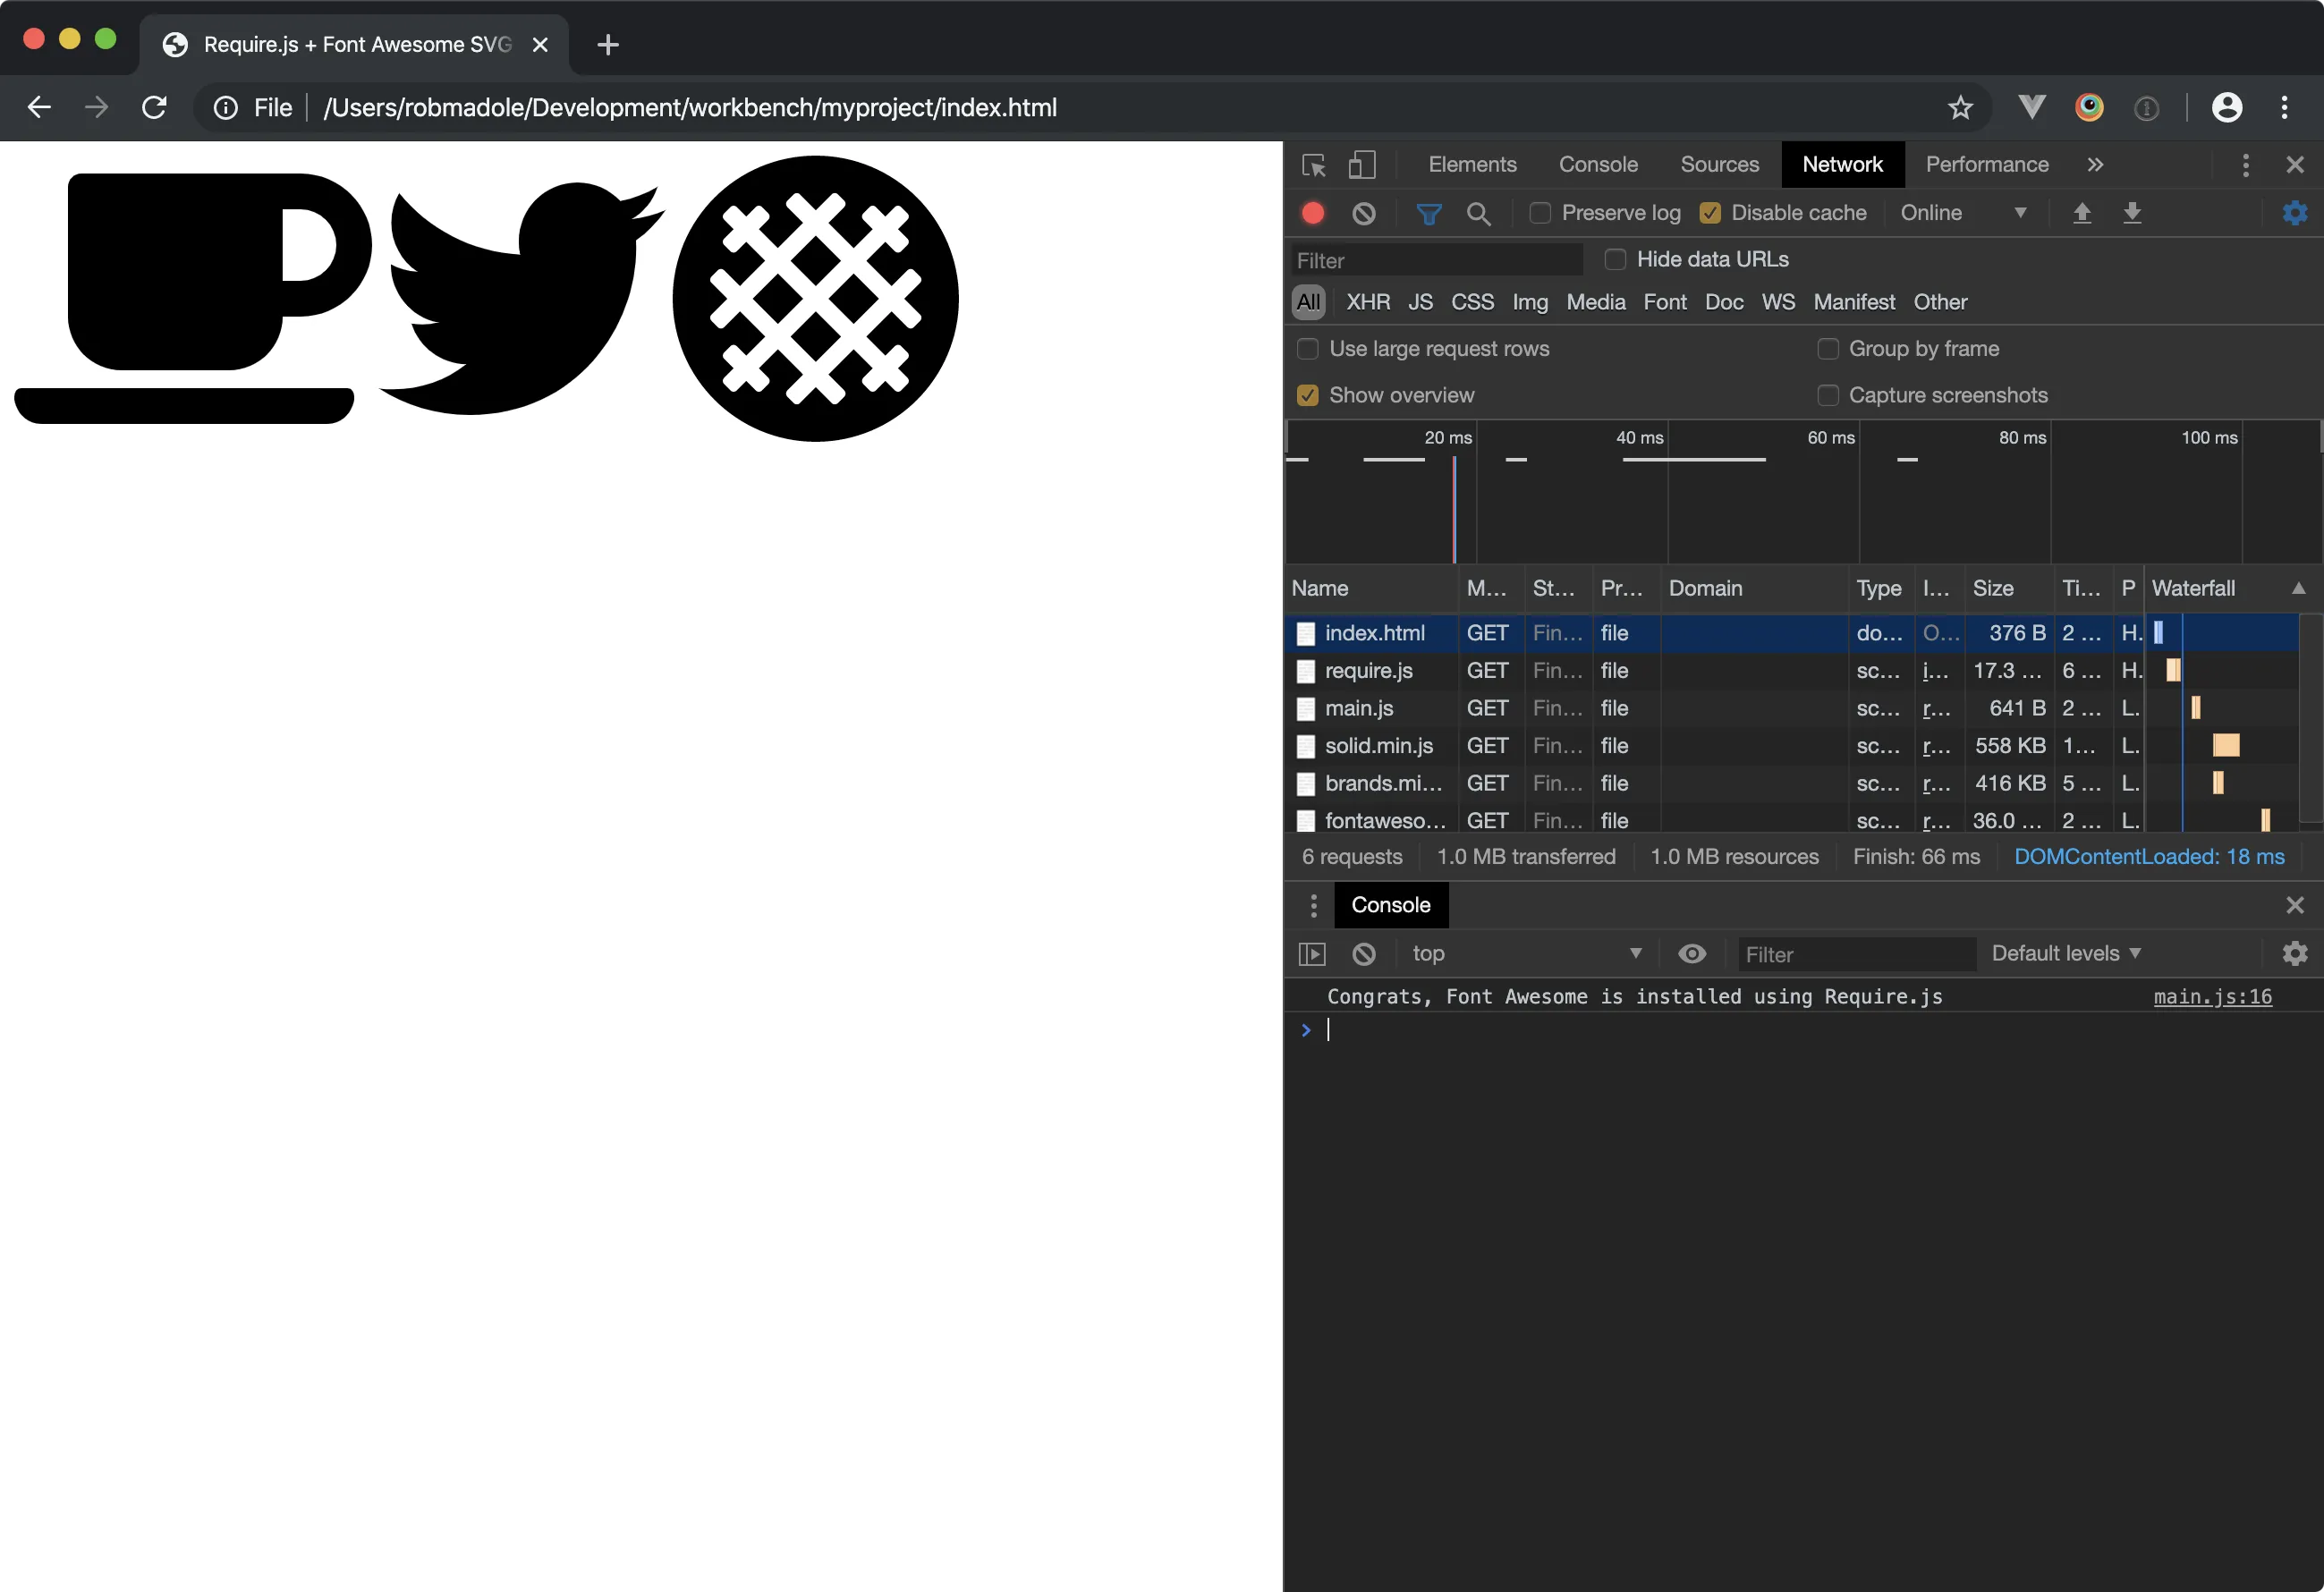
We can then use it to create an icon and add it to the DOM.
 Adding an icon using the Font Awesome JS API